I LOVE road trips, but part of the reason that we take them is because it is cheaper for us to camp than it is to fly and stay in resorts! Check out how to make this stunning travel art wall for ONLY $24 – or less!
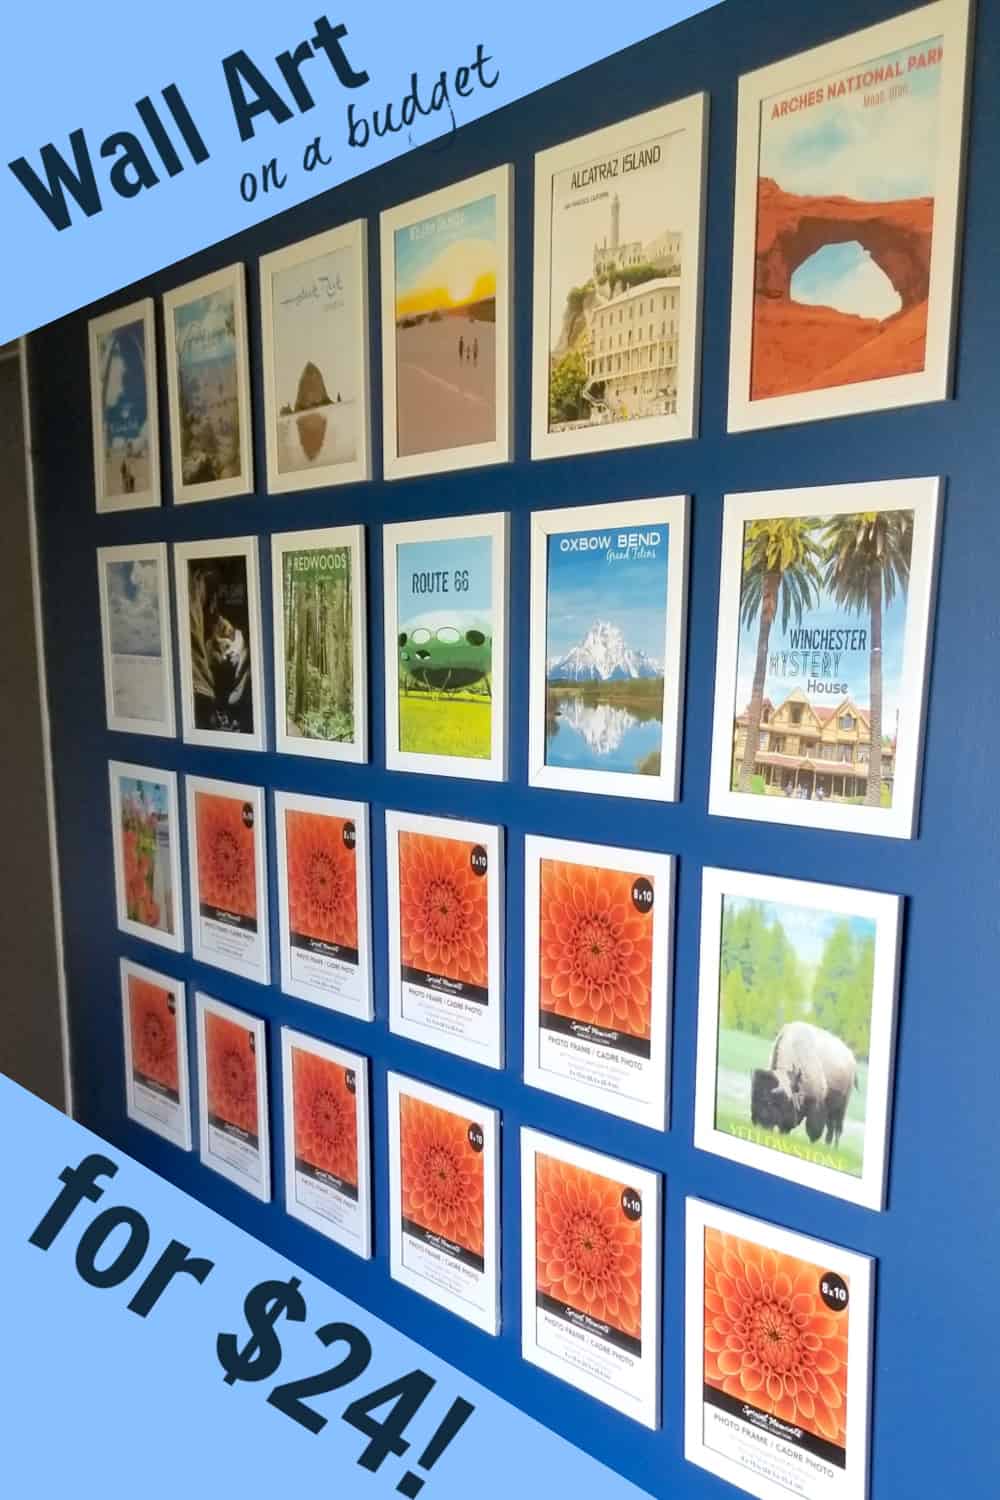
Remember our epic 9000 mile road trip? I have SO MANY photos from our trips. I had envisioned this amazing travel poster wall set up but when I priced it out it was almost $600+! *Jaw drop!* Definitely not in our budget!
So I decided to just print my own photos out and then frame them – CHEAP! Below I’ll show you how EASY it is to make your own. No crafty or trendy skills required! If you don’t want to take the time to print out your own photos there are some awesome printable travel art choices on Etsy!
Check out our Video Tutorial:
How to Make a Travel Art Wall:
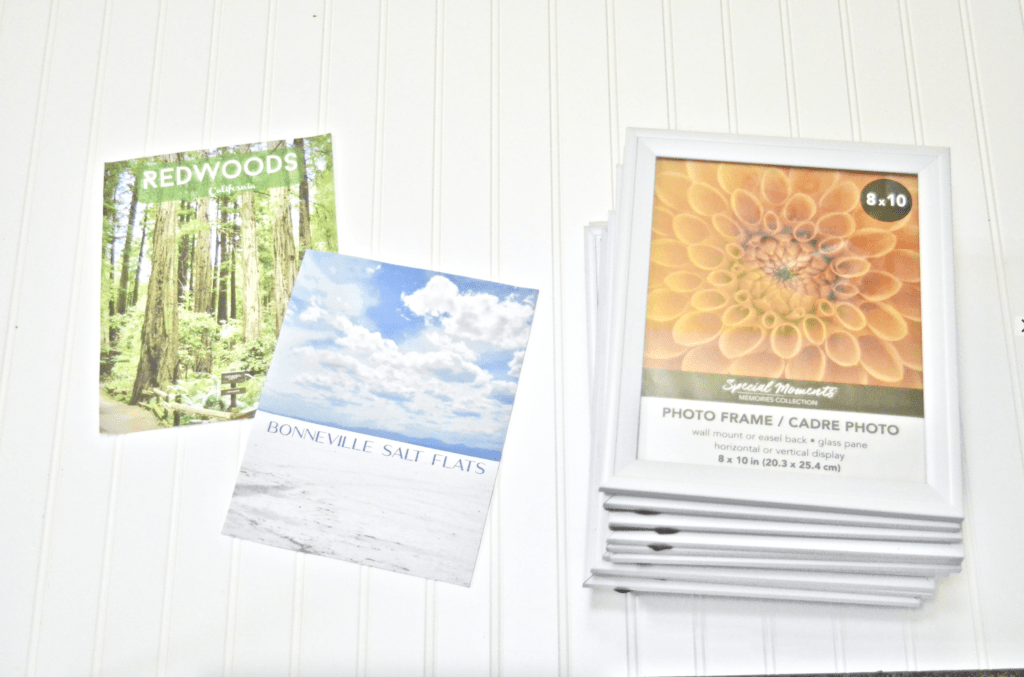
Here’s my SECRET to making our cheap diy travel art wall – Dollar Tree photo frames and my printer! YES – I actually printed each one of these photos on regular printer paper at home! Nothing fancy!
Ok – here are the nitty gritty details.
How to Make a Budget-Friendly Travel Art Wall:
First, decide what photos and layout style that you want on your wall. I wanted ALL vertical images in a close layout similar to what you see below. Of course I wished I had realized I wanted all vertical photos before we actually took the trips but I worked with what I had.
Once I figured out WHICH travel photos I wanted to add to our diy travel art wall I uploaded them (for free!) to Picmonkey. They do have a pro version that I personally pay for with my business but you can absolutely use their site for free, you just won’t have access to as many of the gazillion features they offer.
In Picmonkey I slightly edited my images with the EFFECTS option and tweaked the Film Grain, Pixelate, Posterize options until I liked the style. You can absolutely use any style you want to make your photos pop or simply leave them as is!
Once I got the basic style edit I wanted then I added words to my photo with the text option. I simply added the name of the location and/or the state. Then I hit print!
I ordered a few cases of white picture frames from the Dollar Tree for this project and just added my photos inside! They turned out FAR more stunning than the price I paid for them! Aside from the meager cost of printing on paper at home, I paid $1 per picture frame.
PRINTING TIP: Before printing double check your print preview! Make sure that it fills out your entire piece of printer paper otherwise you’ll have white edges around your photo! I cut off about half an inch of white trim all the way around each photo and it fit my frames perfectly!
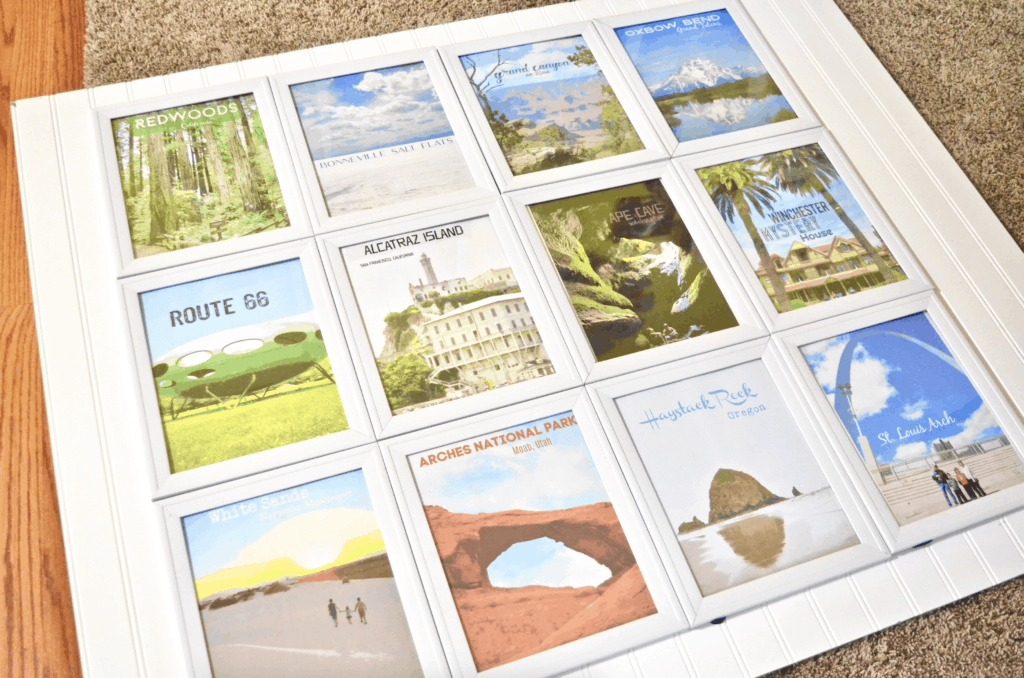
Lastly, I measured the wall I was using, then laid my travel photo art on the floor to decide exactly my perfect layout and what pictures I wanted where! My husband helped me mark the wall so we knew exactly where to hang everything and add the nails for hanging!
I’m in ABSOLUTE LOVE with how these turned out! I had NO IDEA it would turn out so amazing! I dreamed of my perfect travel wall for so long and was crushed when I realized how expensive it was going to be. But now, I’m actually happy that I was prompted to design my own because these are photos from MY trip with MY family and OUR memories!
We can all look at this wall in our house and know we took these photos in each of these locations instead of just buying someone else’s art or design! When we lived in Illinois I had my travel art hung on a piece of shiplap. When we moved to Louisiana I nailed them directly into the wall!


Leave a Reply