I absolutely love being creative and crafty and this simple tutorial on how to make your own DIY travel mug really doesn’t require any crafty skills at all! With just a few supplies you can make your own mug in any theme you want!
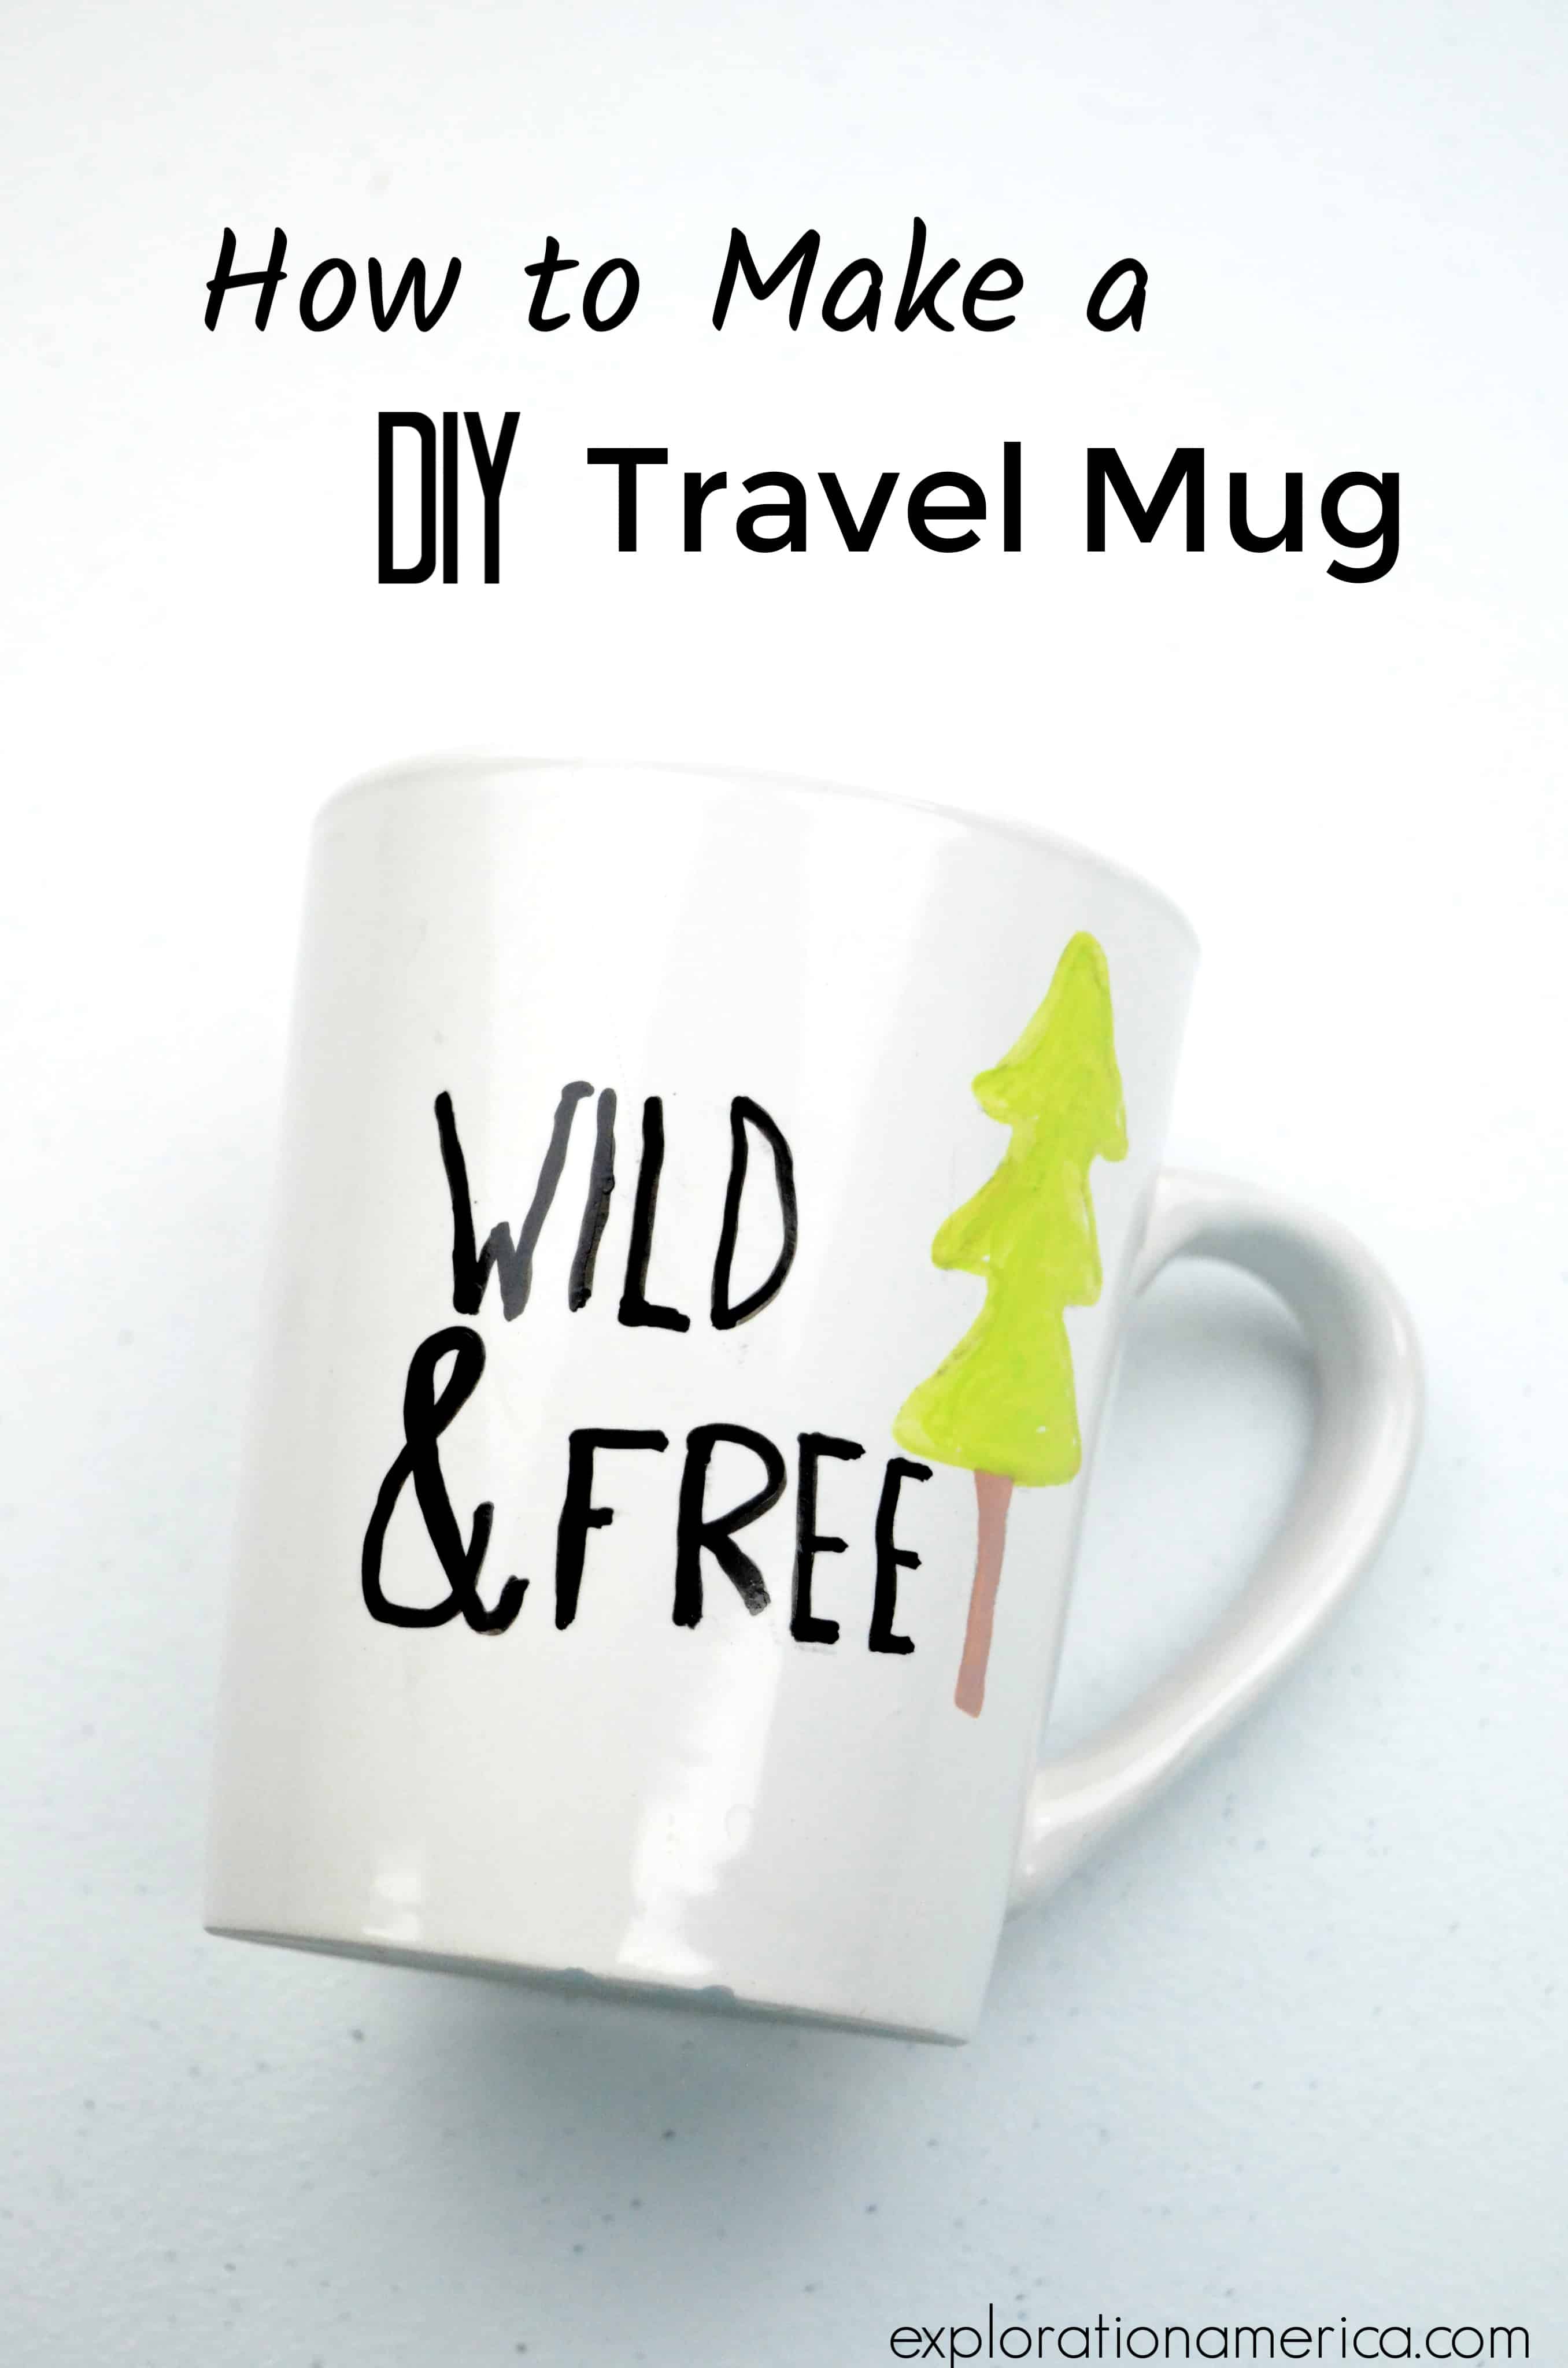
I’ve made Bigfoot soup mugs, adventure travel mugs, Harry Potter mugs, and even cute kitty face mugs. Try your hand at making your travel mugs based on cities you’ve been, national parks you’ve explored, or even with images of your favorite animals or plants!
QUICK VIDEO TUTORIAL:
Materials Needed:
Plain white mugs (buy on Amazon or at the Dollar Tree)
Pencil
Paper / Printed Image
Oil Sharpie Markers or Paint Markers
Optional – Clear Acrylic Coat
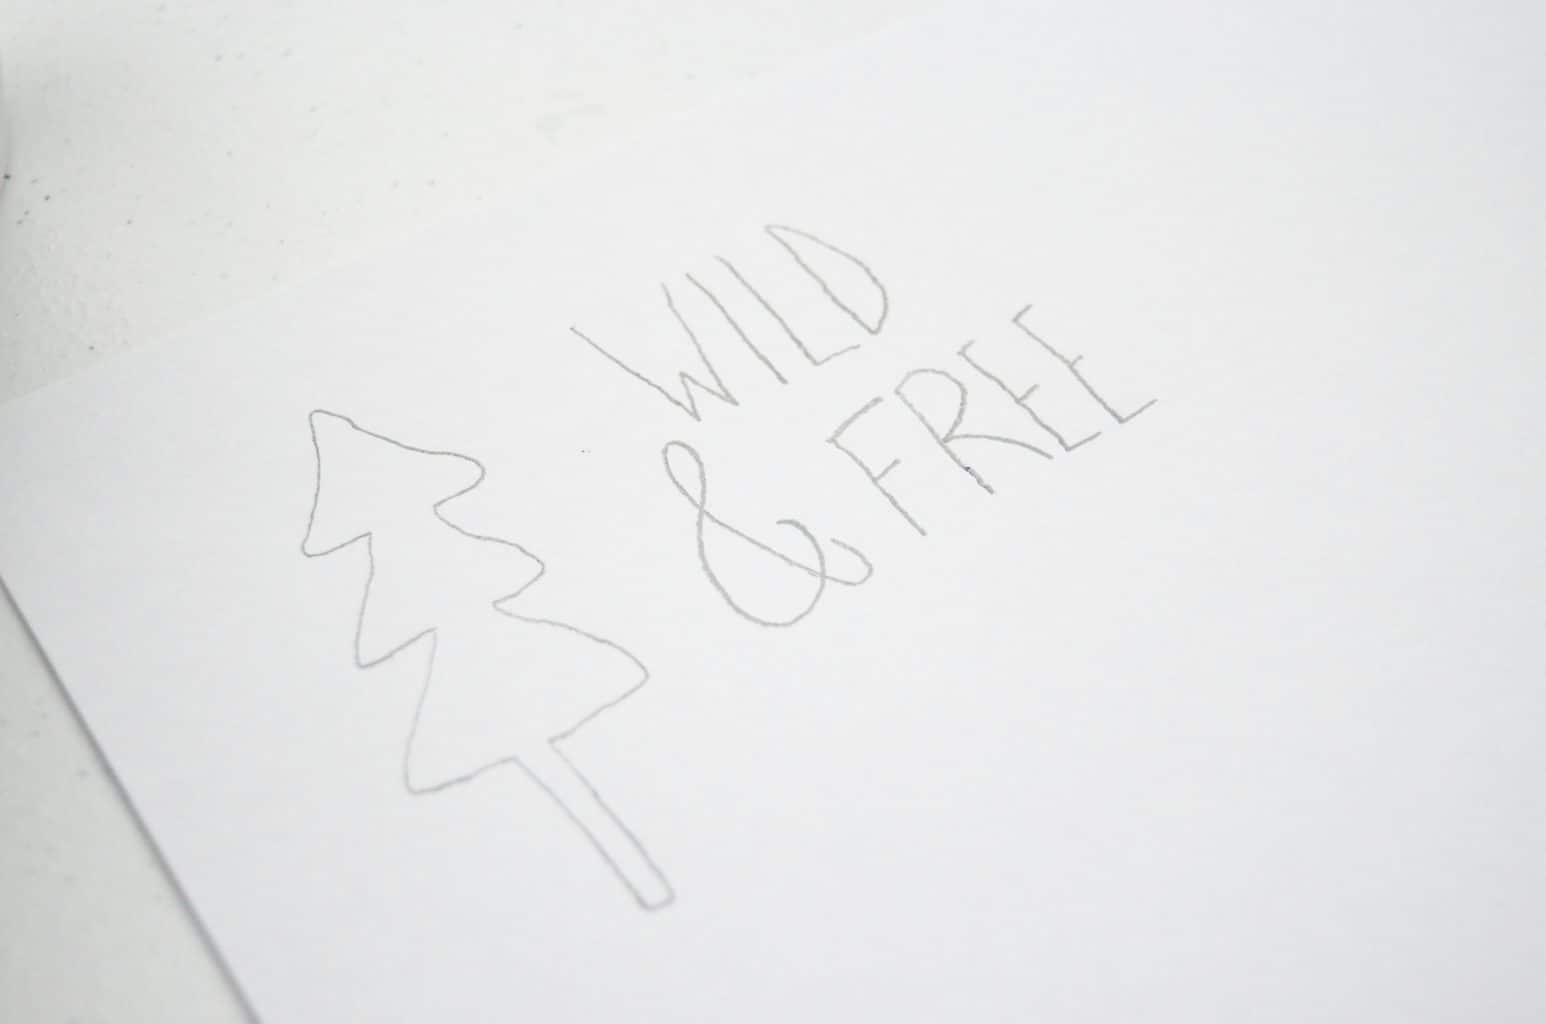
There are two options for creating your own travel mug design. You can print any image or logo you want online, or you can draw your own design. I decided to draw my own for this mug. Above you can see that I drew a tree and the words “Wild & Free”.
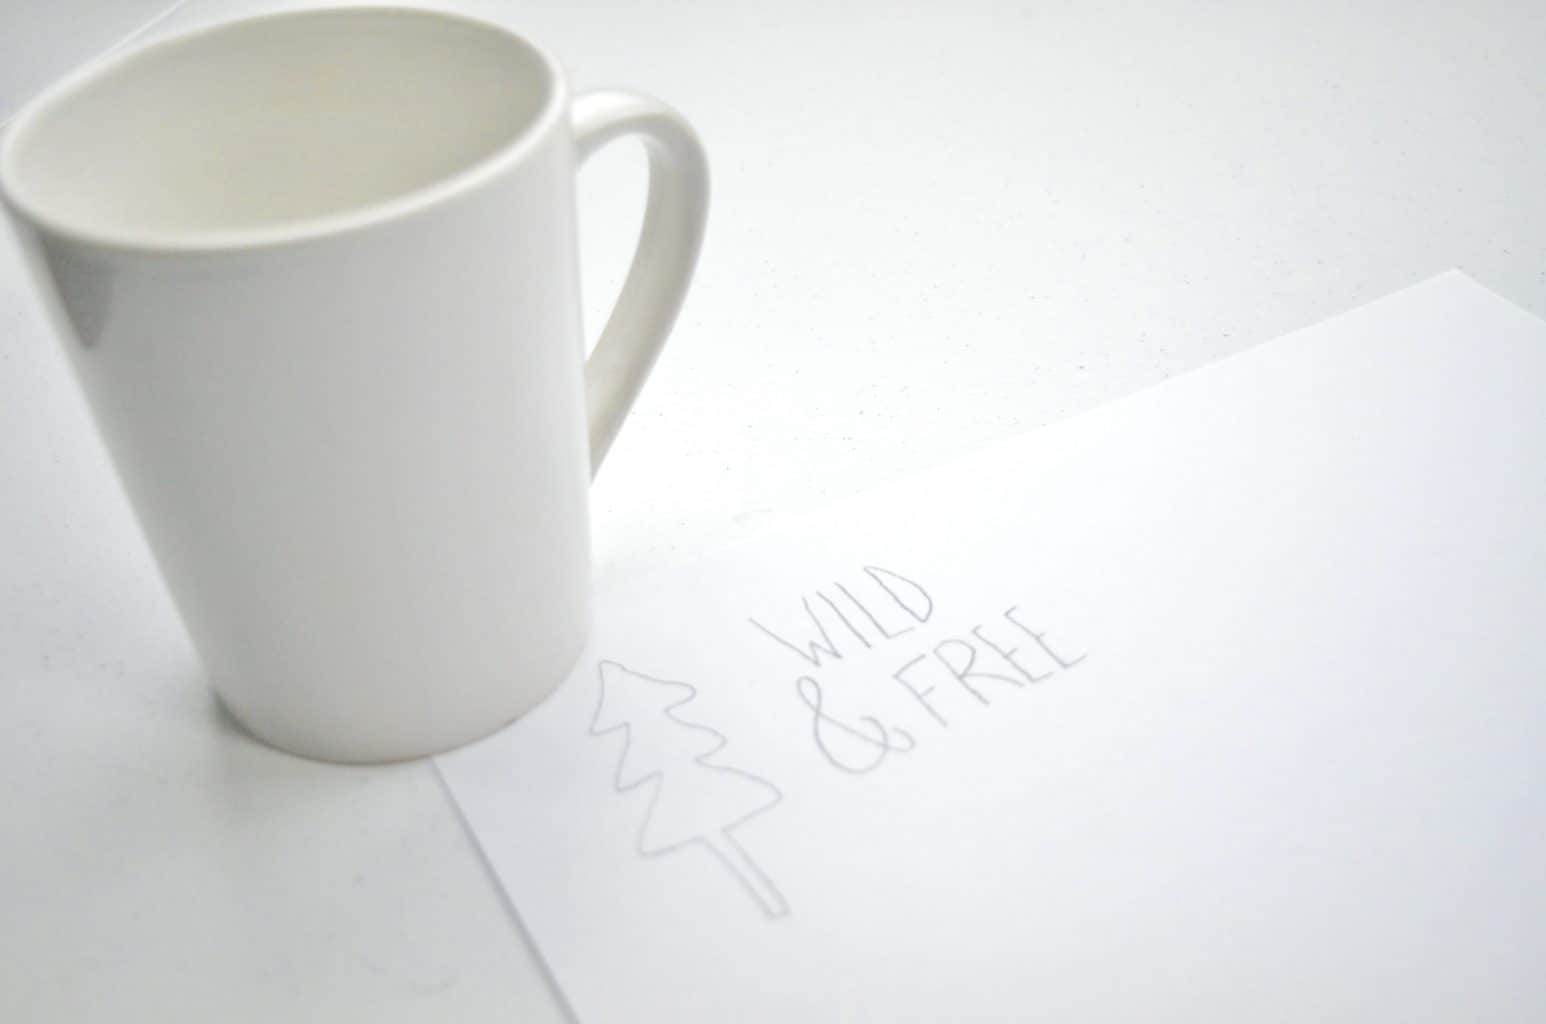
You’ll just need to make sure your design, whether drawn or printed, will fit on your mug!

Flip your design over and color with pencil over the image/logo. This will allow the pencil to transfer in the next step.
Lay your design onto the cup and draw with your pencil over the outline right onto the paper. The pencil that you “colored” over the back will then transfer onto your mug. Then you simply need to use your oil / paint markers to draw over your outline!

Pretty awesome right?! I absolutely LOVE designing custom travel mugs! You can add a clear acrylic coat over it if you want it to last longer. I do recommend hand washing your mugs in order to keep the paint staying nice longer but we have put ours in the dishwasher and just spot fixed any places that are removed.
If you decide you won’t want your design anymore because you want a new one it’s easy to just scrape this design off or use a little bit of rubbing alcohol to make it disappear and start over new!

Leave a Reply