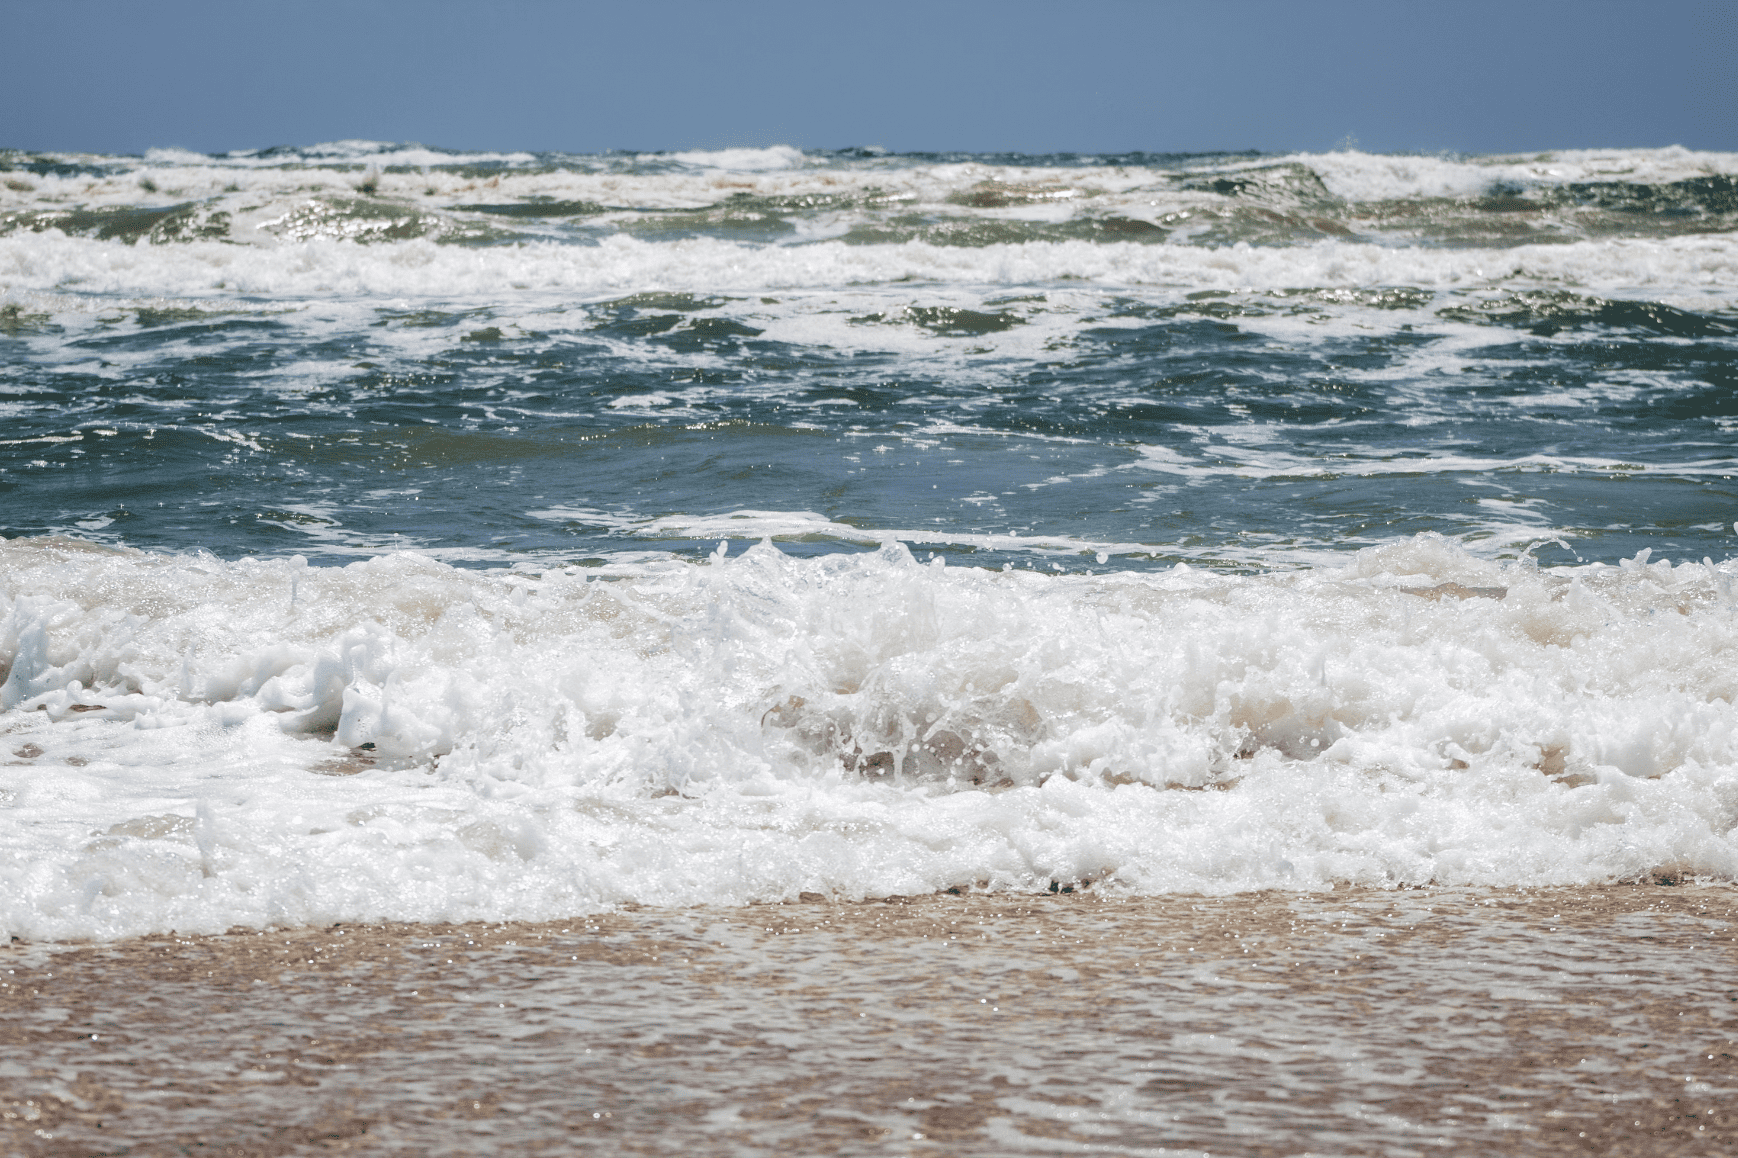
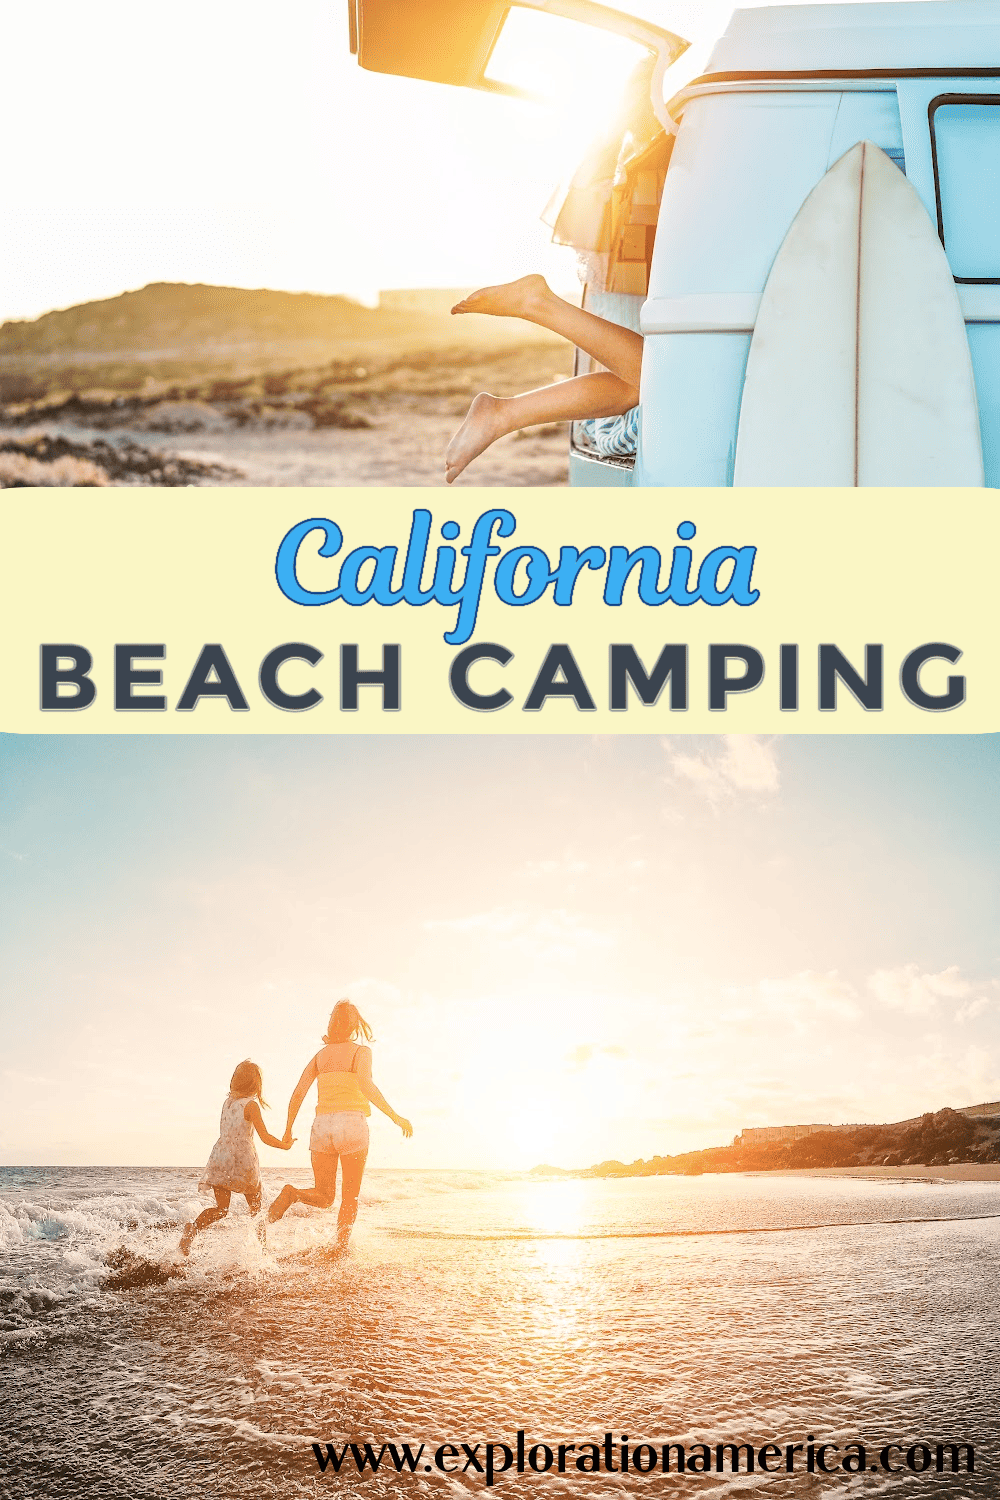
Are you dreaming of sandy shores, crashing waves, and nights under the stars? Look no further than California’s stunning coastline for the perfect beach camping experience! From rugged cliffs to serene coves, the Golden State offers an array of picturesque destinations for adventurers seeking to pitch their tents by the sea.
On my most recent trip to California we decided to tent camp up the post so I did a lot of research on the top places to camp at the beach in California. Below you’ll find all the tips and must-know details for your next coastal getaway. You can check out all of our posts on things to do in California here.
Whether you crave solitude, adventure, or simply the soothing sound of waves lulling you to sleep, California has the perfect beach camping spot waiting just for you – both right on the sand and within walking distance to the beach!
Let’s dive into where to camp at the beach in California and plan the perfect road trip! Make sure to pack some waterproof tarps and empty plastic bags to protect yourself from too much wind, rain and sand!
1. Thornhille Broome Point Mugu in Point Mugu State Park
Address: 9000 West Pacific Coast Highway, Malibu
Handicap Accessible: Yes (at Sycamore Cove)
Dogs Allowed: Yes (not on trails)
Tent Friendly: Yes
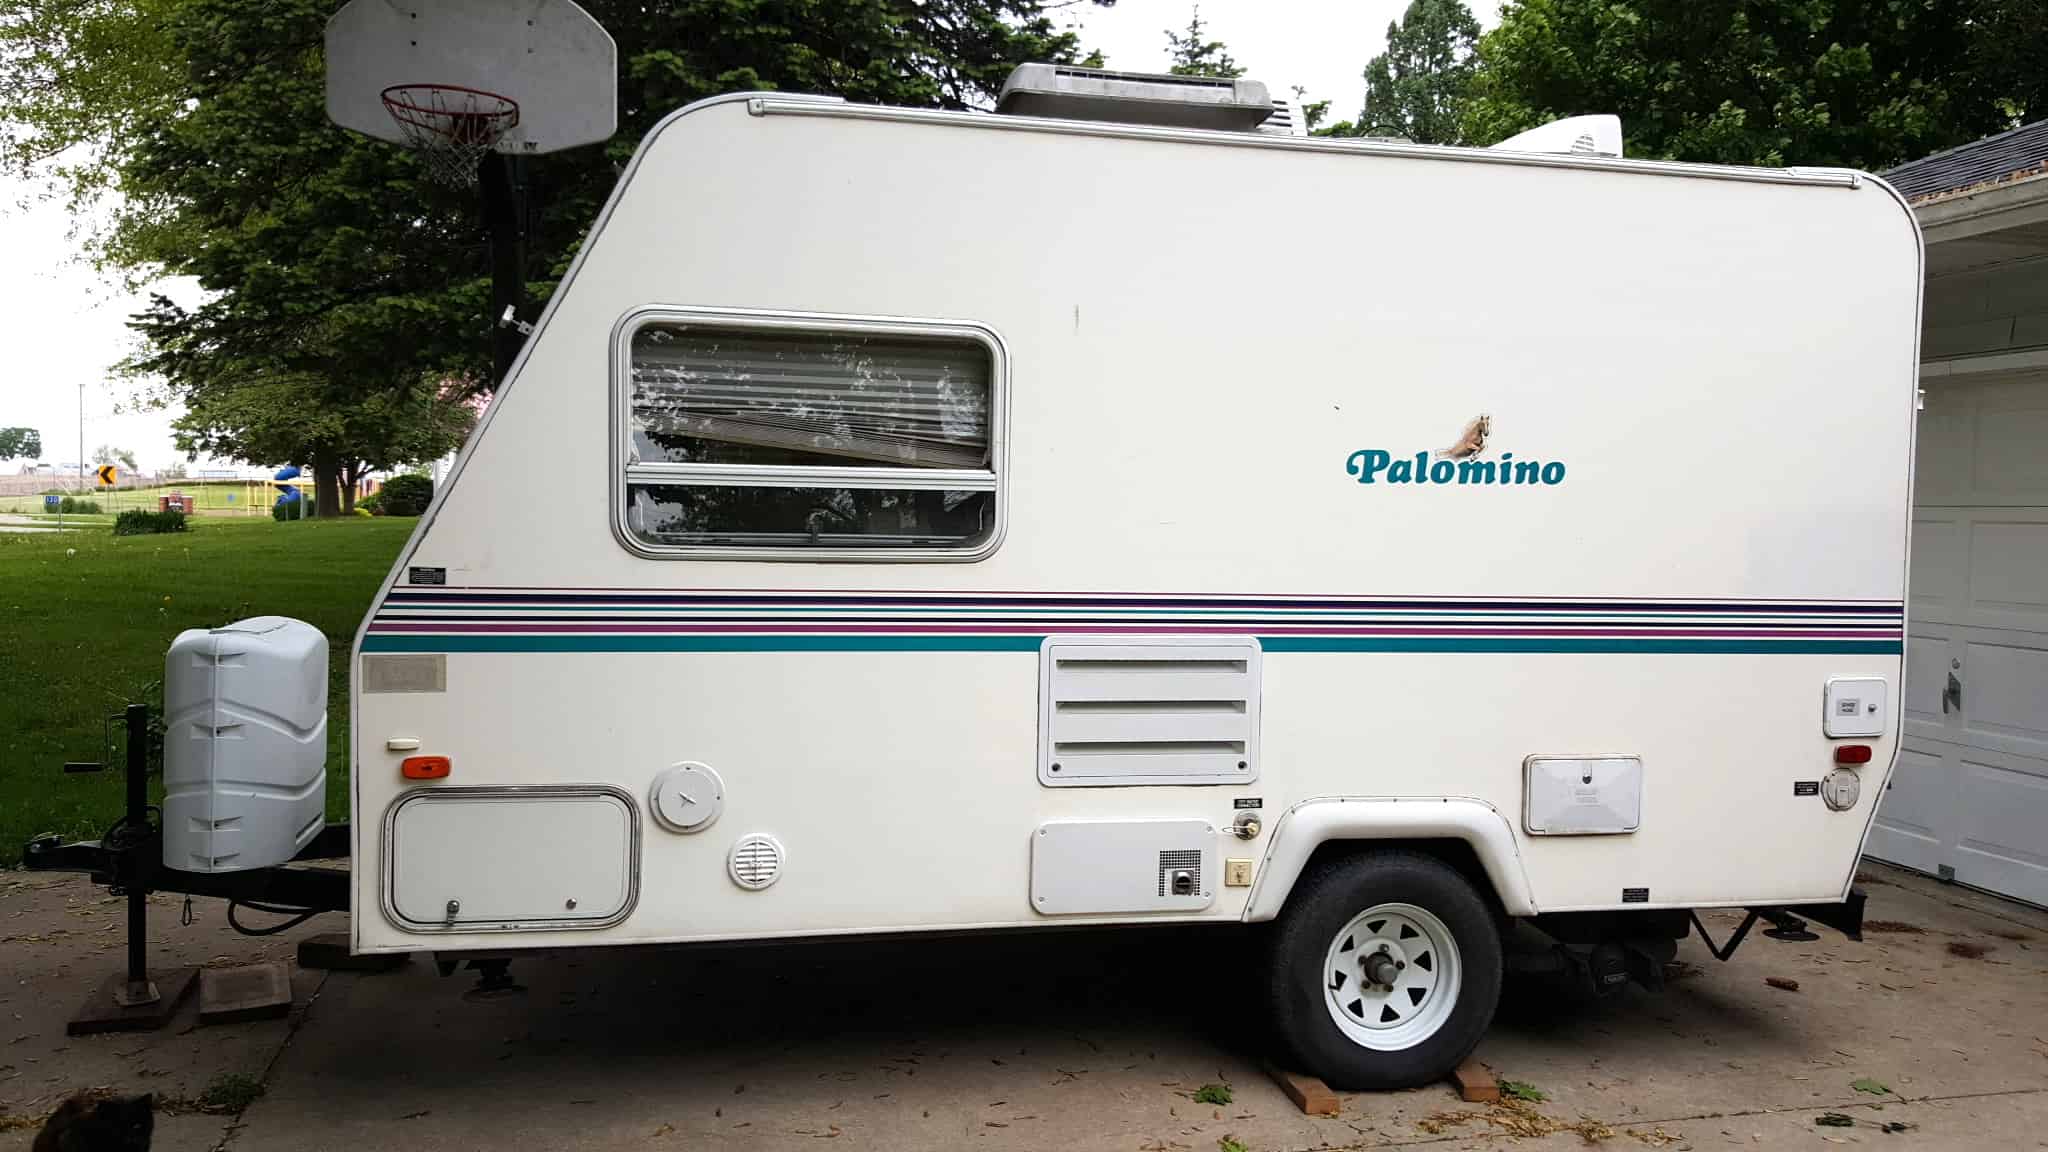
RV/Camper Friendly: Yes (up to 31 feet)
Hookups: No
For More Information on Fees & Reservations Click Here.
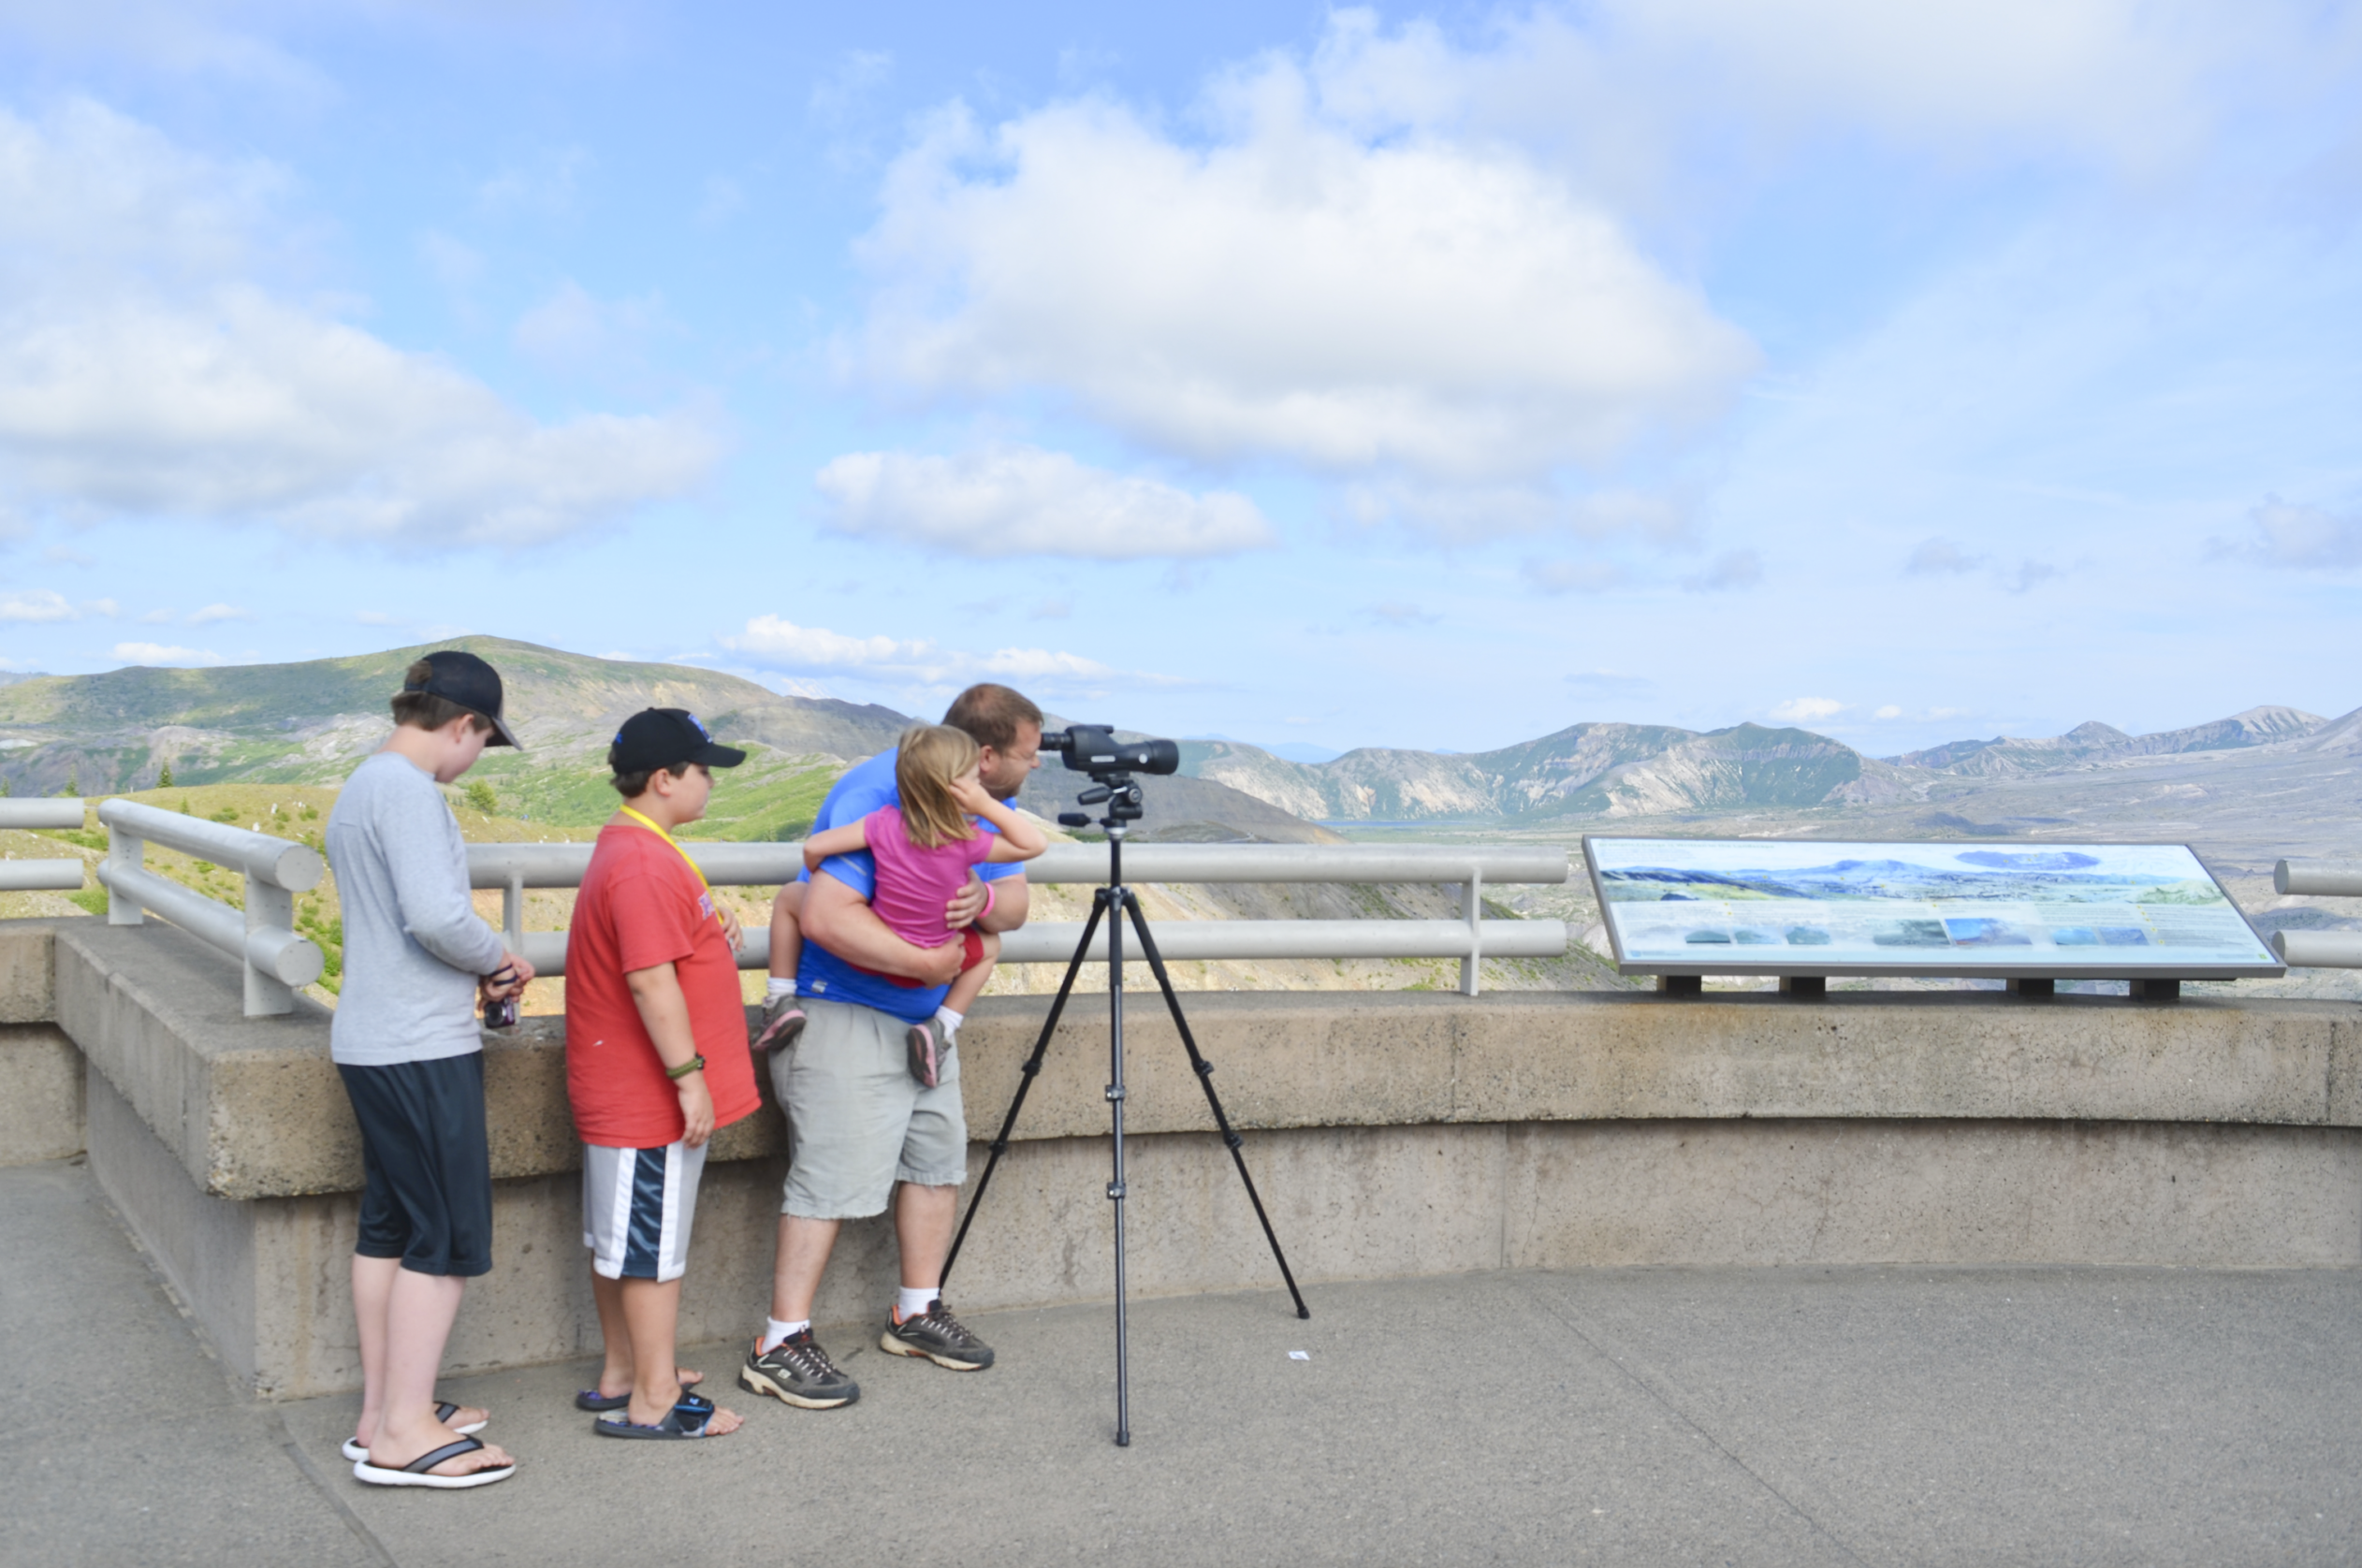
If you’re looking for a tent in the sand experience on the California coast, then camping in Point Mugu State Park is the spot for you! This has to be the absolutely easiest pull in, pull out on-the-beach camping we’ve ever experienced! Both tents and RV campers can stay here too!
(Technically the camping area is called Thornhille Broome Point Mugu in case your GPS is confused, but we just call it Point Mugu.)
This amazing camping location is located in the Santa Monica Mountains, has over 70 miles of hiking trails, and five miles of ocean shoreline. It’s also near Boney Mountains State Wildness Area. So there are certainly plenty of places to explore here!
There’s not a lot there except for open sandy beach, a port-a-potty and a few picnic tables – so make sure you bring in your own water and supplies. I always recommend keeping toilet paper in your vehicle just in case when camping, but it was well stocked when we stayed.
As with any beach vacation on the Pacific Coast – you’ll need reservations in advance. Once you’re there you can just pull right in – someone will drive by to check your reservations in the morning!
Both a pro and con, the camping was right next to the highway. You’ll definitely hear the noise of cars passing through the night on the highway, but you can’t beat the ocean view. Thankfully not many people travel the Pacific Coast Highway in the middle of the night and the cars weren’t too loud.
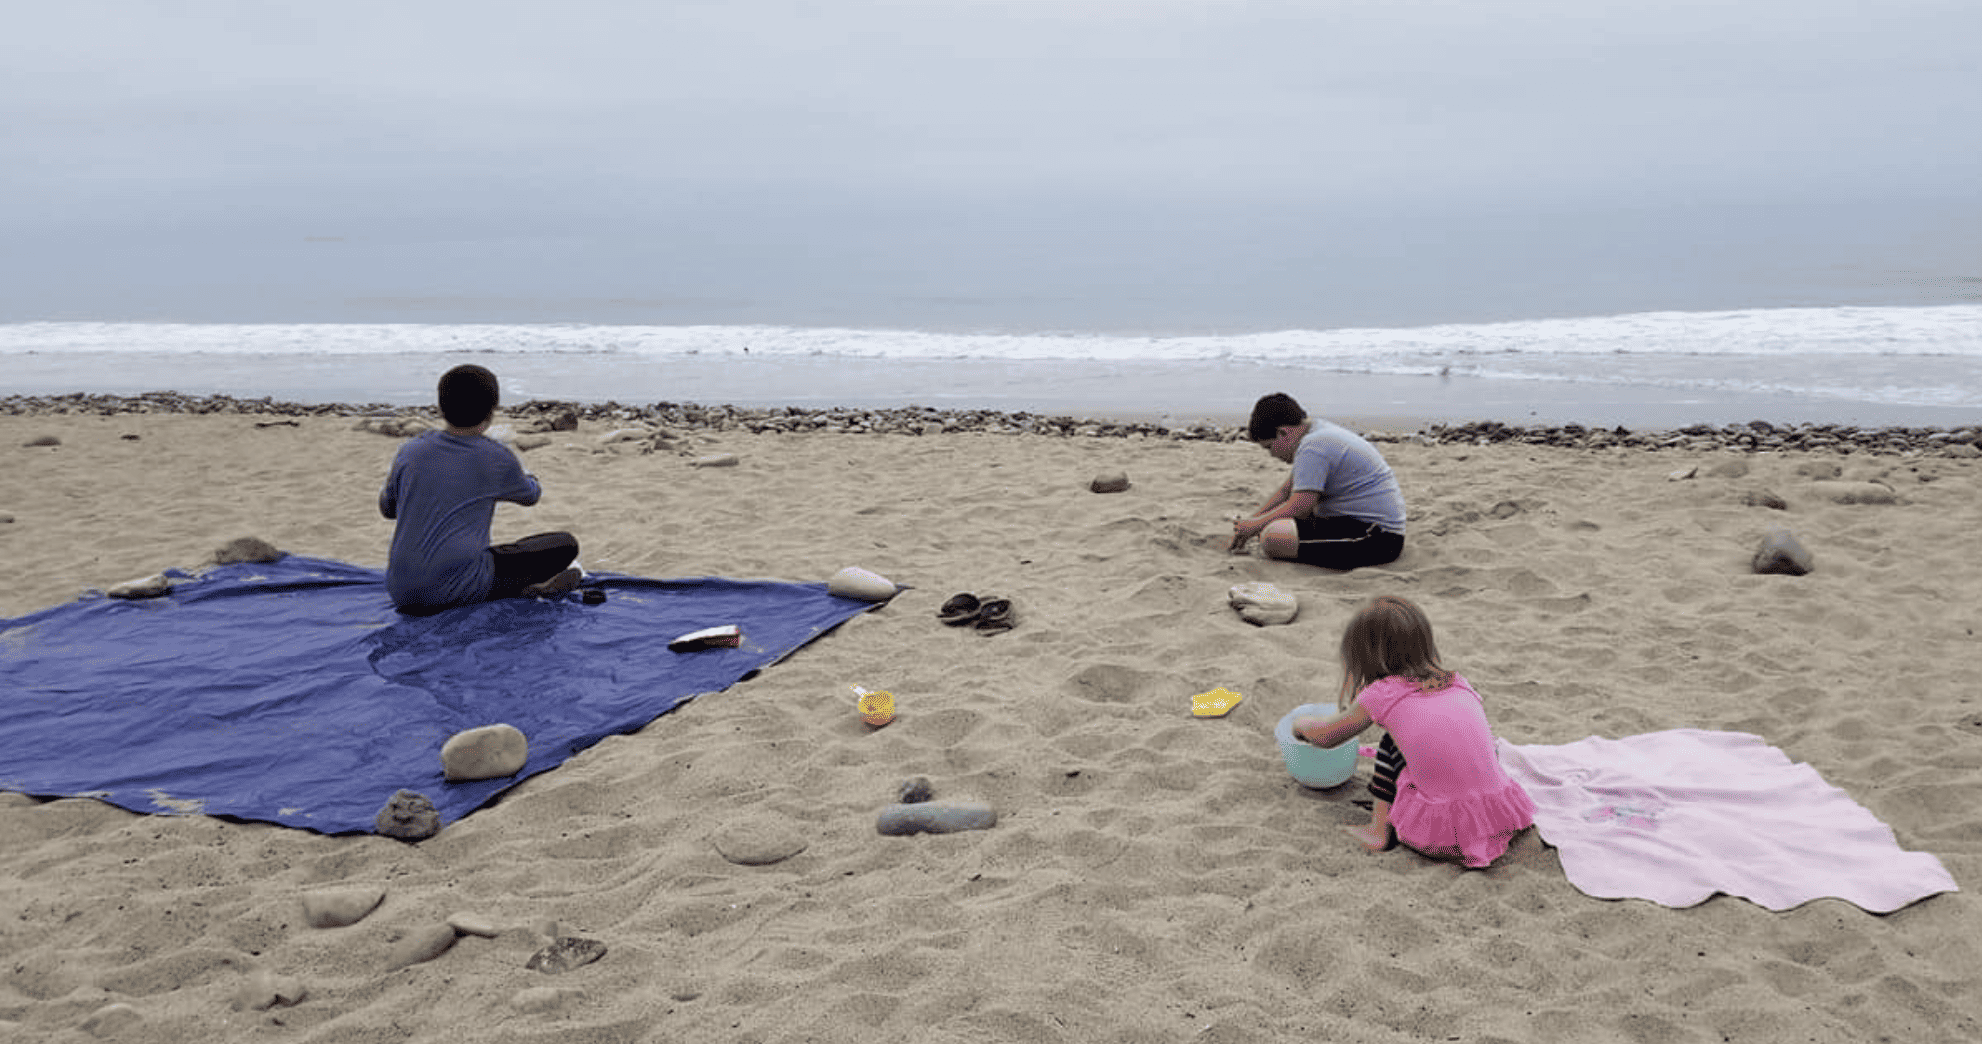
I was so excited to sleep right on the sandy beach that we almost forgot to pitch our tent far enough away from the shoreline. In fact we waited for high tide before we actually fell asleep to make sure we weren’t going to have a disaster with the water rising! So you’ll definitely want to double check your high tide time and be mindful where you pitch your tent.
Another really cool thing we noticed during our stay is that the sand is magnetic! When traveling with kids, this is the best spot to camp on the beach!
2. Dockweiler RV Park Beach Campground
Address: 12001 Vista del Mar, Playa del Rey
Handicap Accessible: Yes
Dogs Allowed: Yes (but not on the beach)
Tent Friendly: No
RV/Camper Friendly: Yes (up to 40 feet)
Hook-ups: Yes
For More Information on Fees & Reservations Click Here.
If you’ve got an RV or camper, then Dockweiler RV Park Beach Campground is the spot for you! Although the parking lost is paved, you’re not going to get any closer to the sandy beach than here! (Well, except for Point Mugu!) You can literally just walk right out of your camper and dig your toes into the sand!
The Marvin Braude Bike Trail is nearby and spans 22 miles connecting the RV park with Santa Monica, Marina del Ray and Venice beaches as well as the Redondo Beach Pier.
3. Emma Wood State Beach
Address: (Two miles west of Ventura on Highway 101)
Handicap Accessible: No
Dogs Allowed: Yes (not on beach)
Tent Friendly: No
RV/Camper Friendly: Yes (up to 45 feet)
Hook-ups: No
For More Information on Fees & Reservations Click Here.
Another no-tent campsite right on the beach, Emma Wood State Beach offers primitive camping right off of the highway. There are no restrooms or hookups of any kind so make sure to bring enough water to hold you over for your trip.
The downside to Emma Wood State Beach is that it is located near railroad tracks, and the campground can be closed during very high tides. It’s also not necessarily level as the parking areas have a mix of gravel and other material.
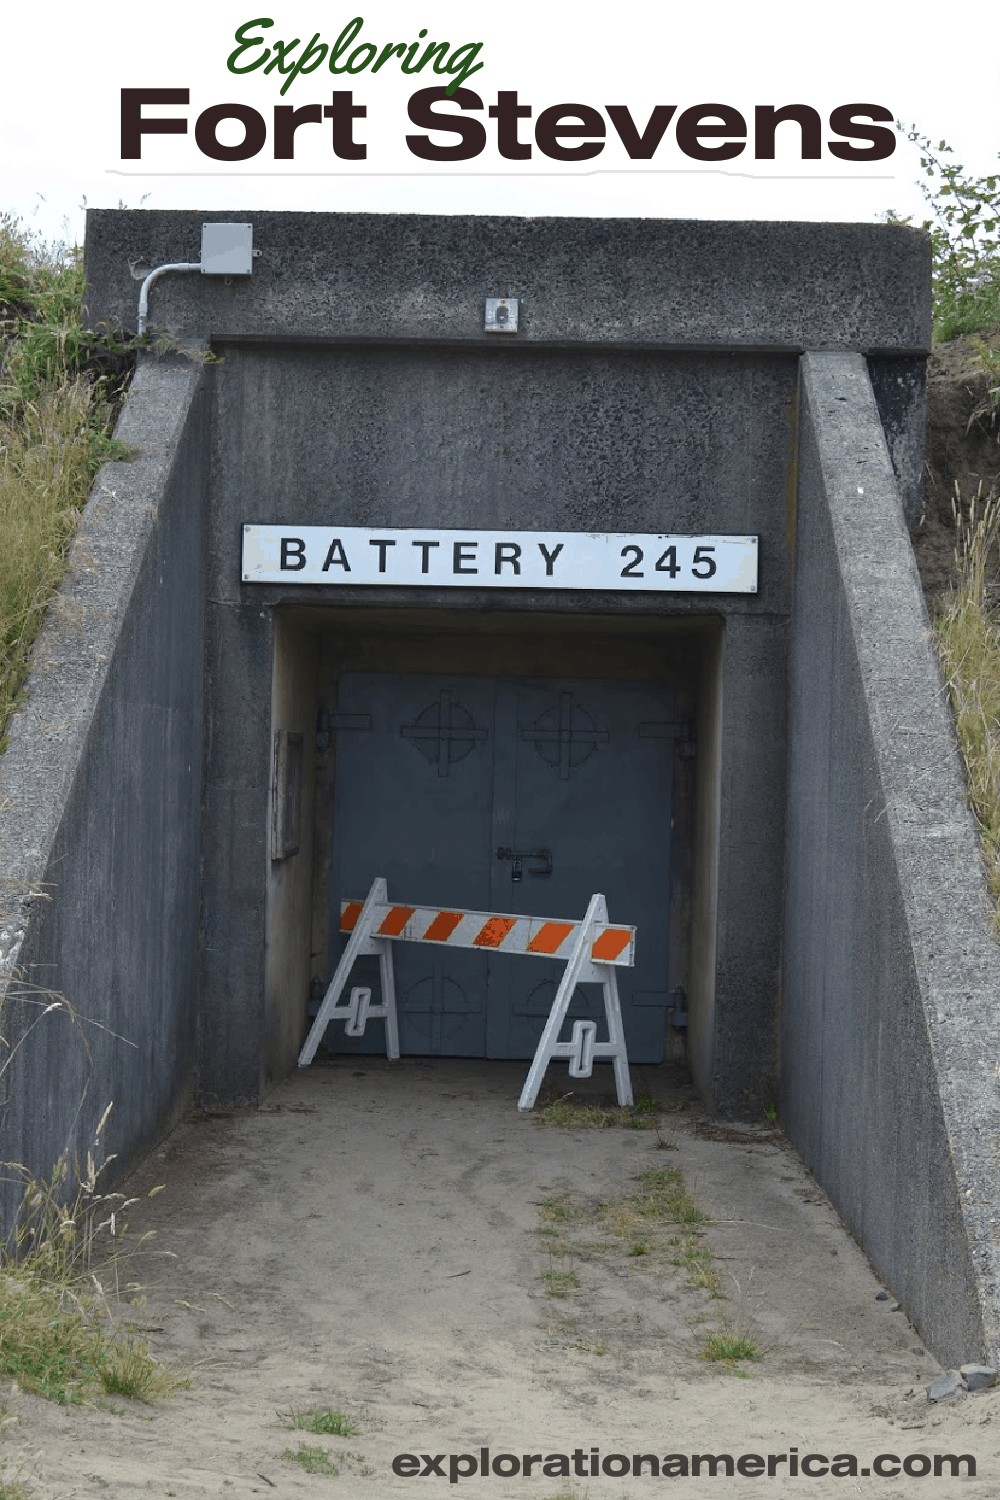
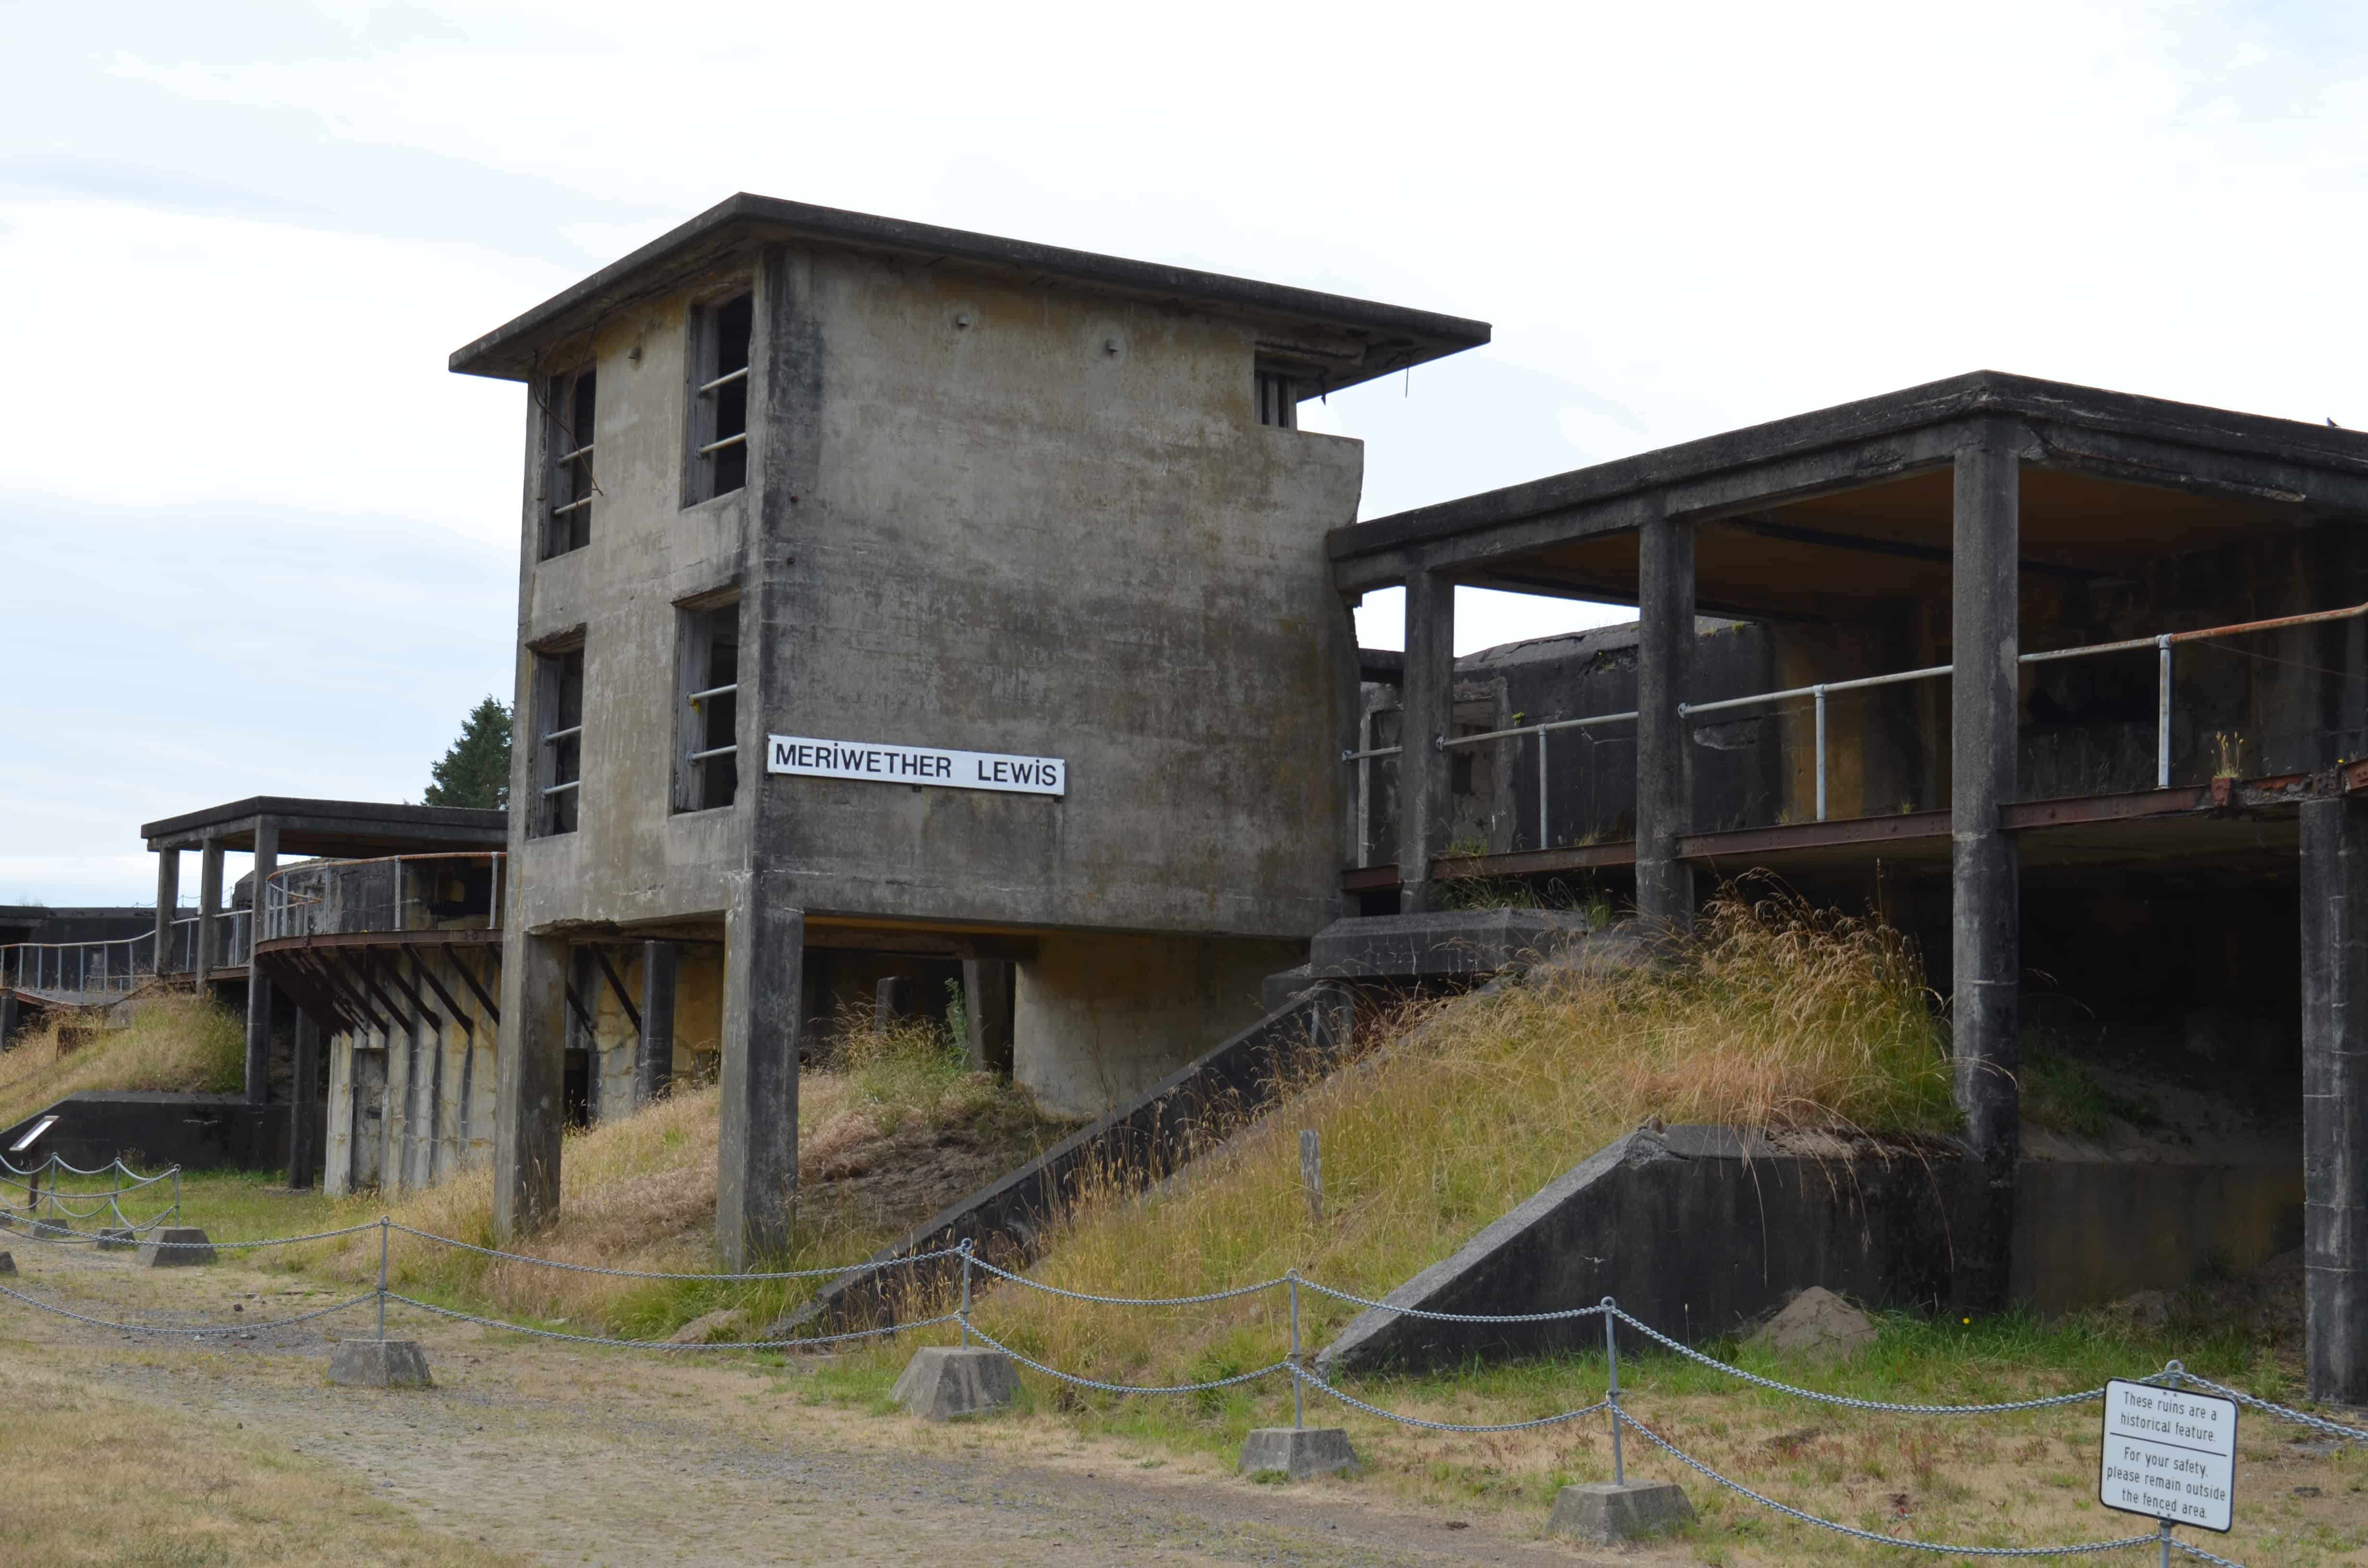
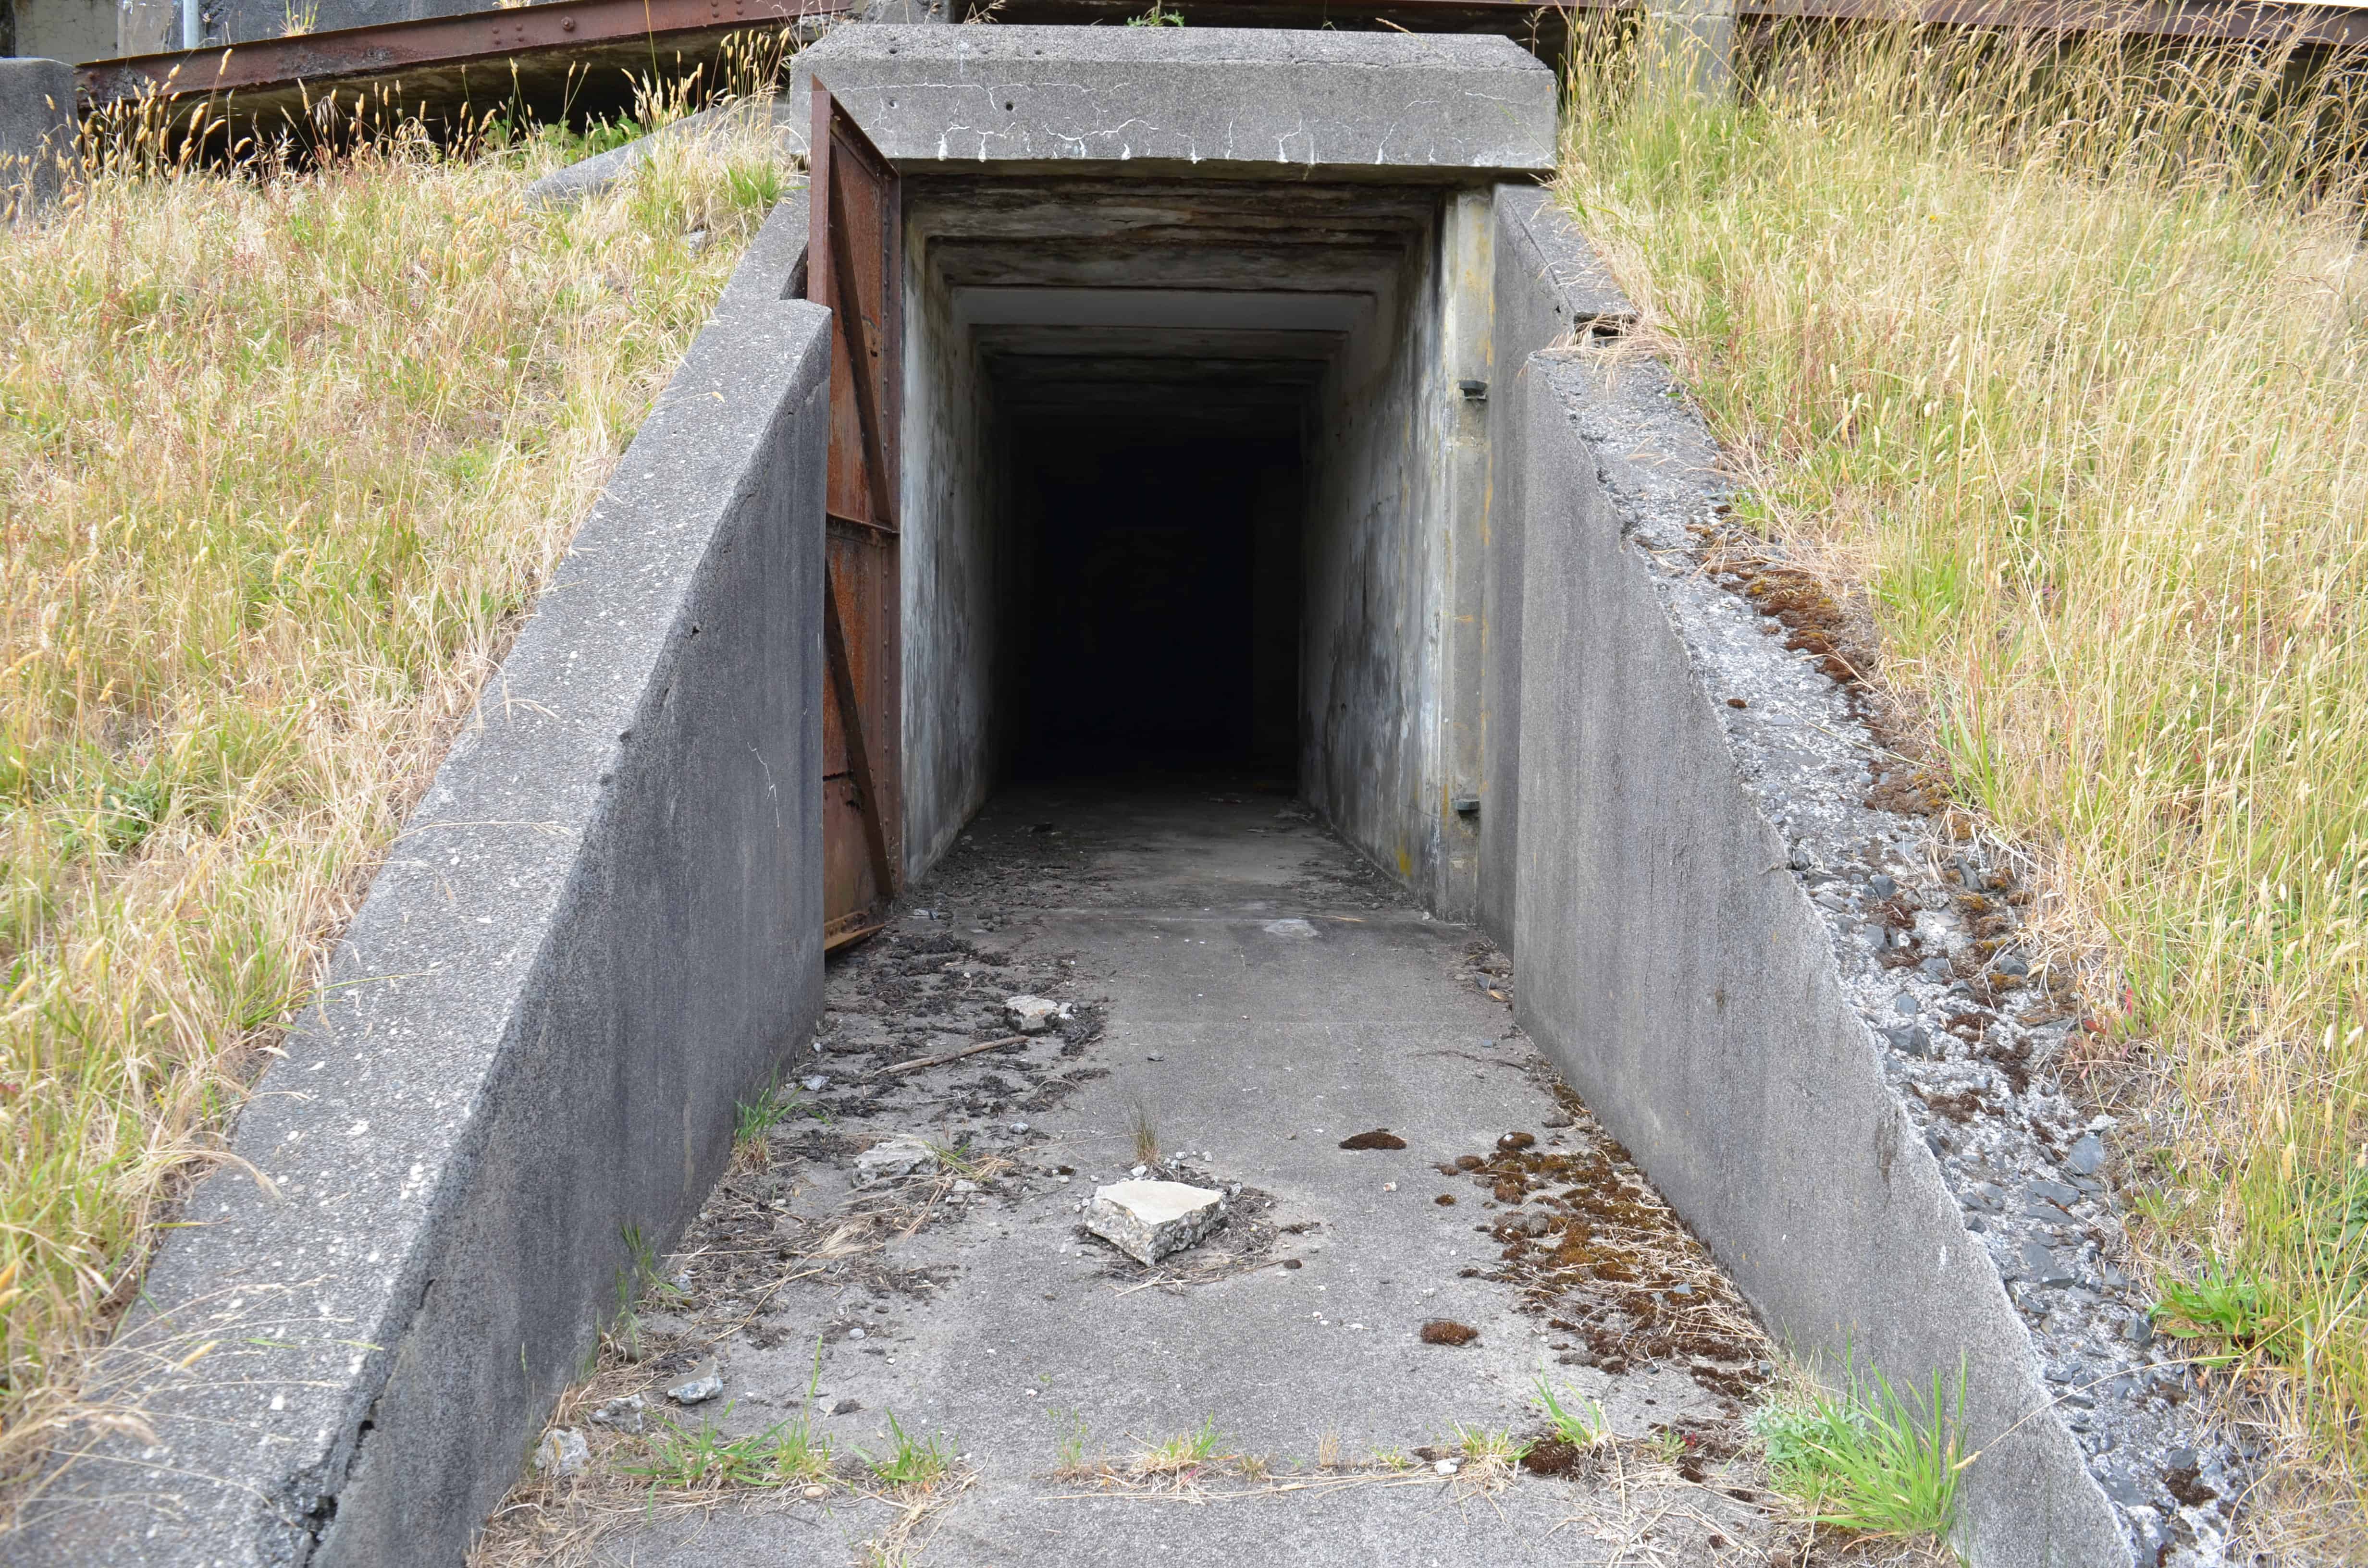
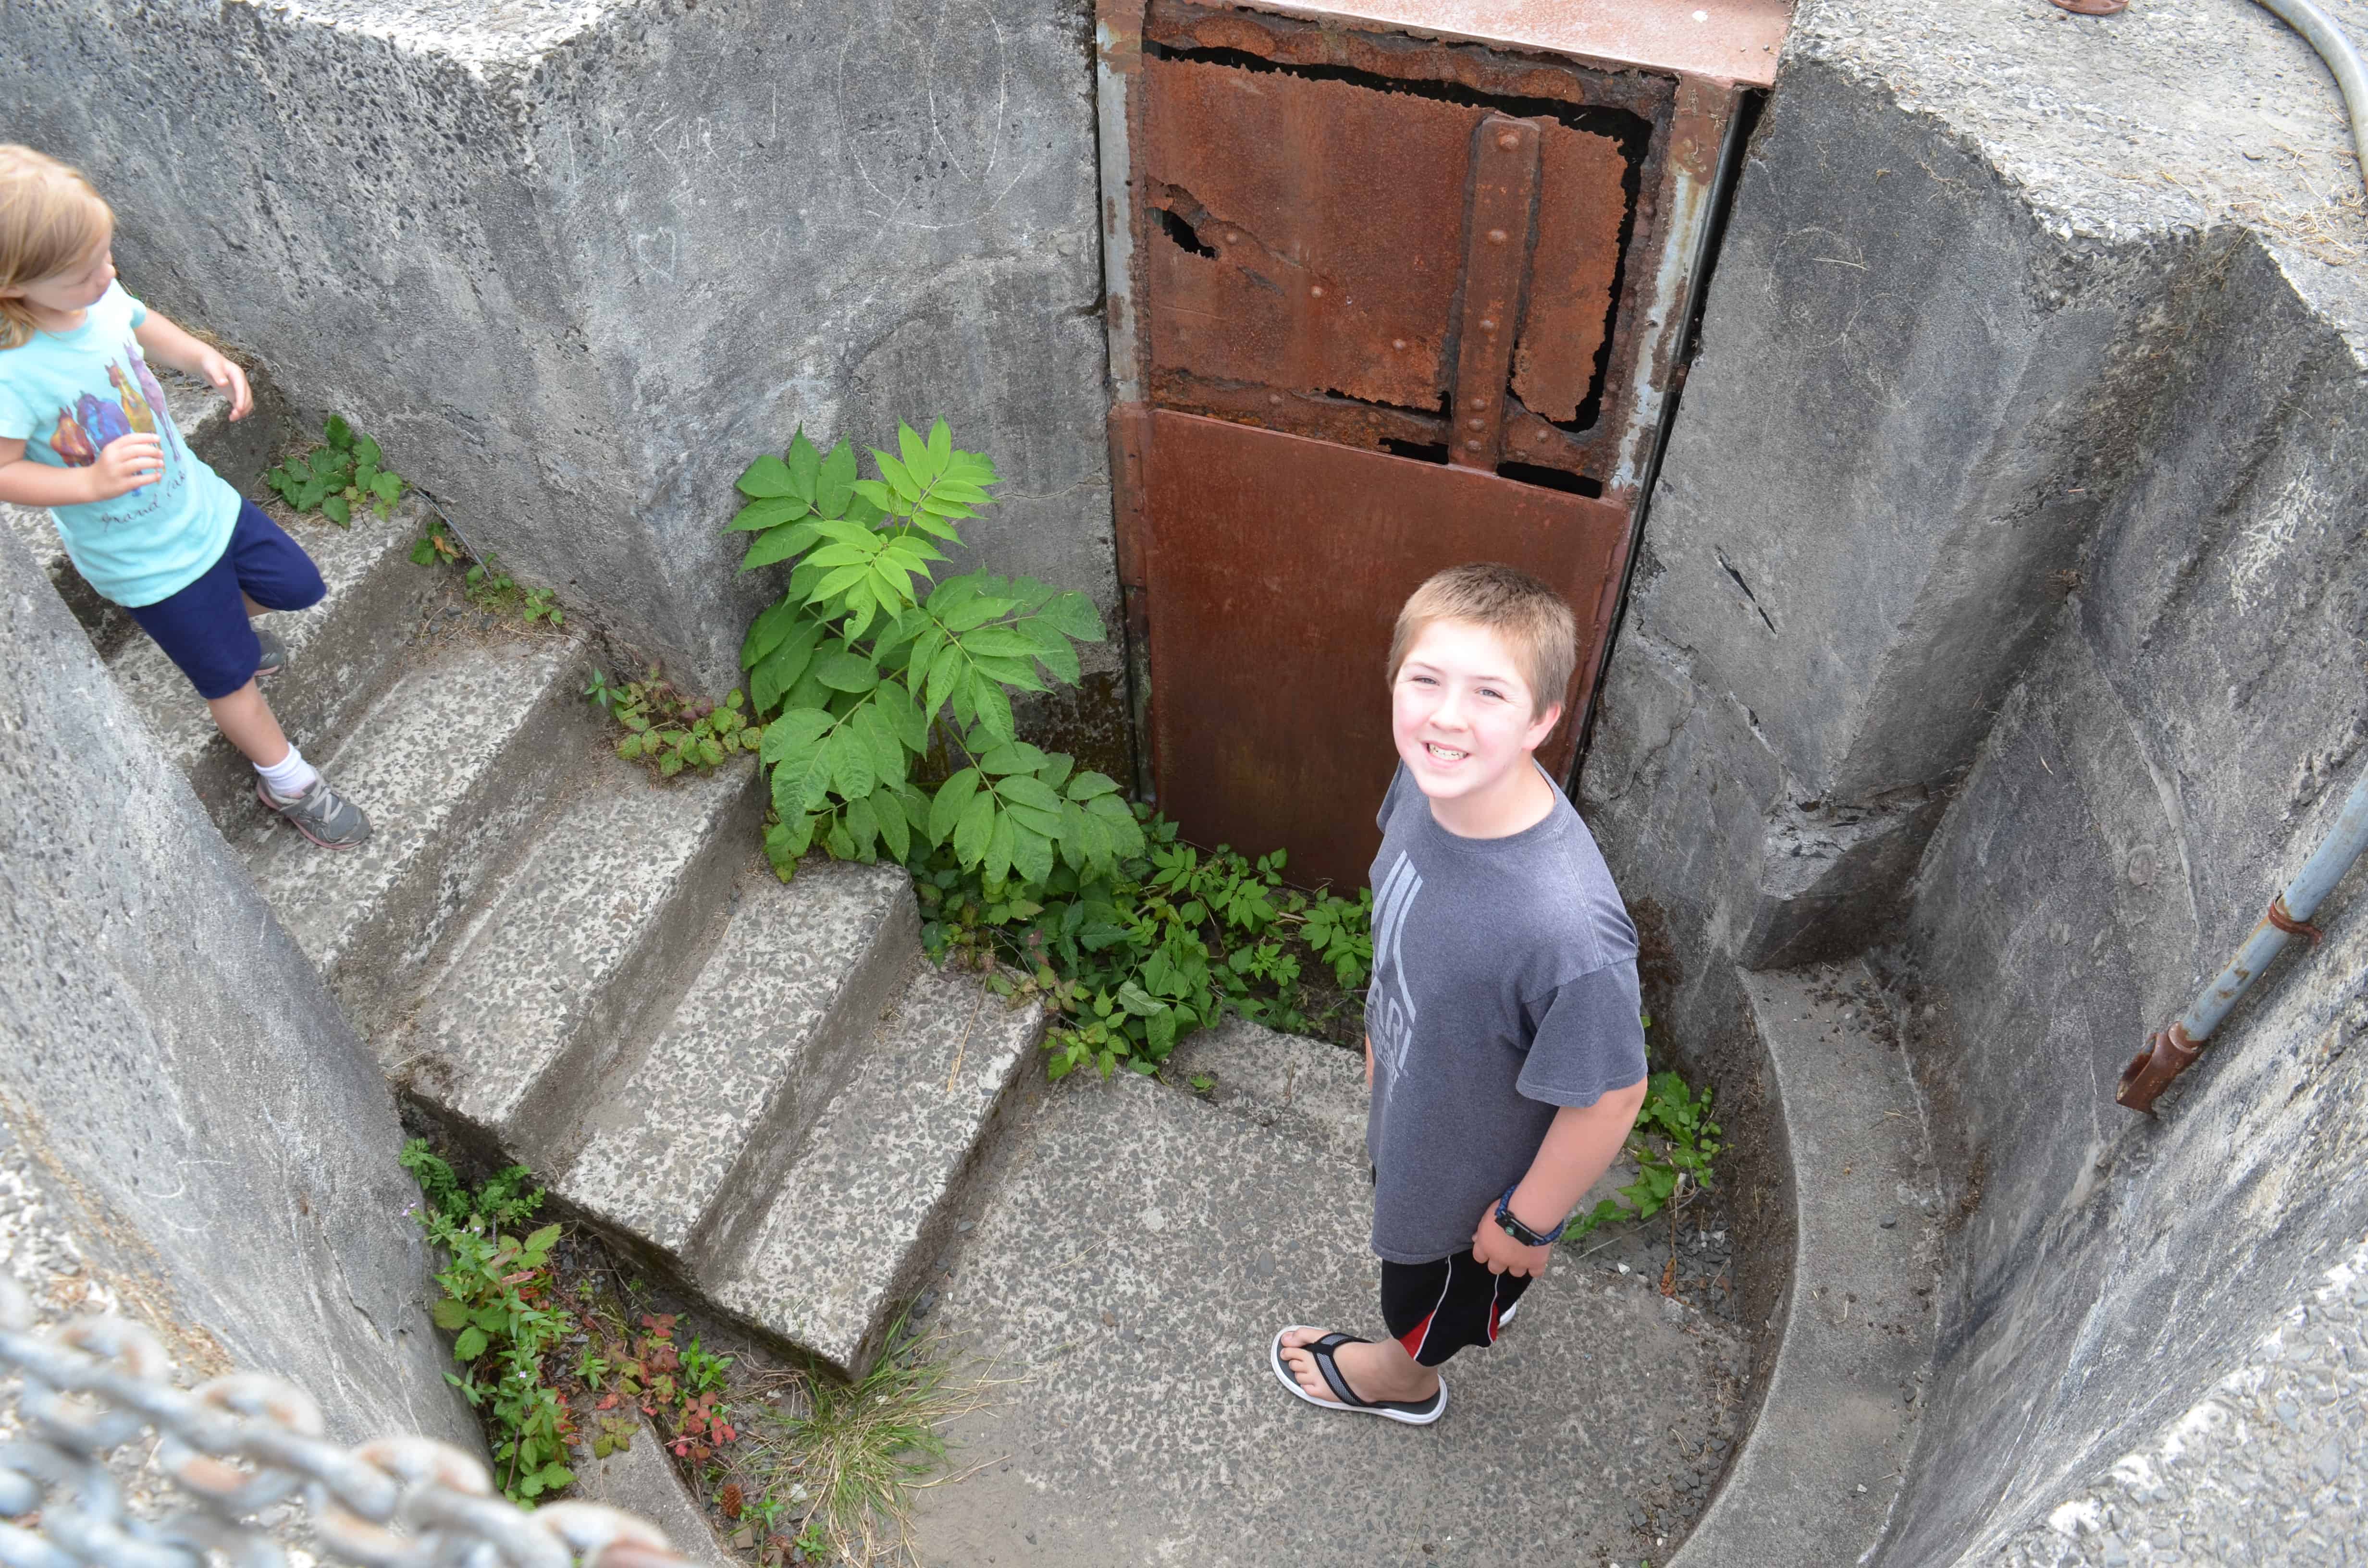
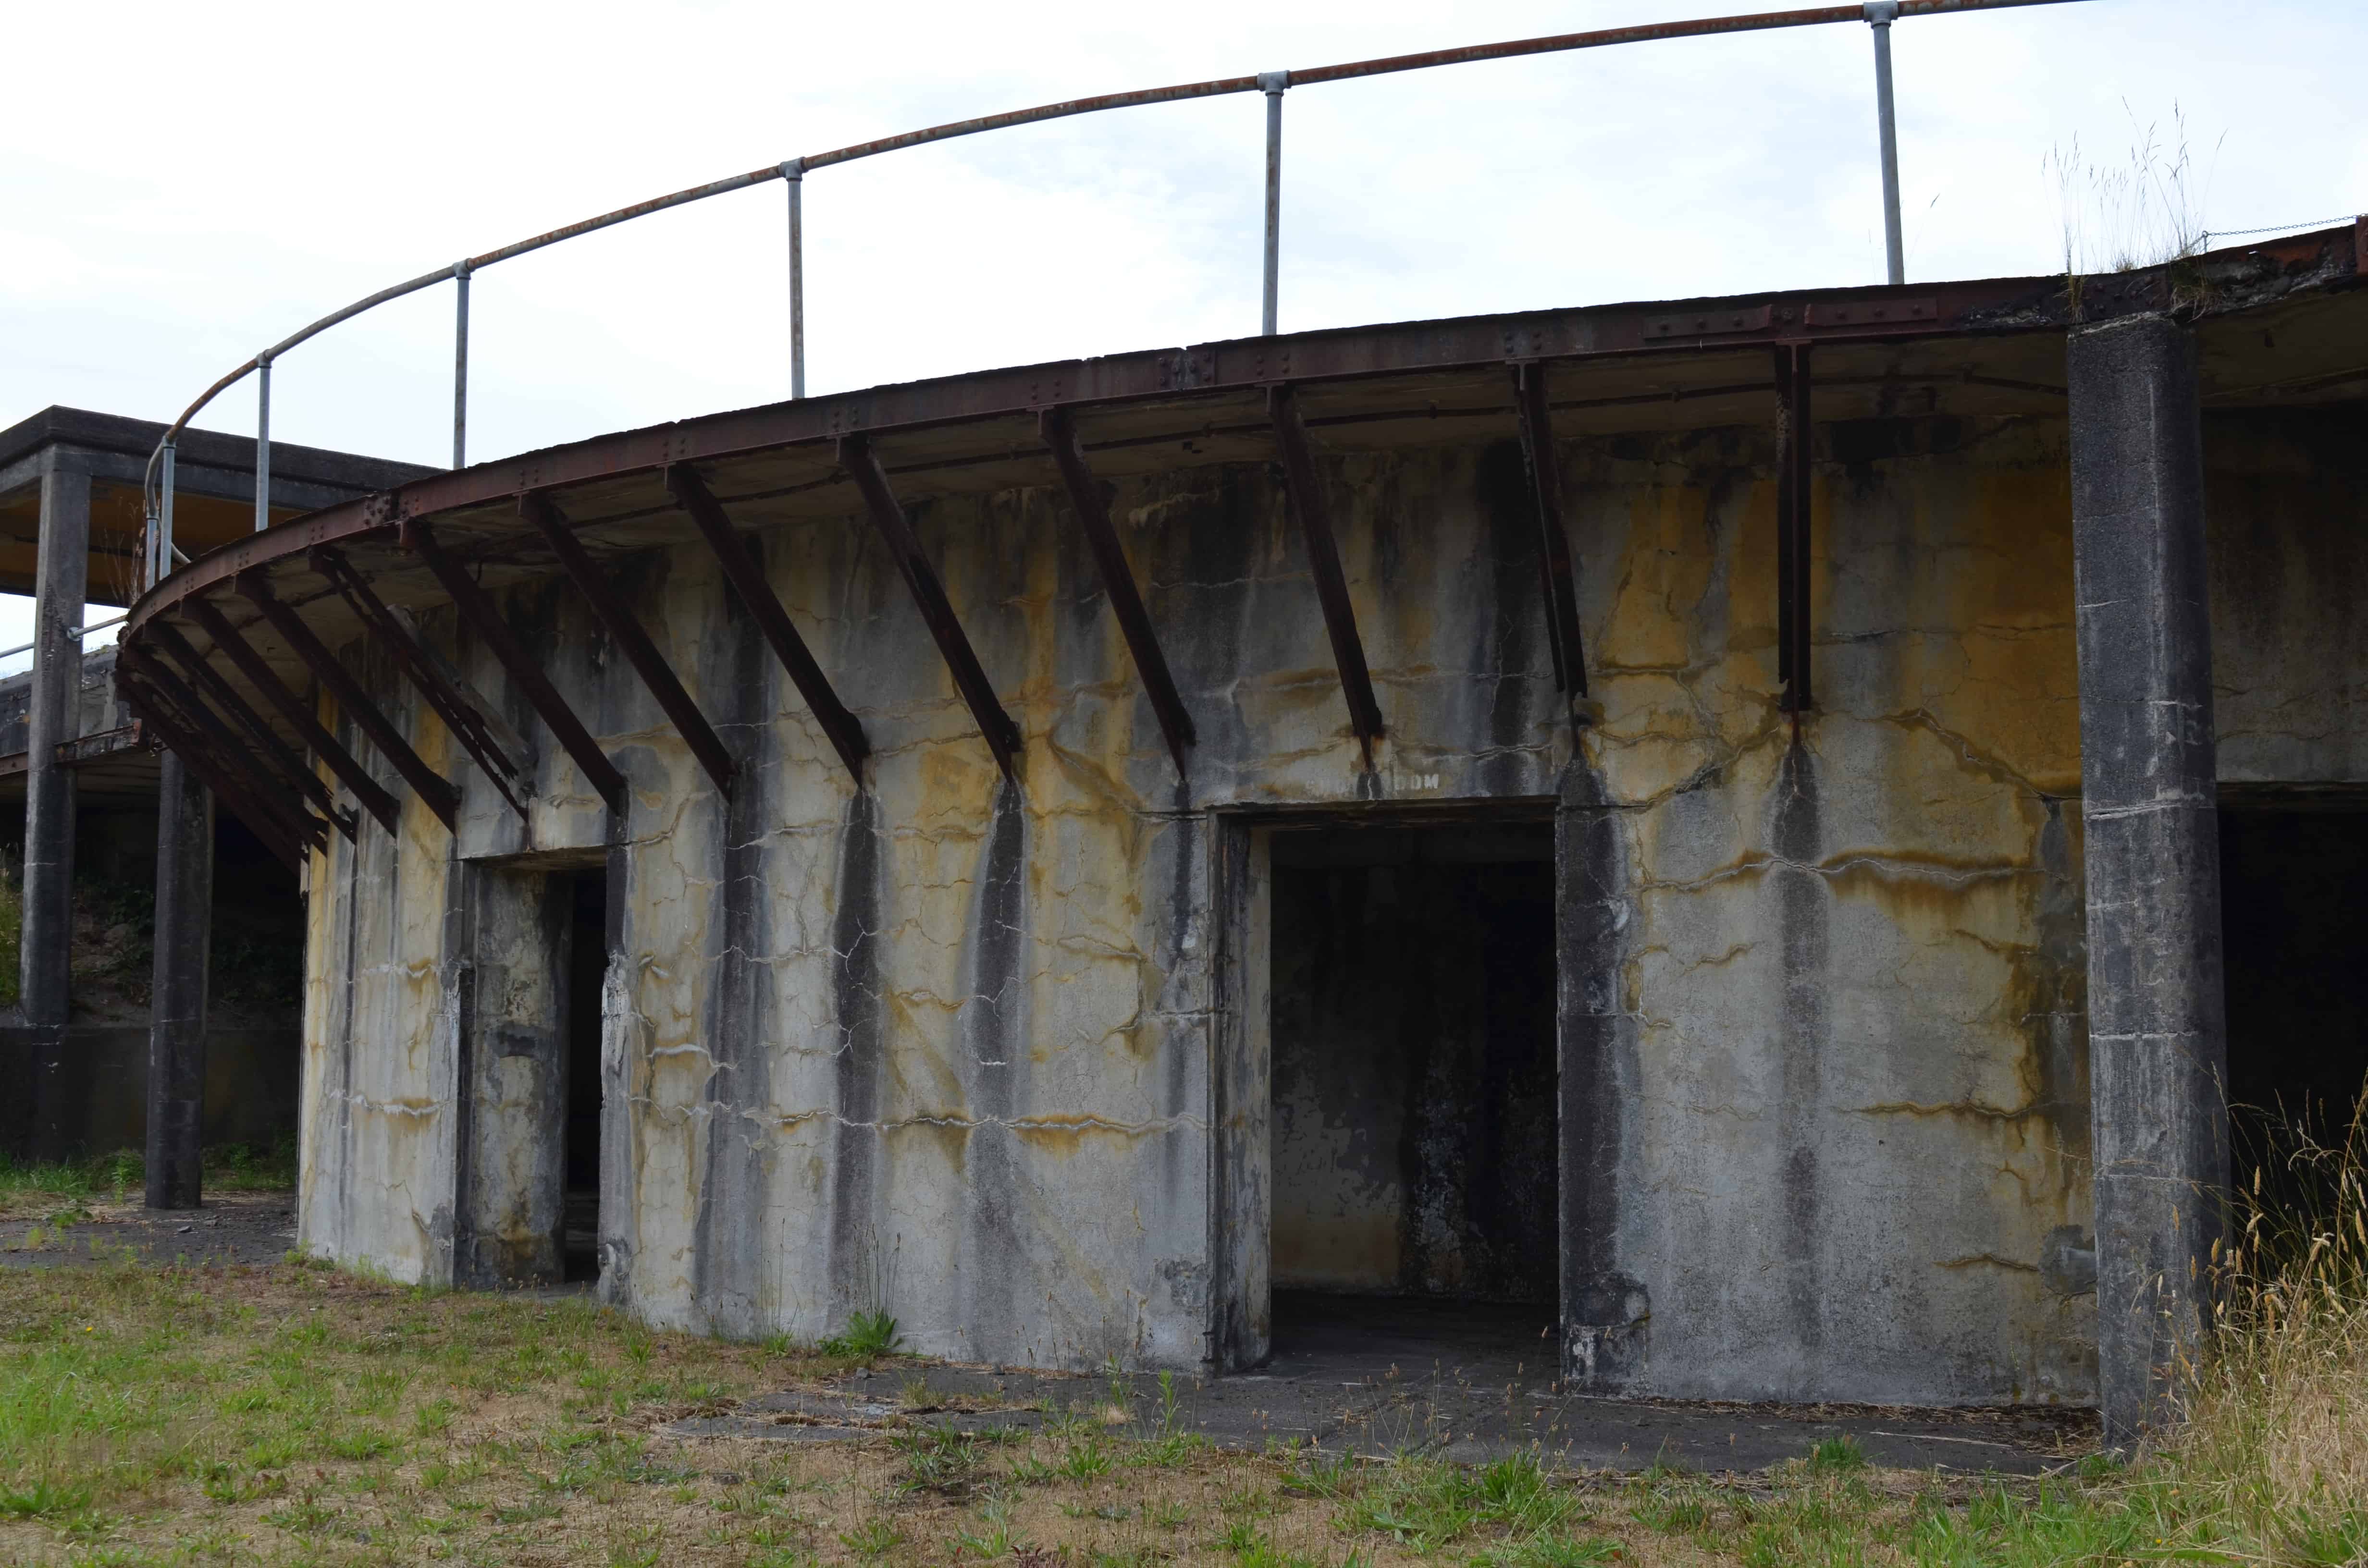
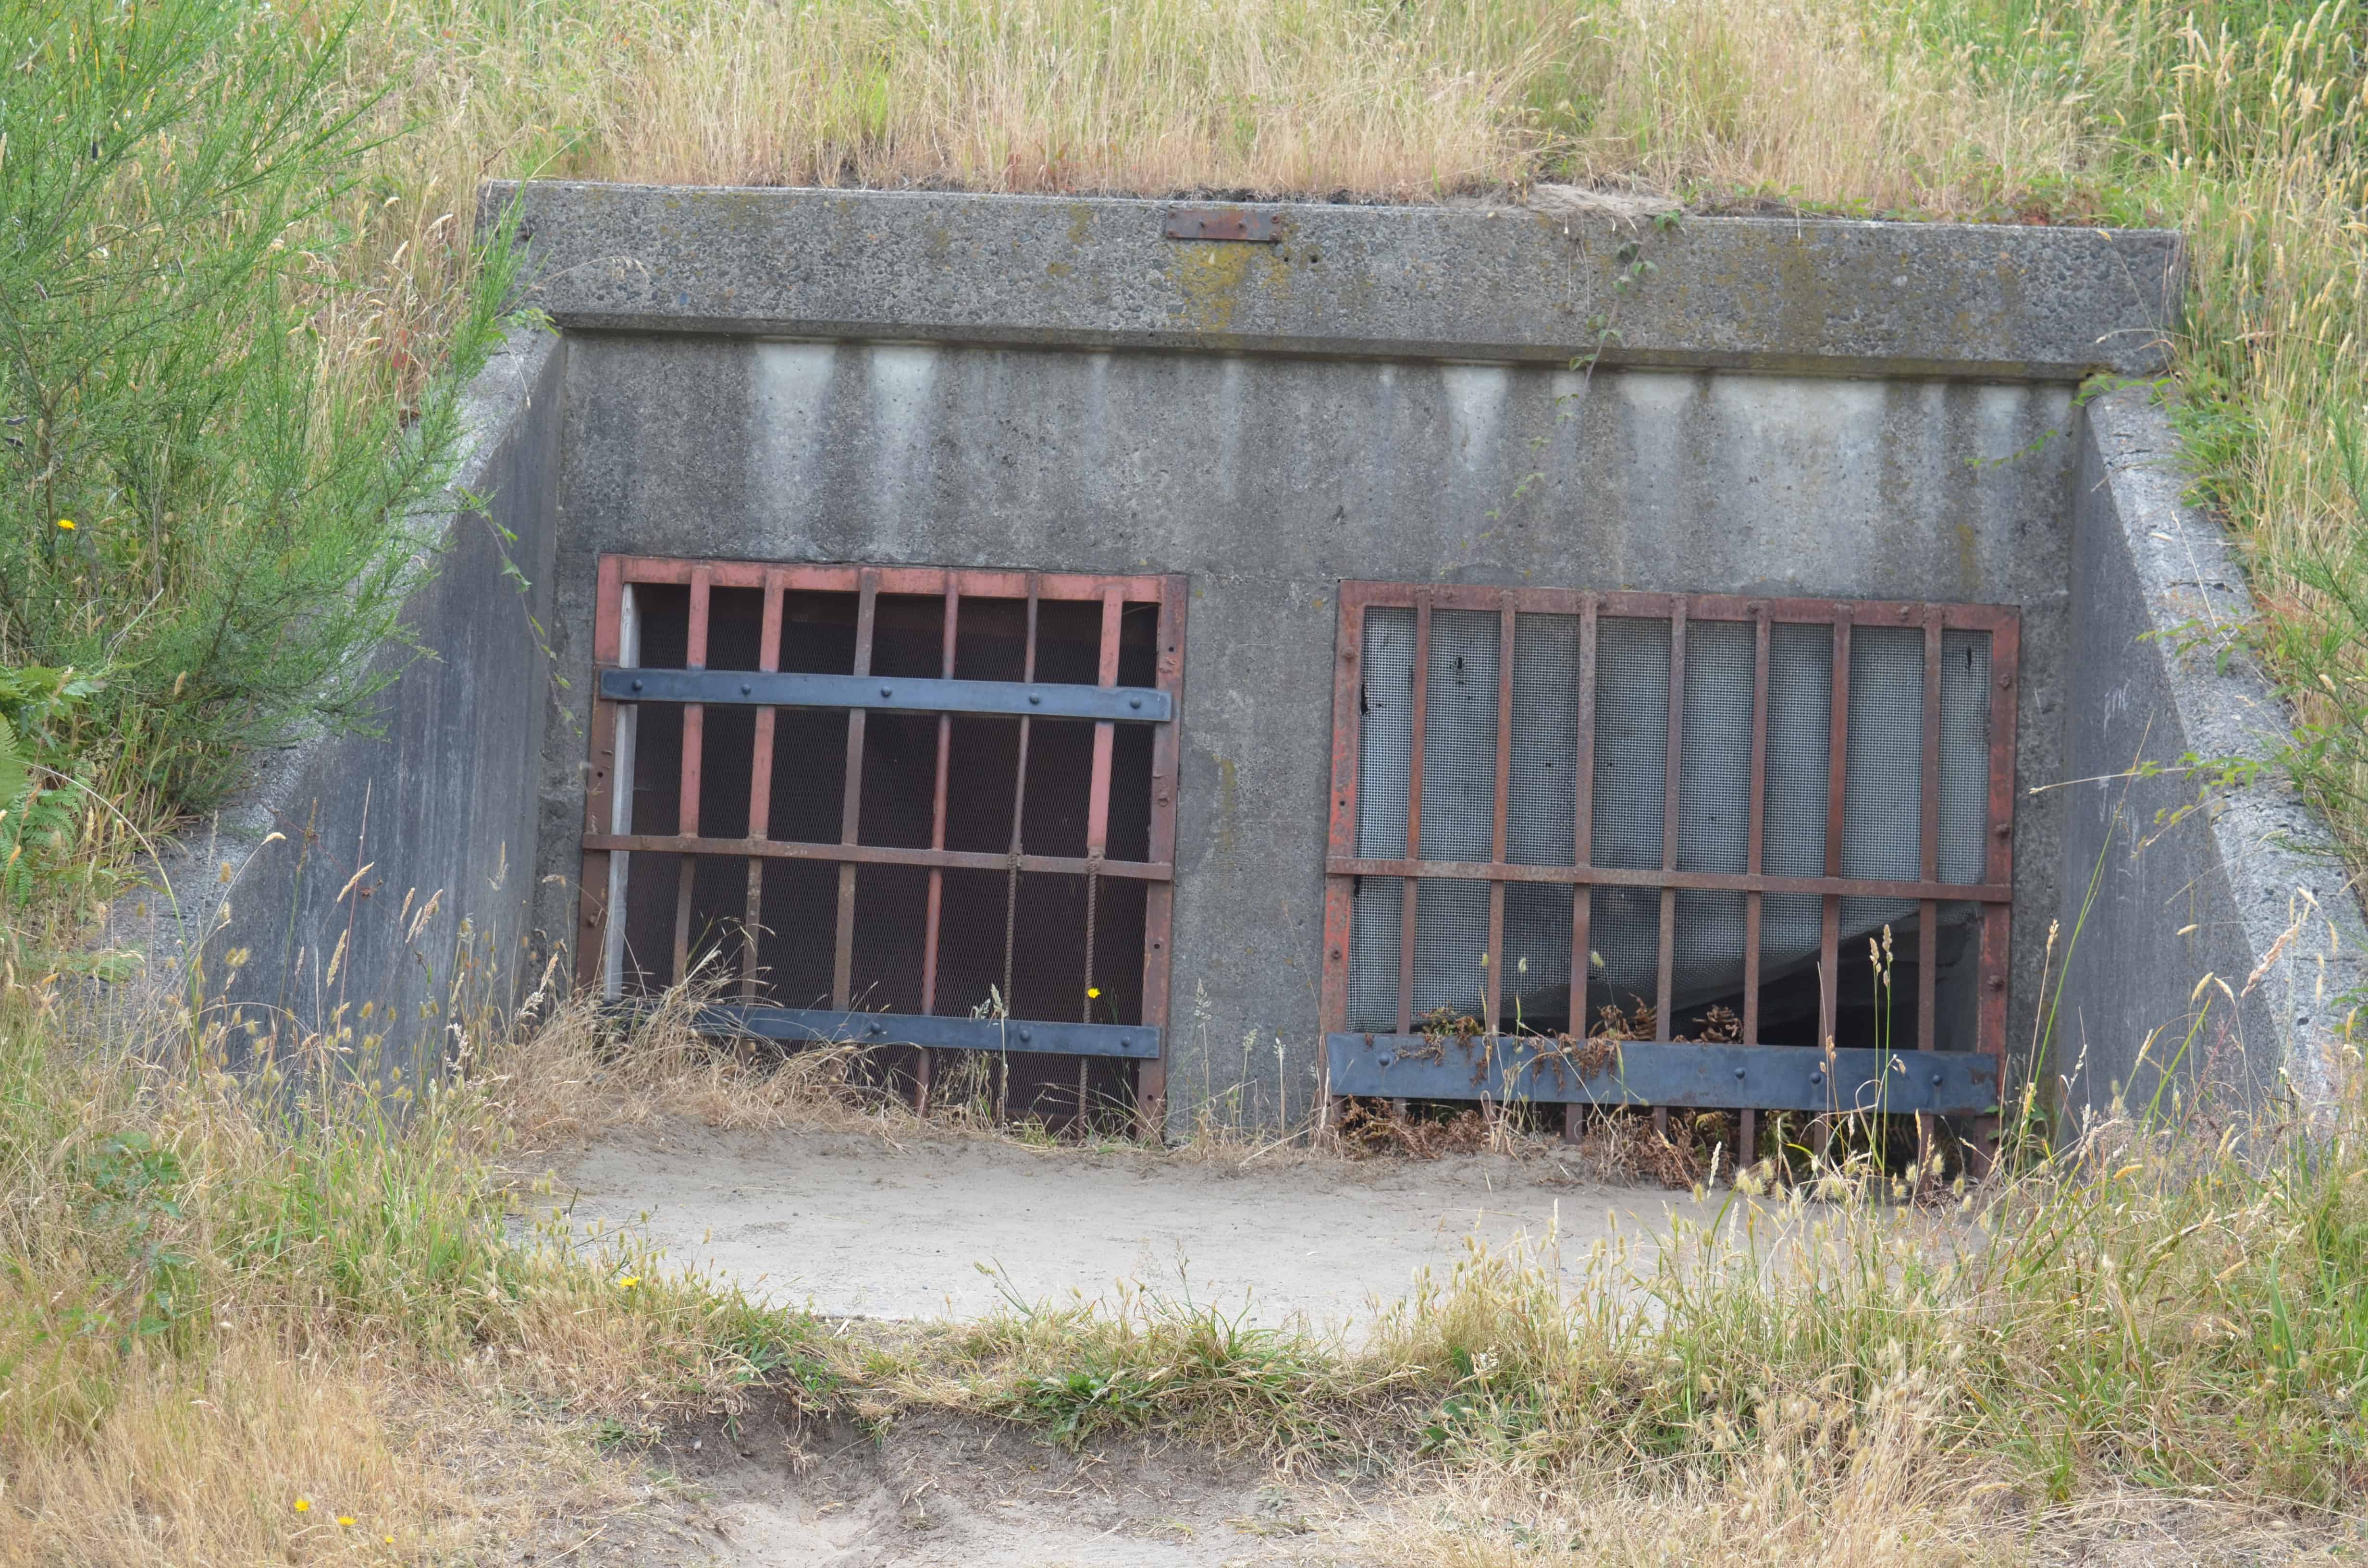
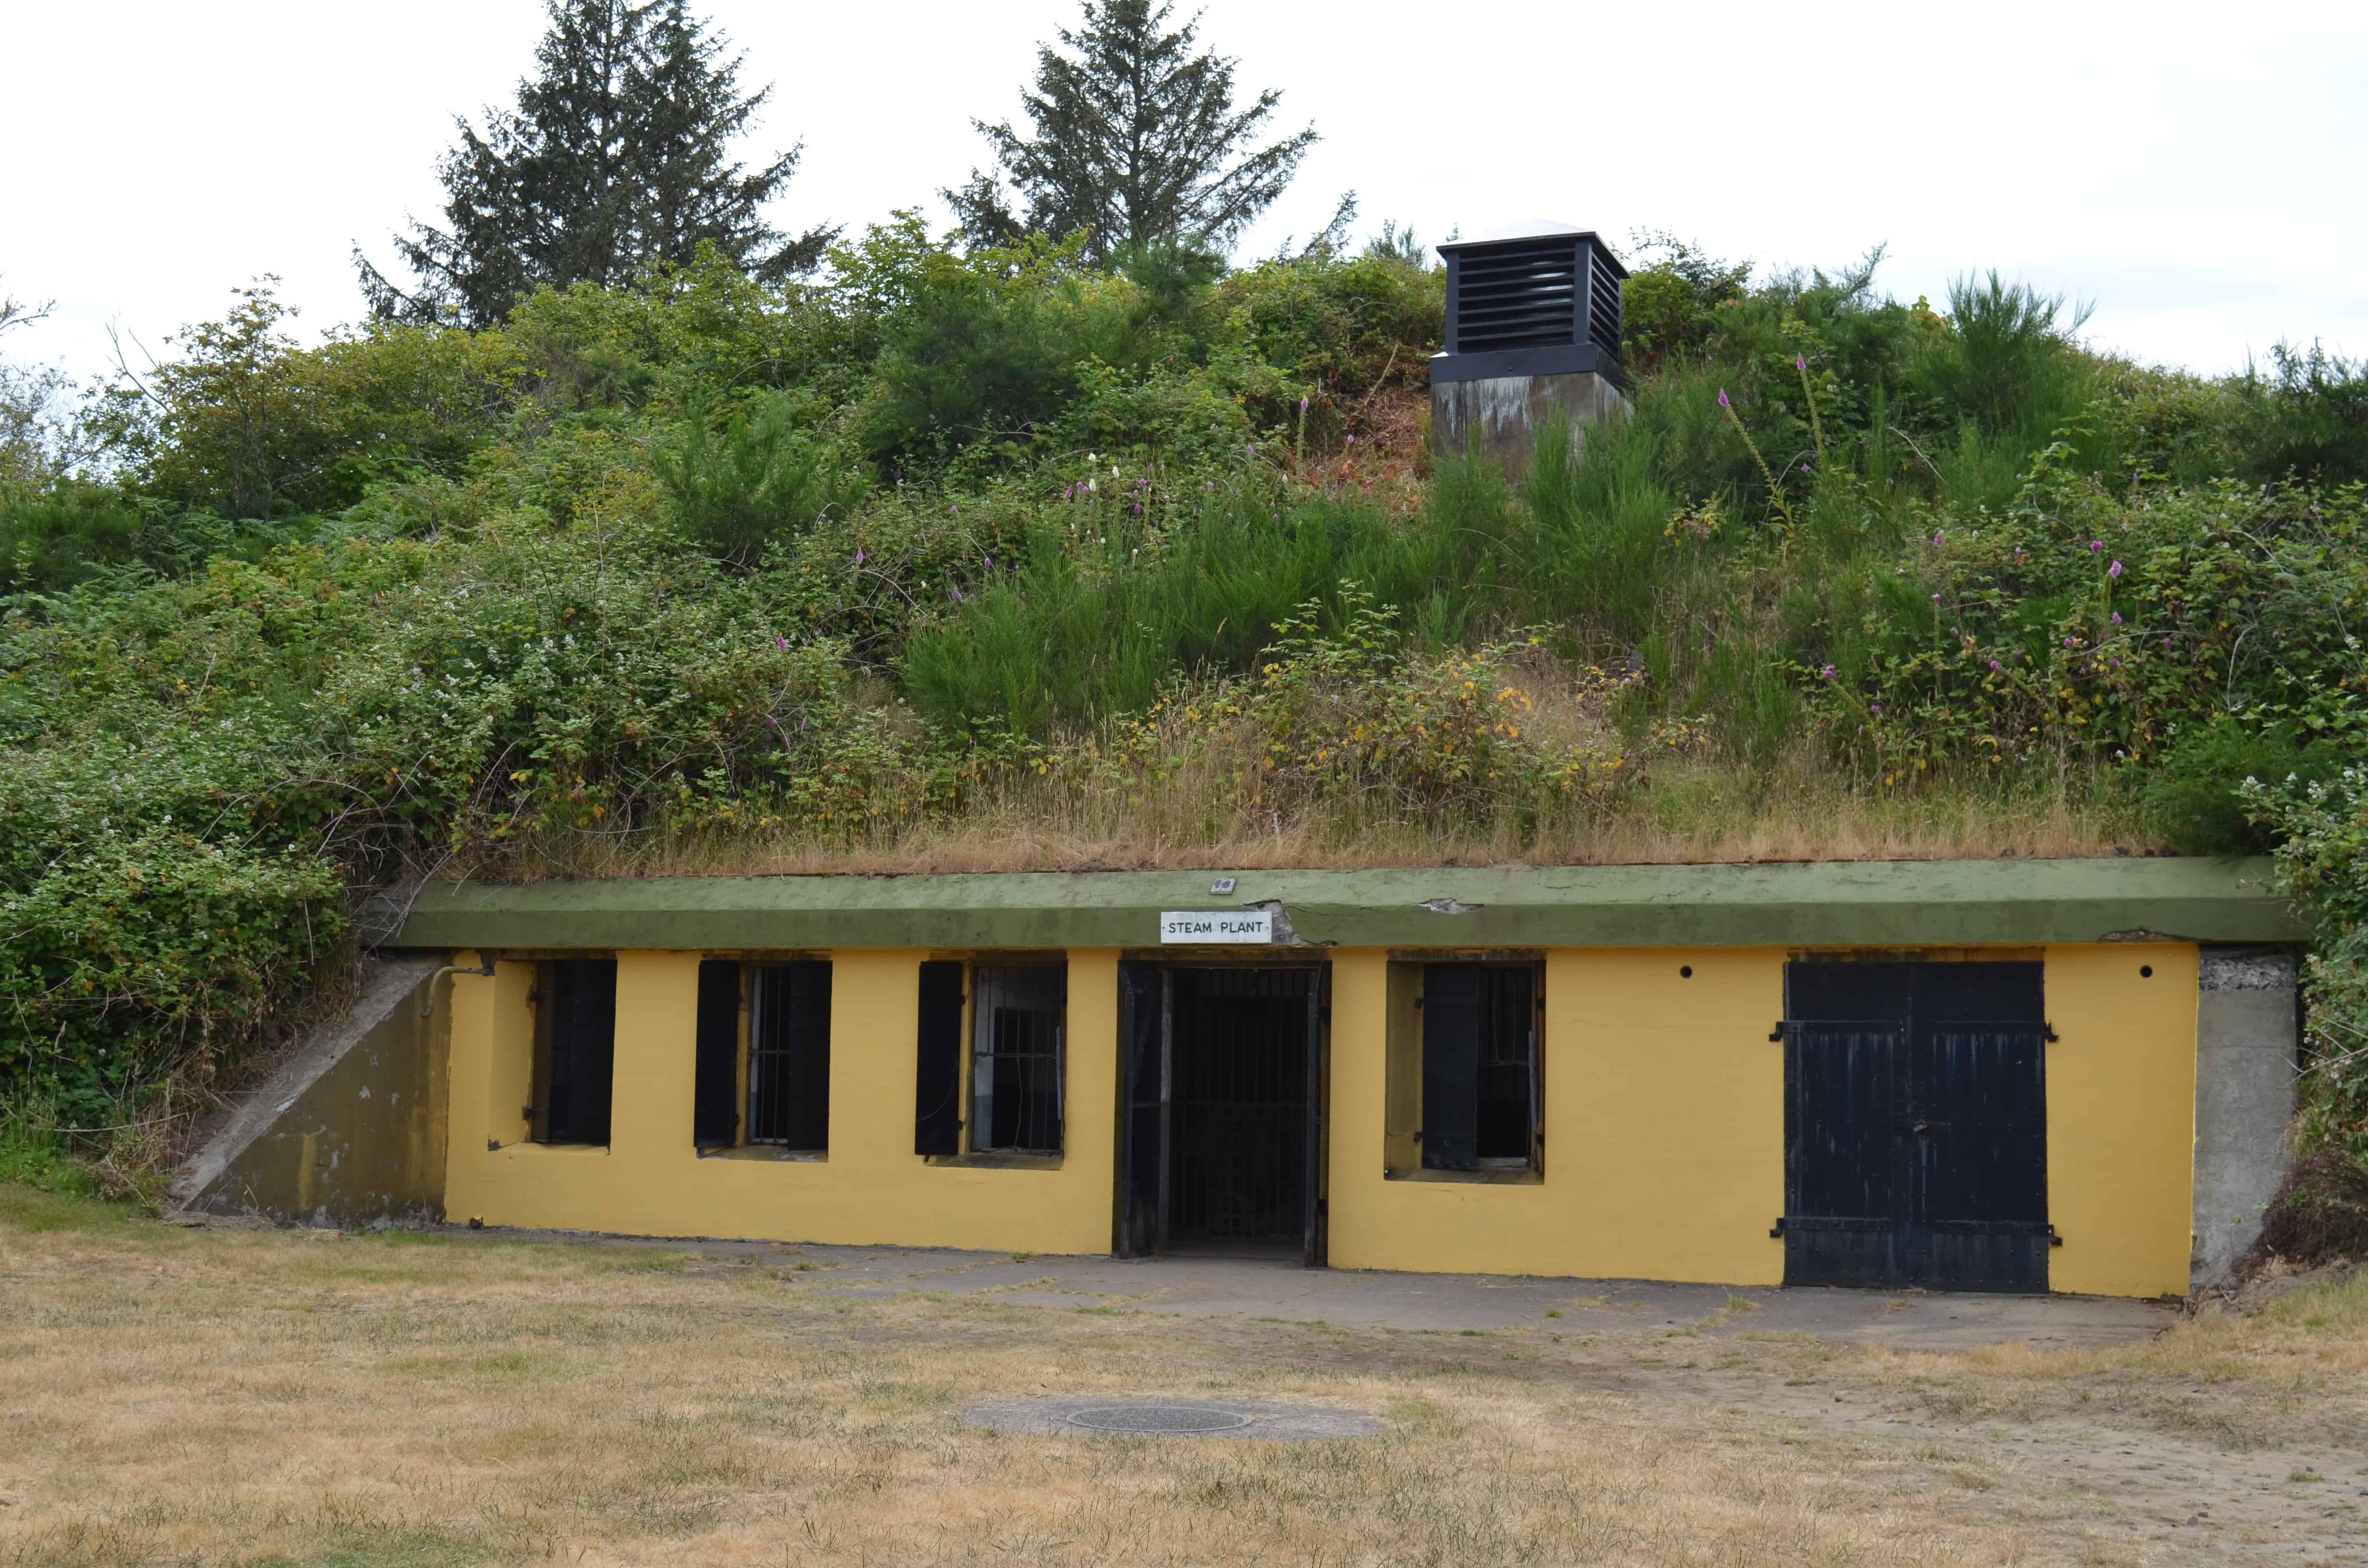
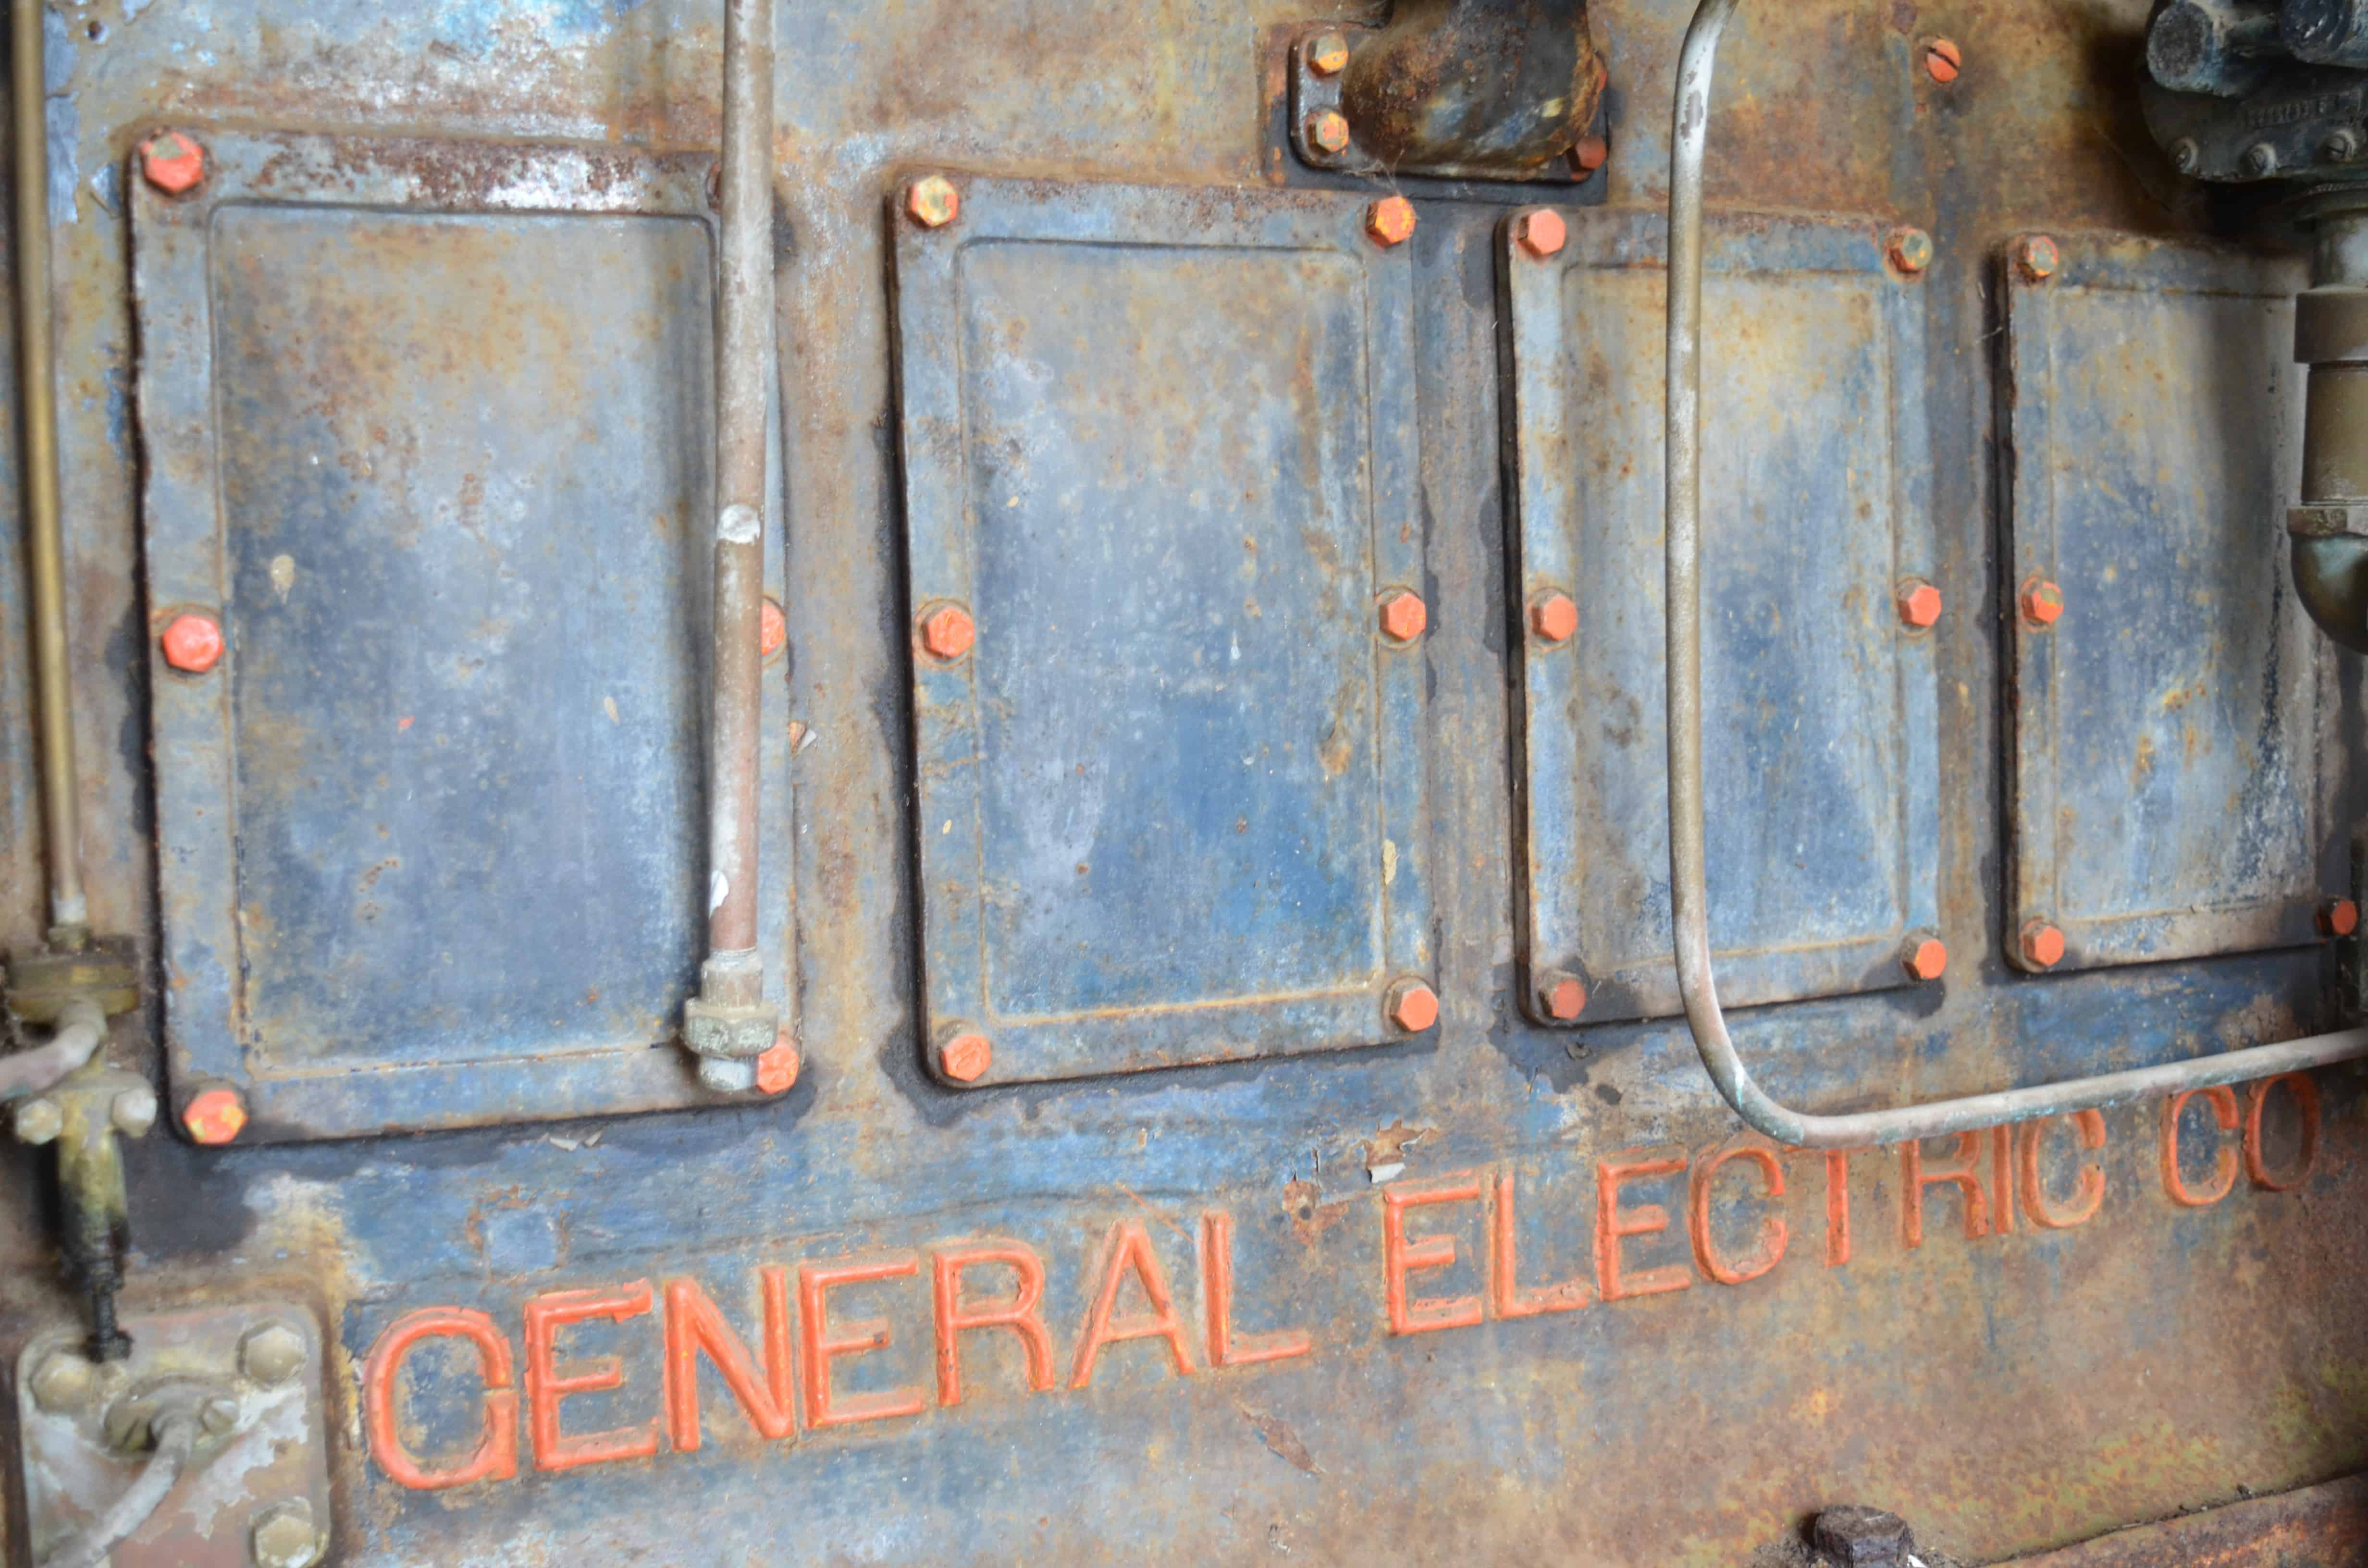
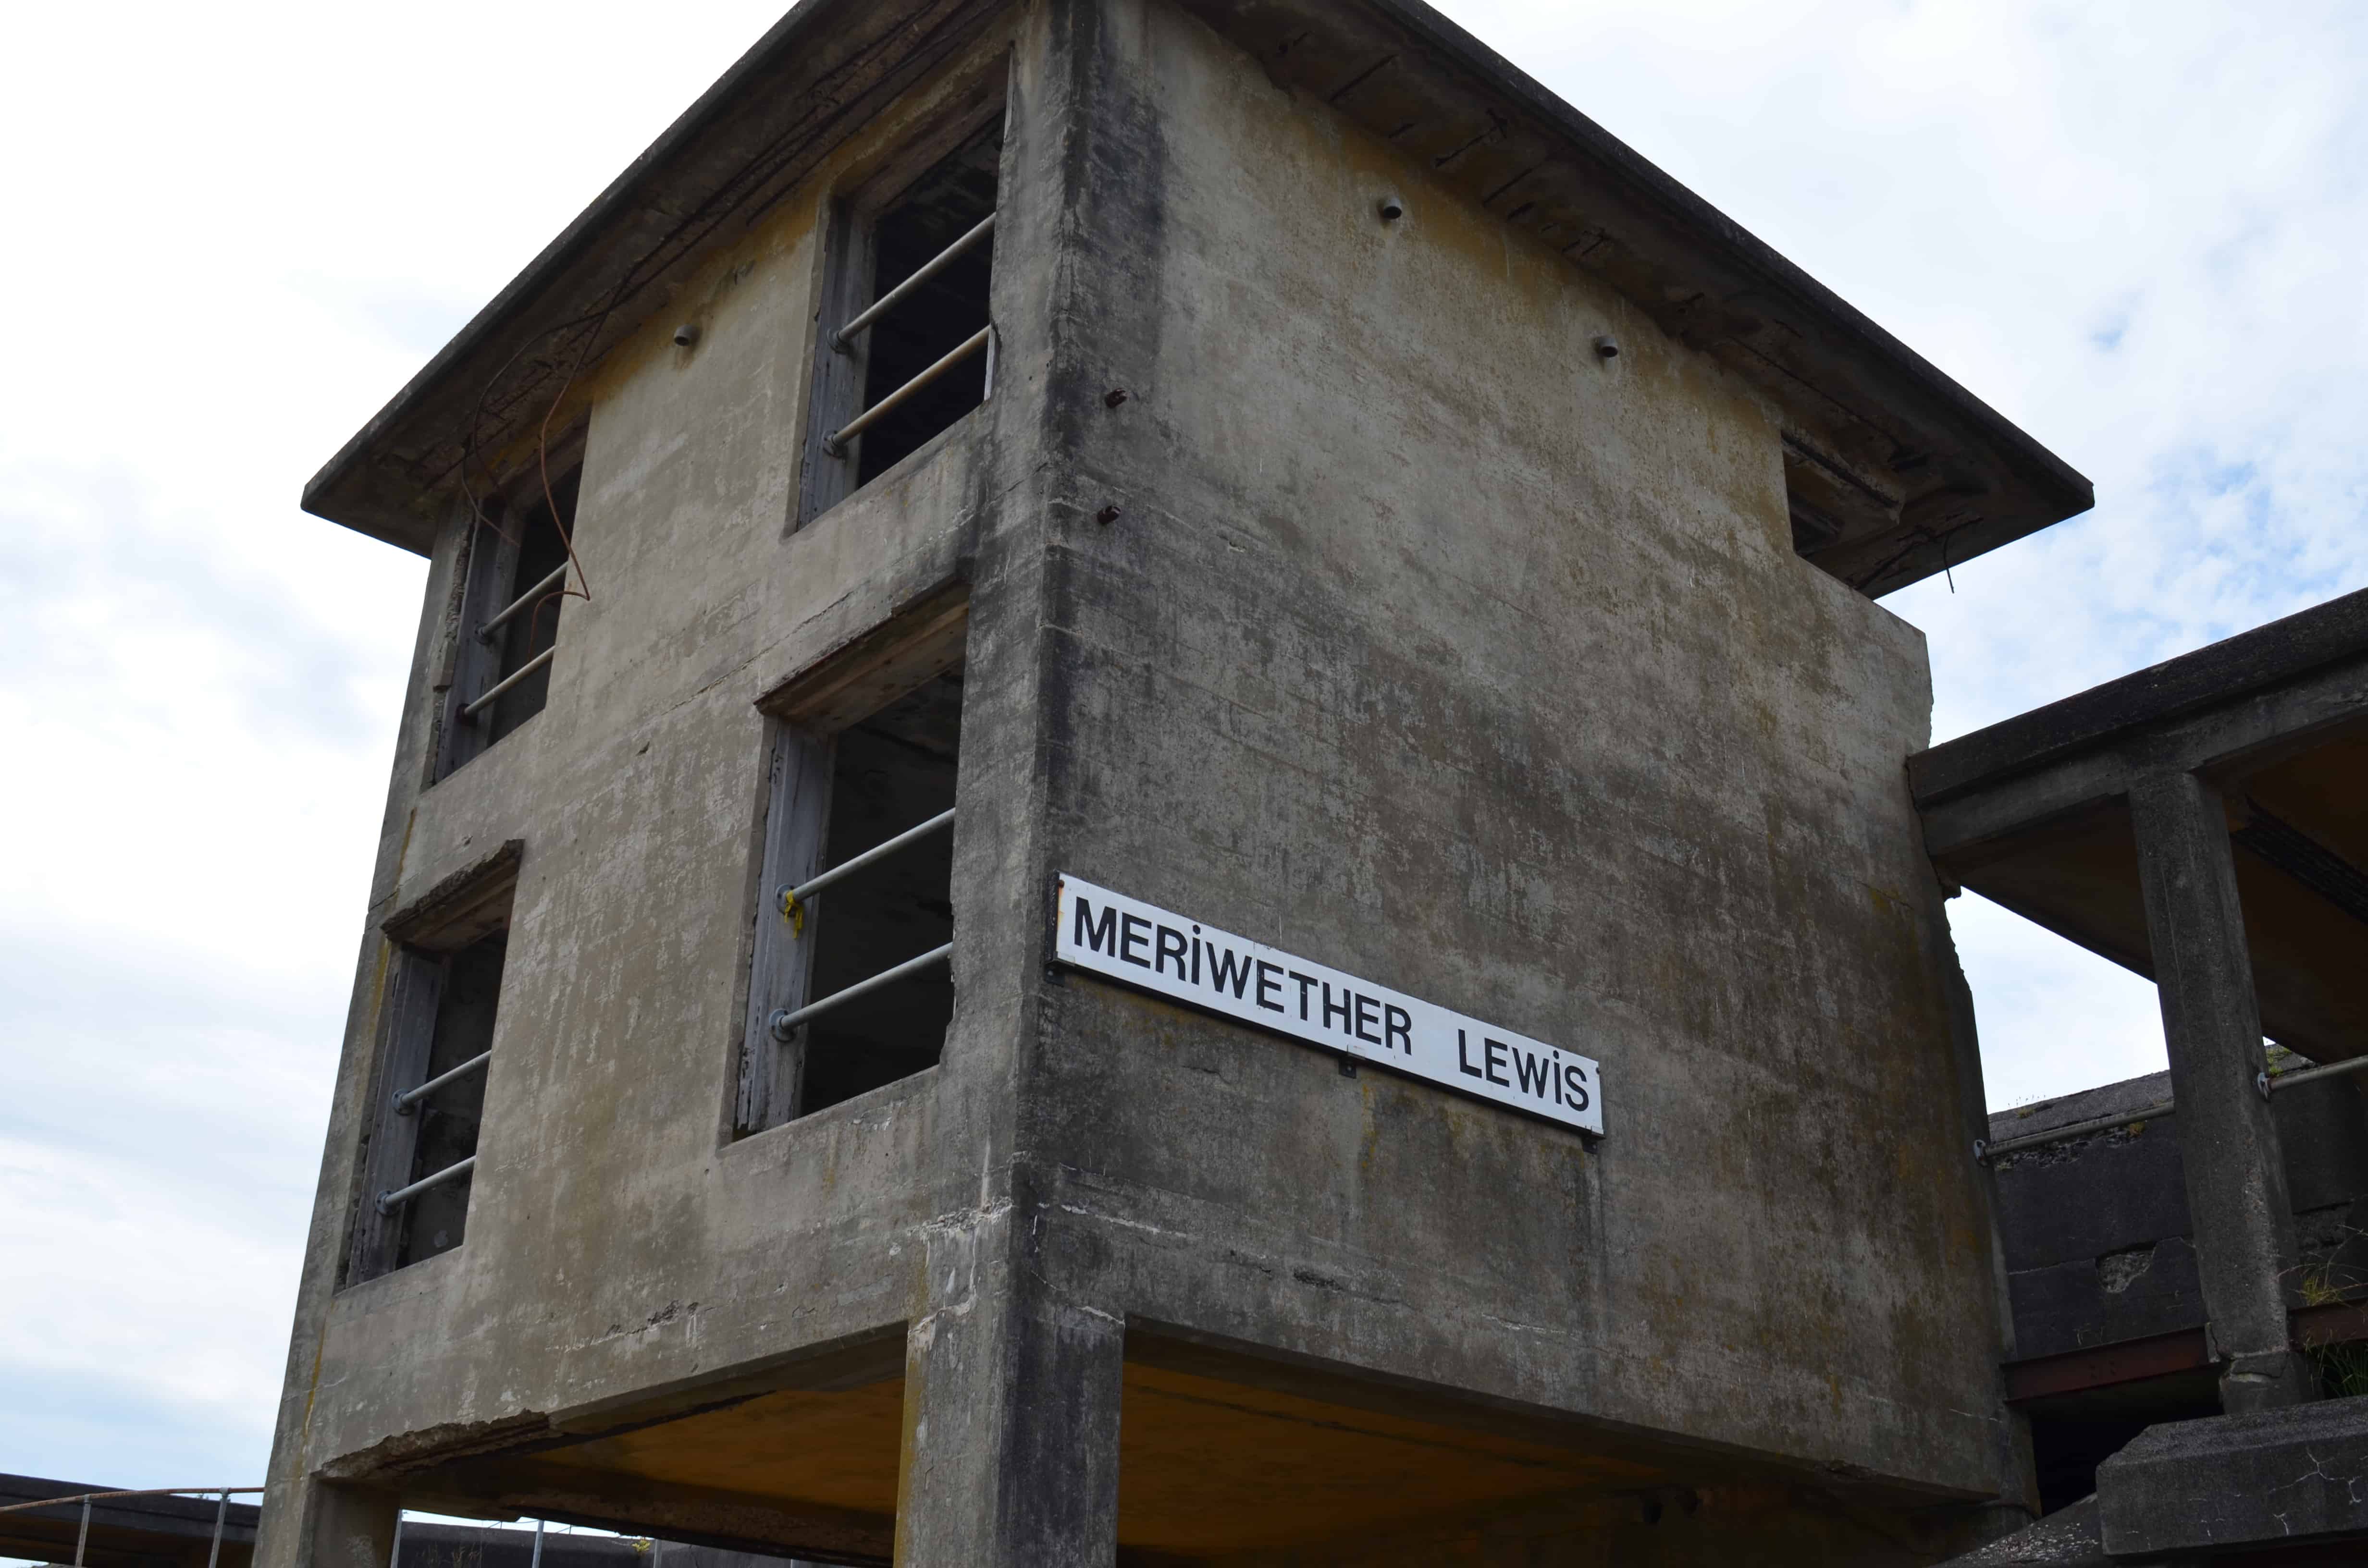
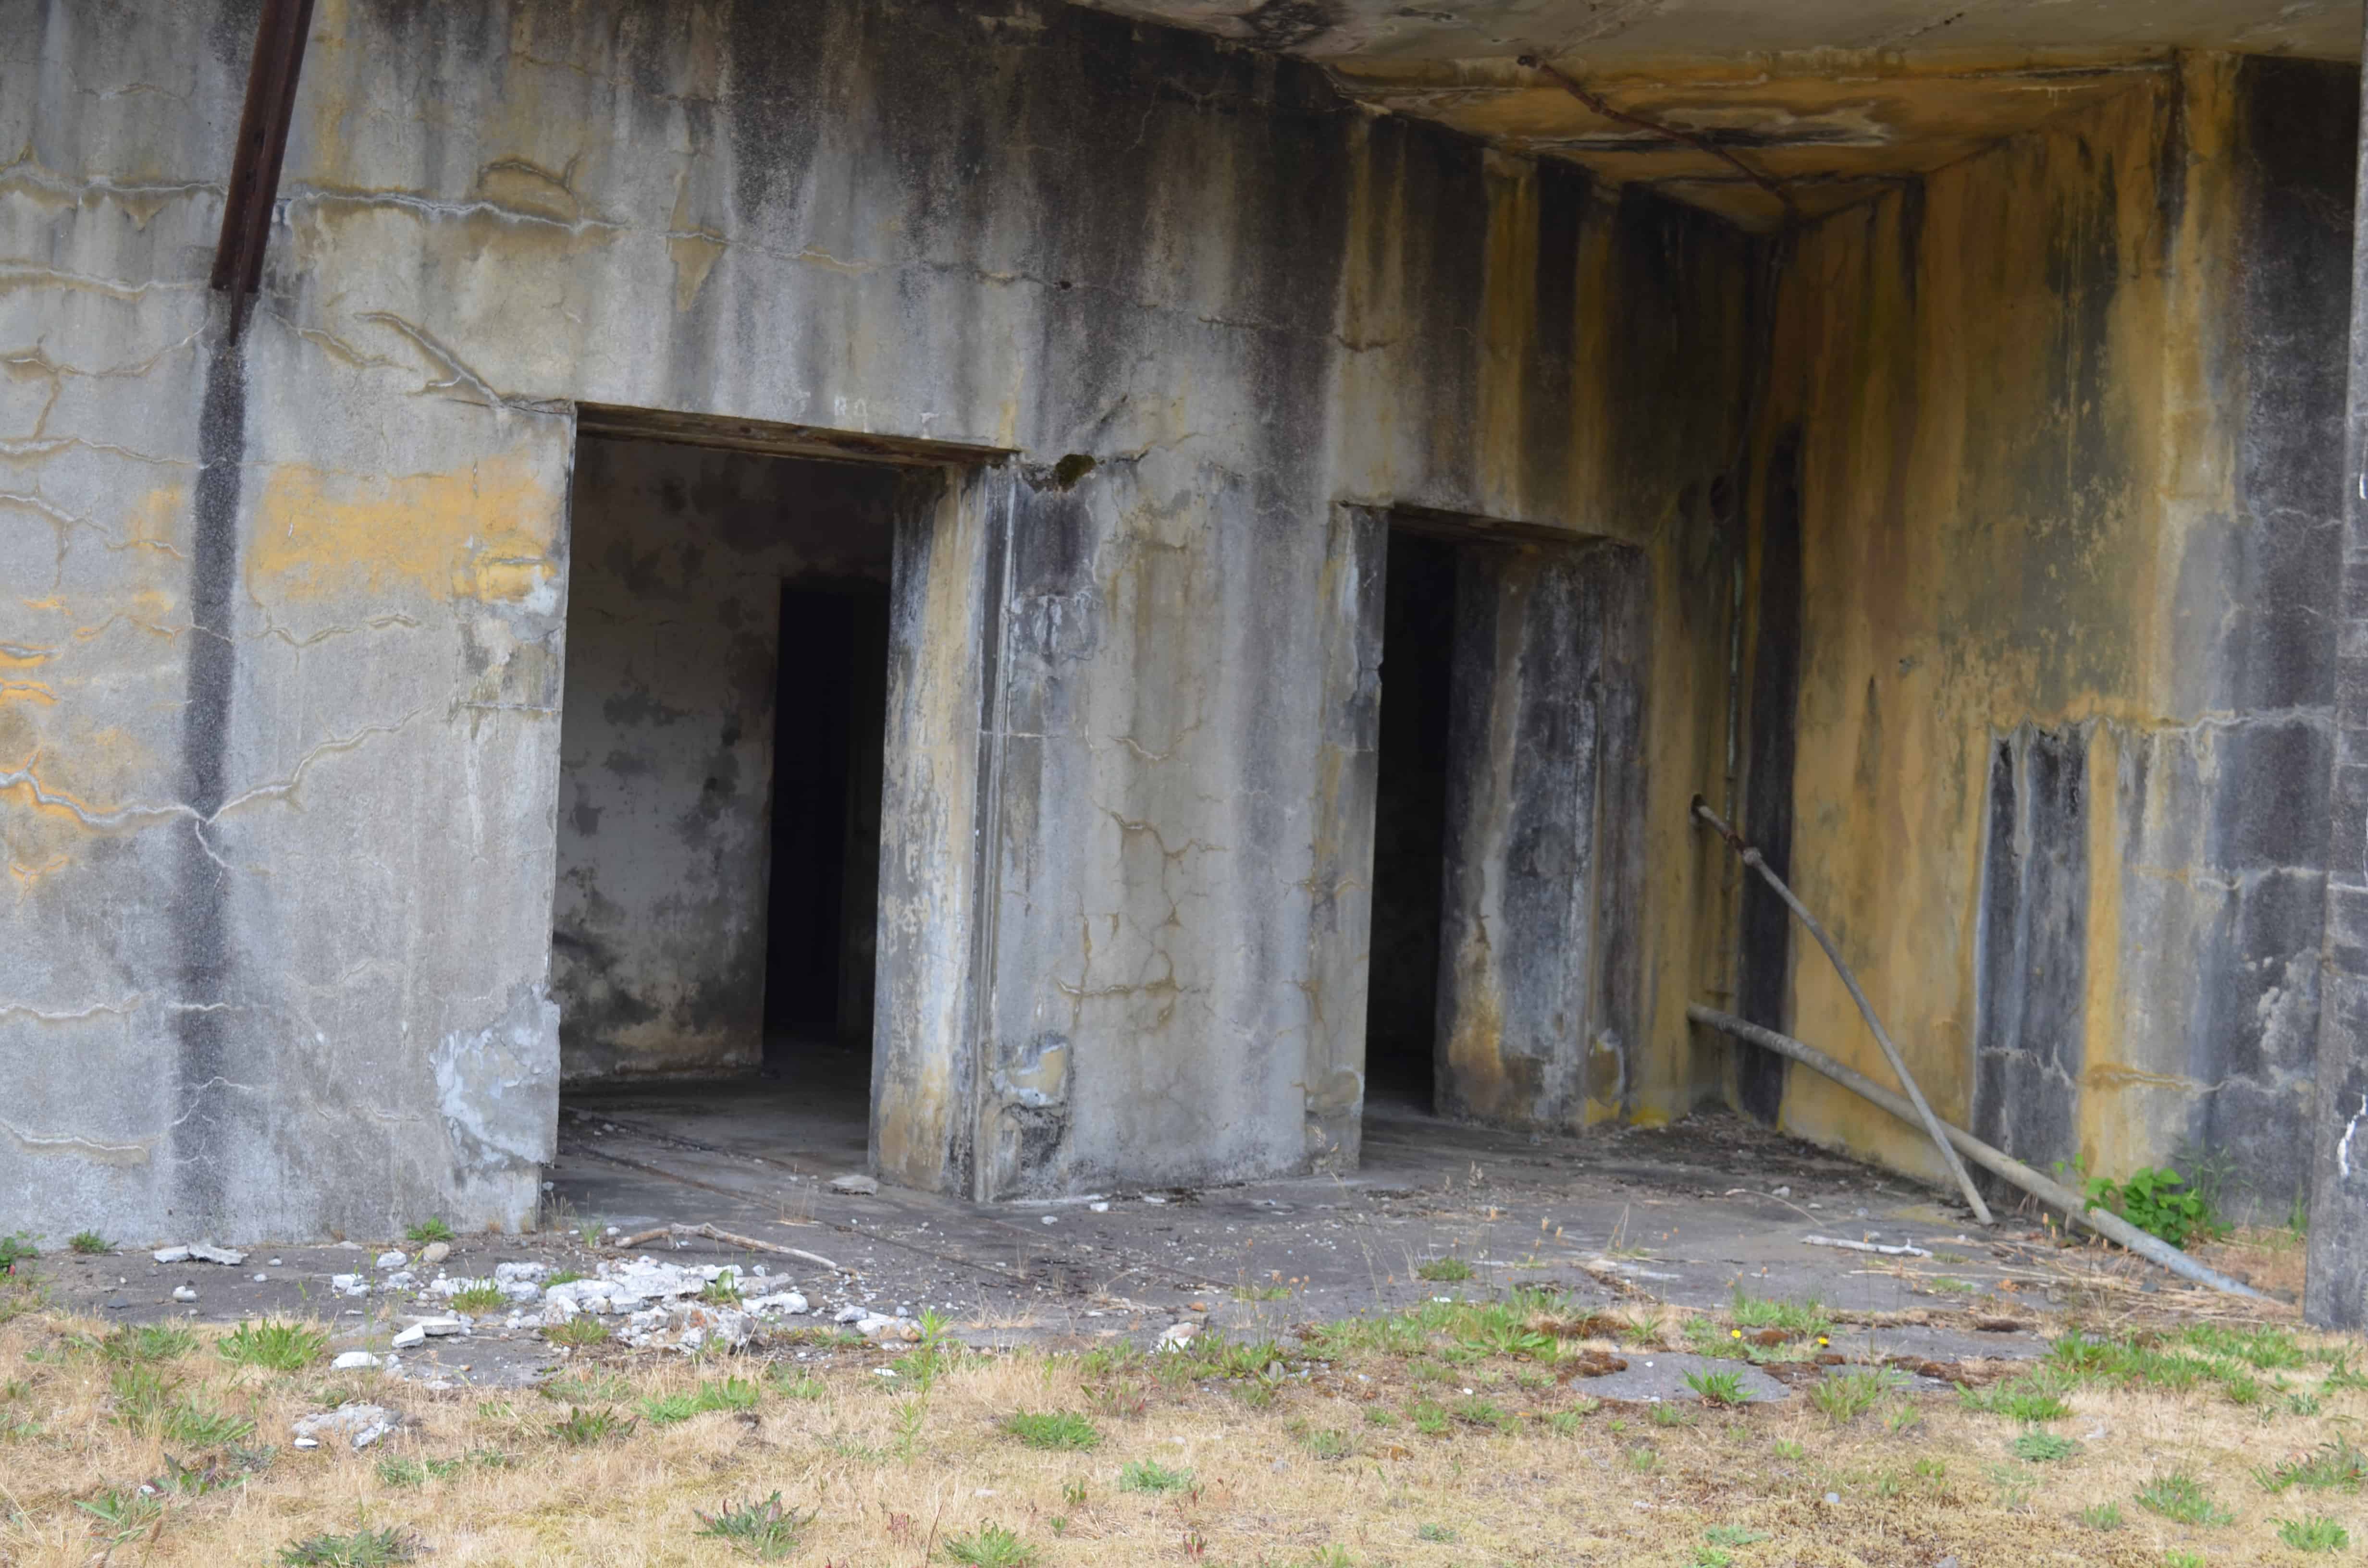
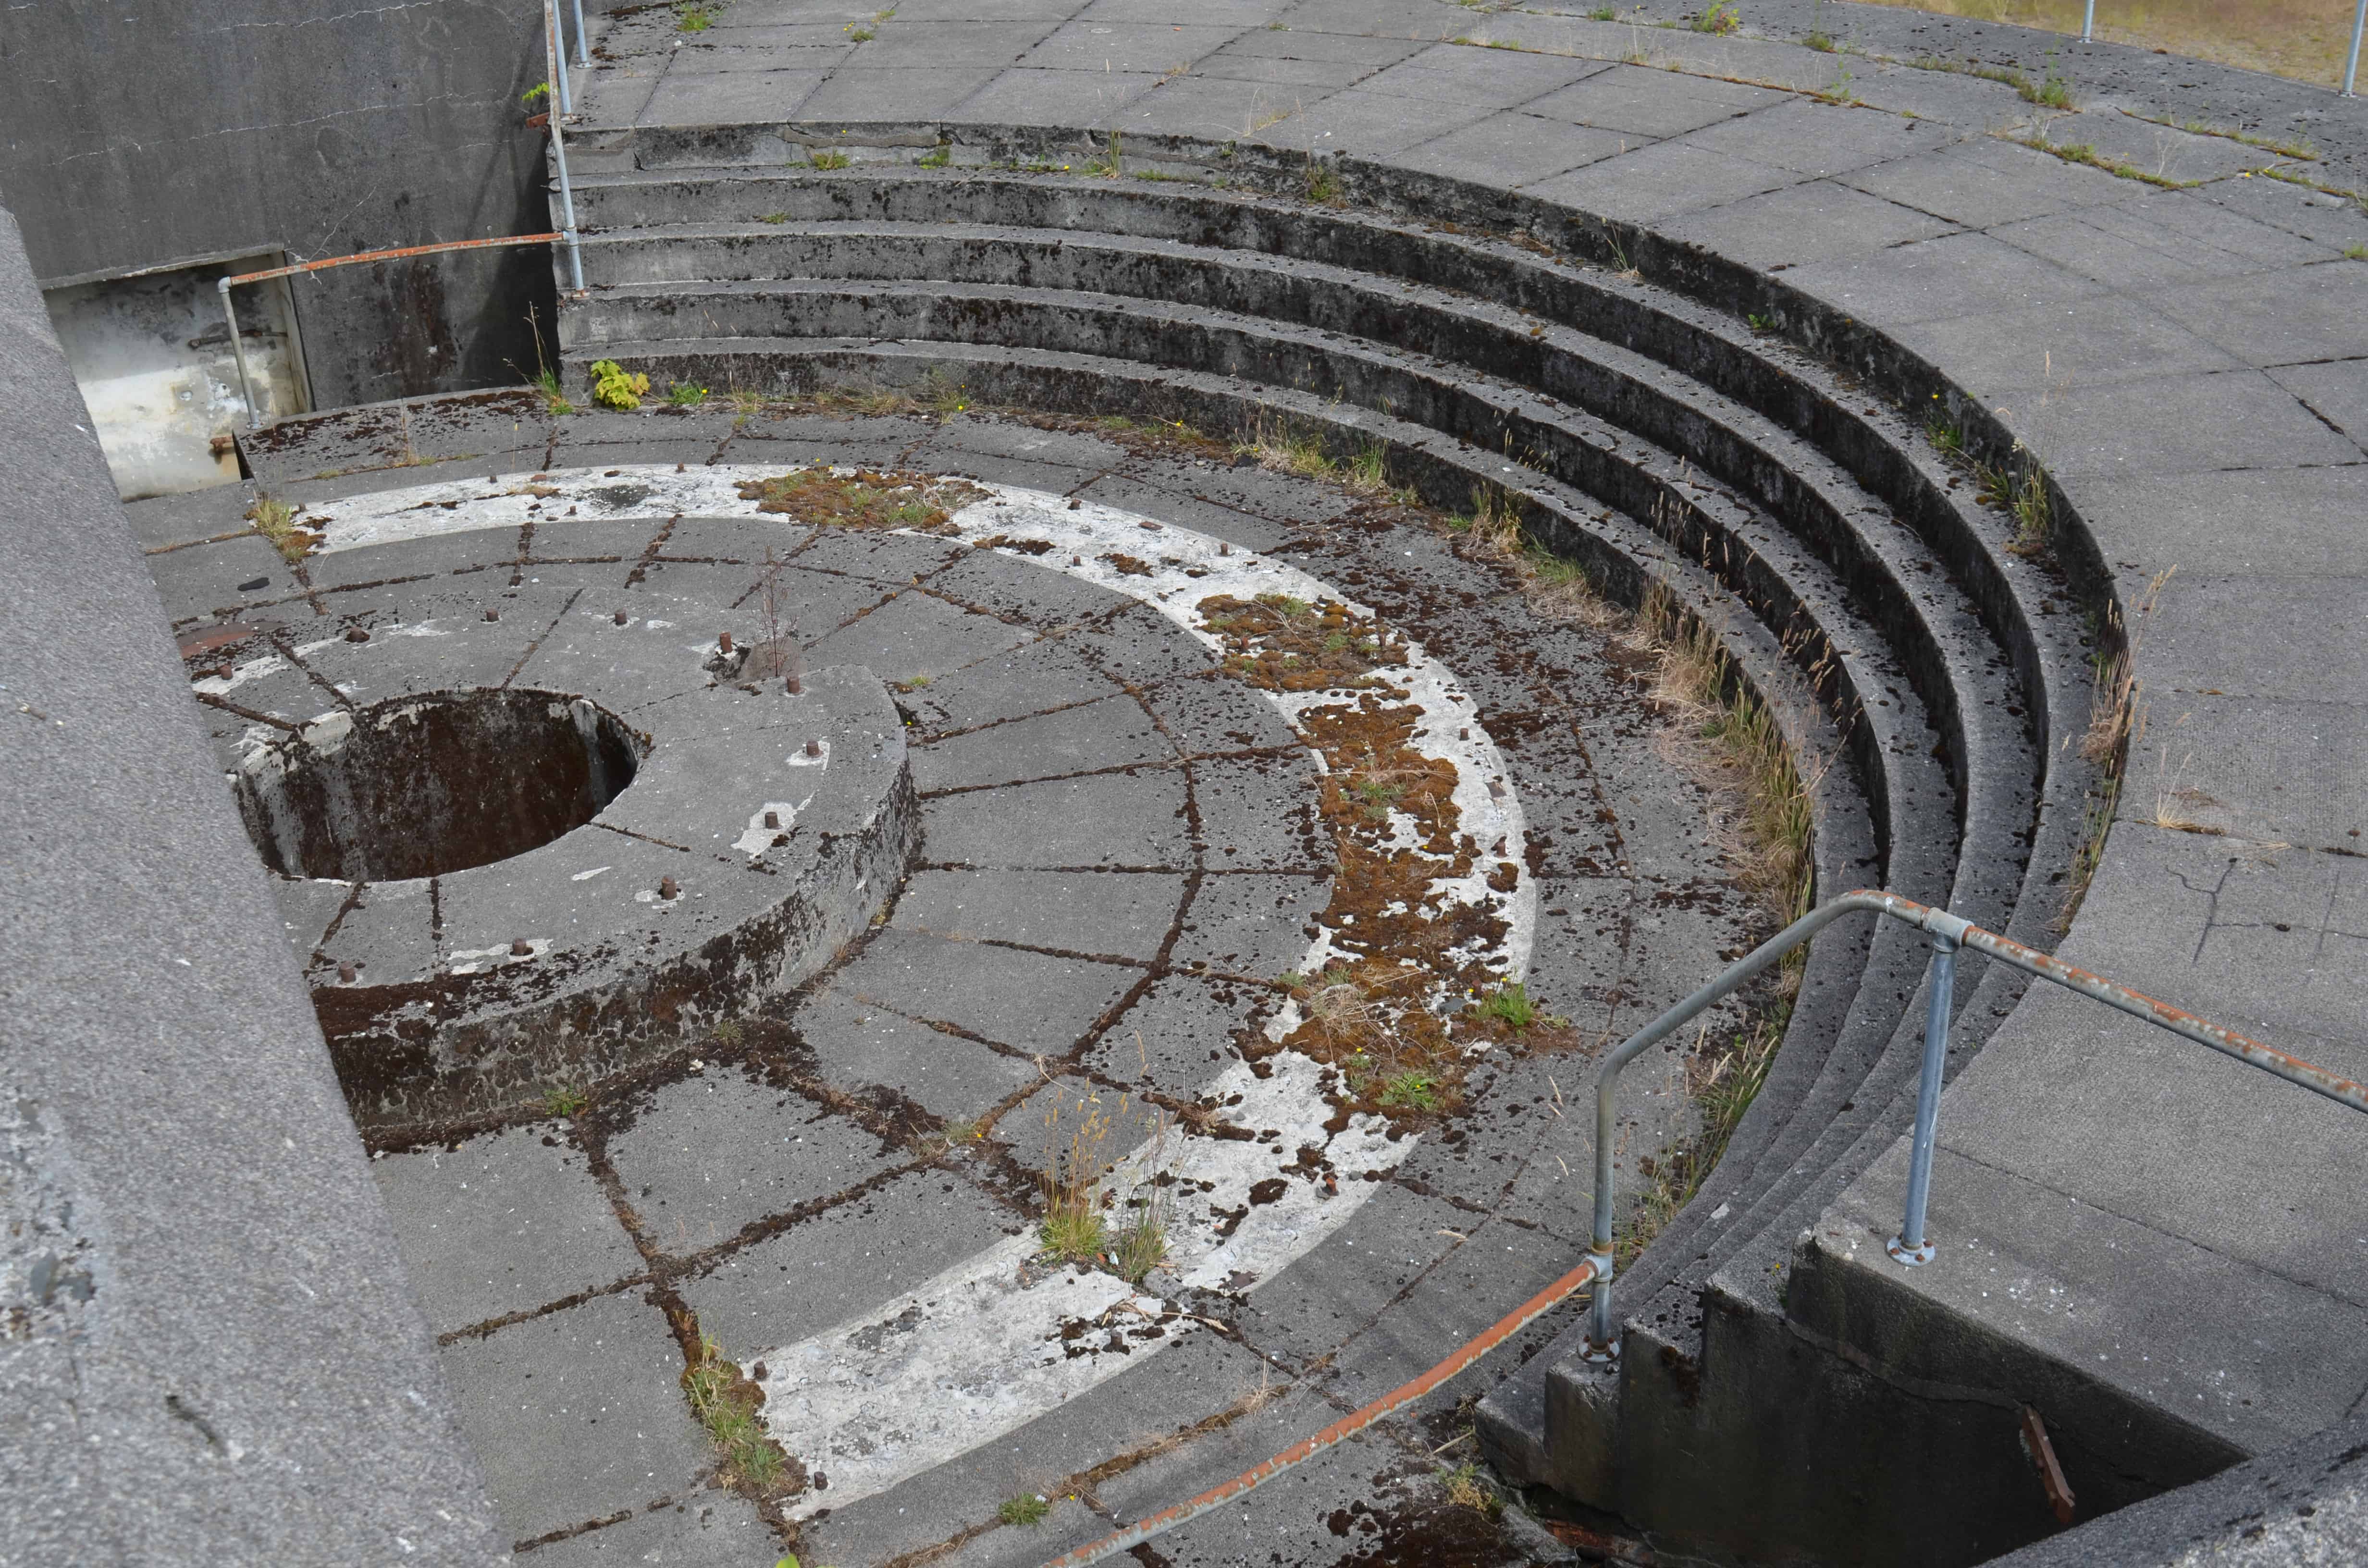
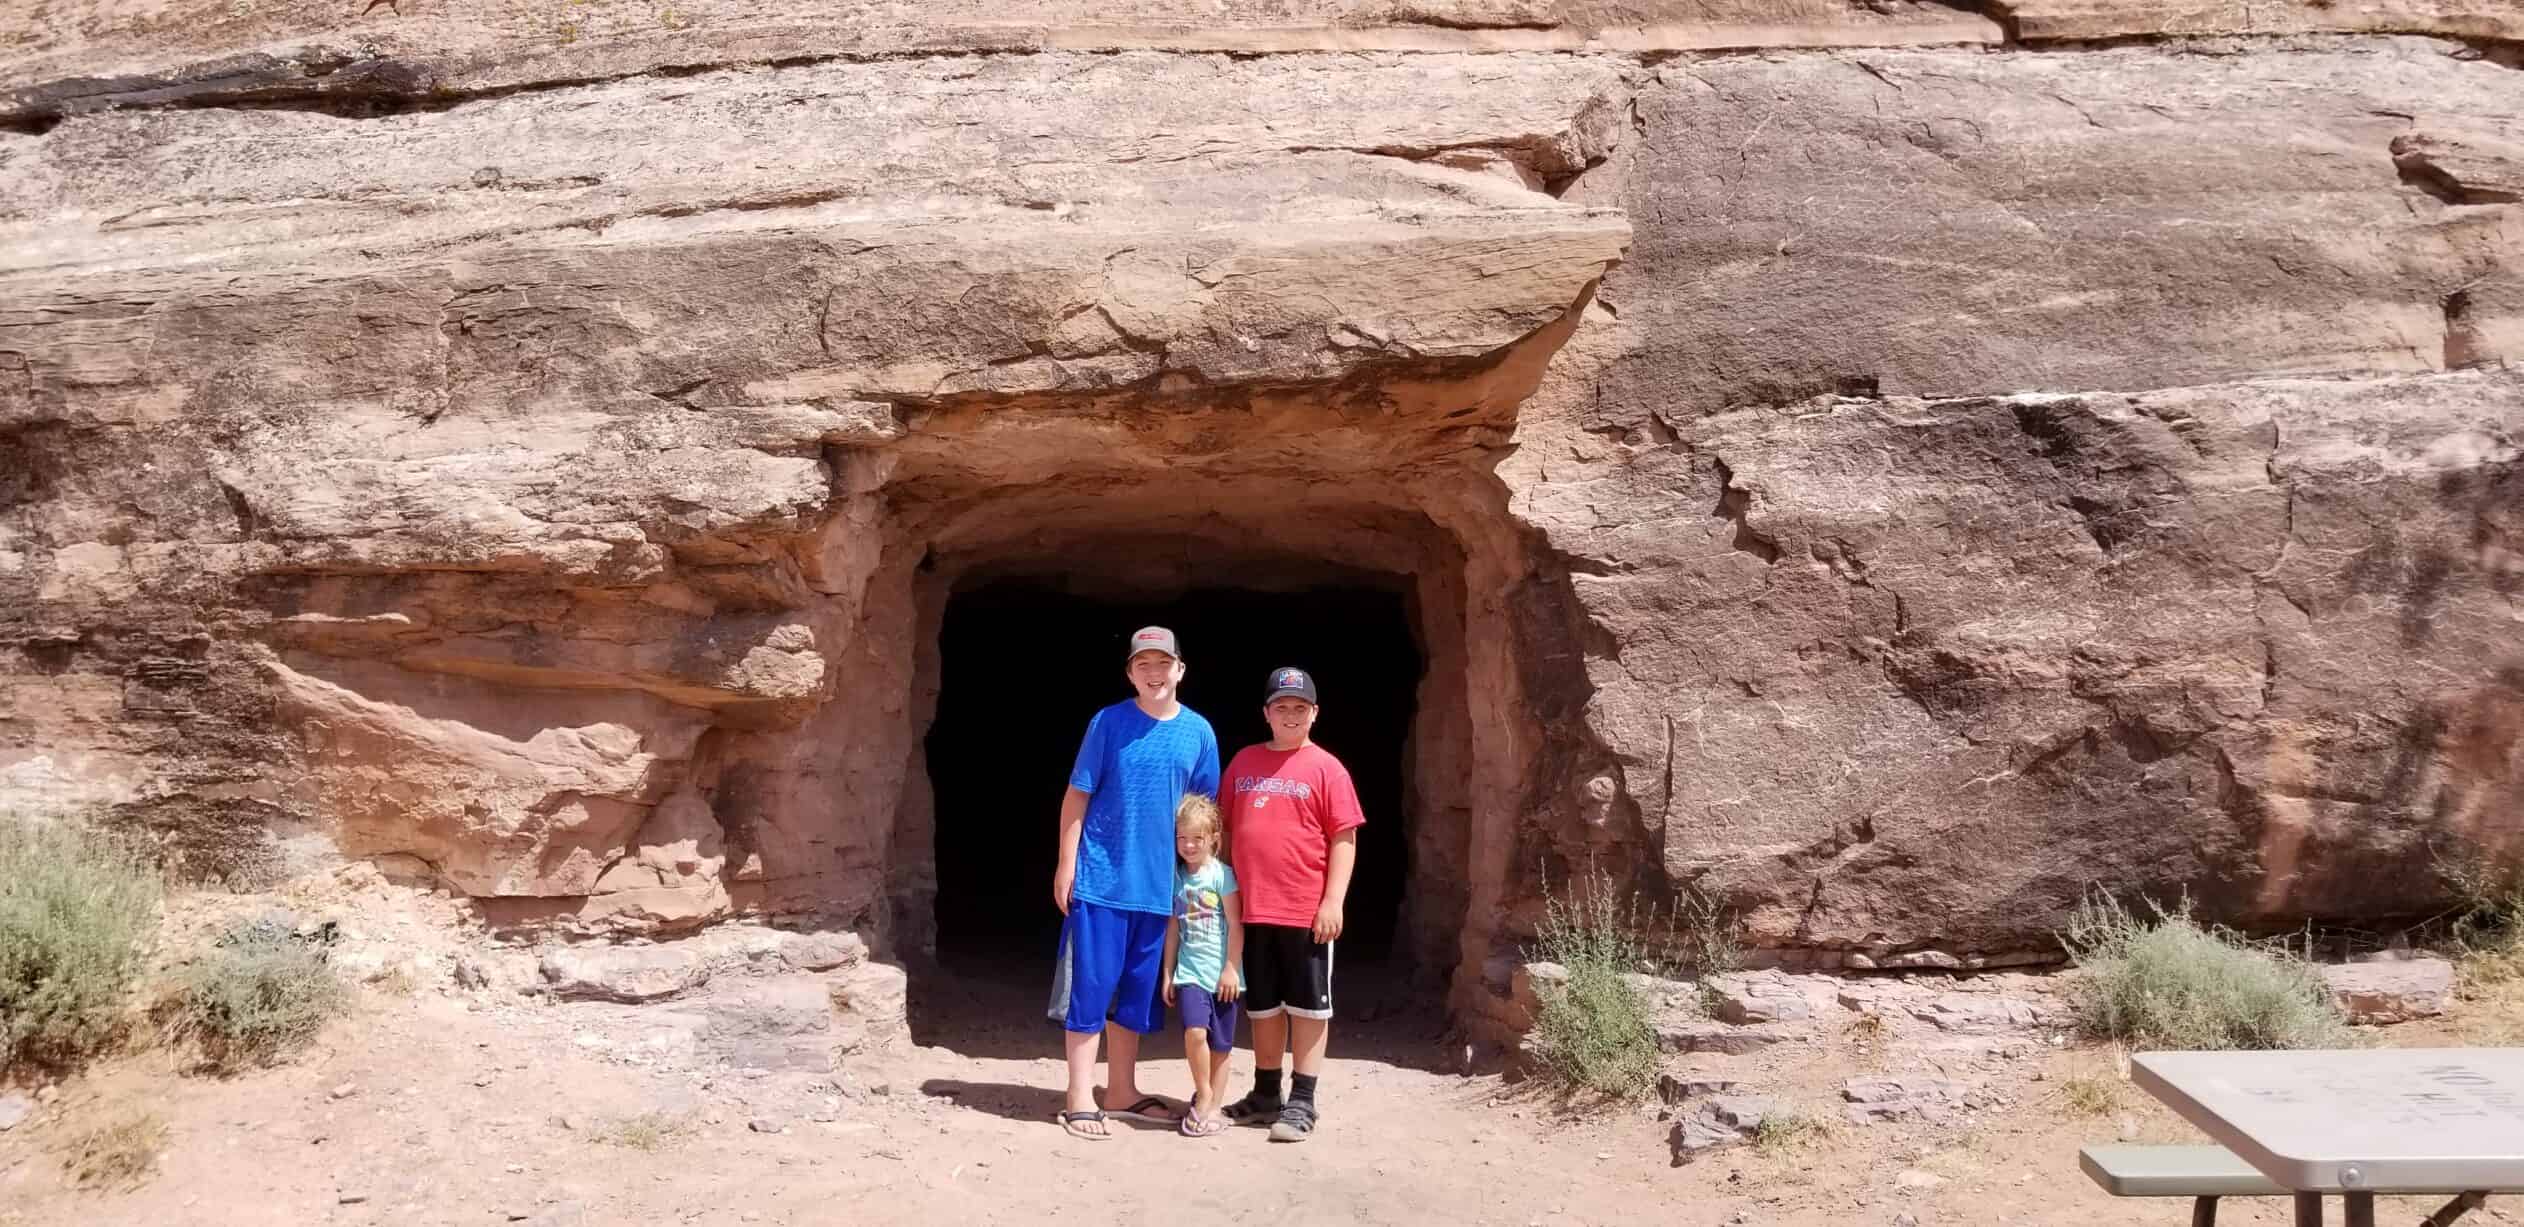
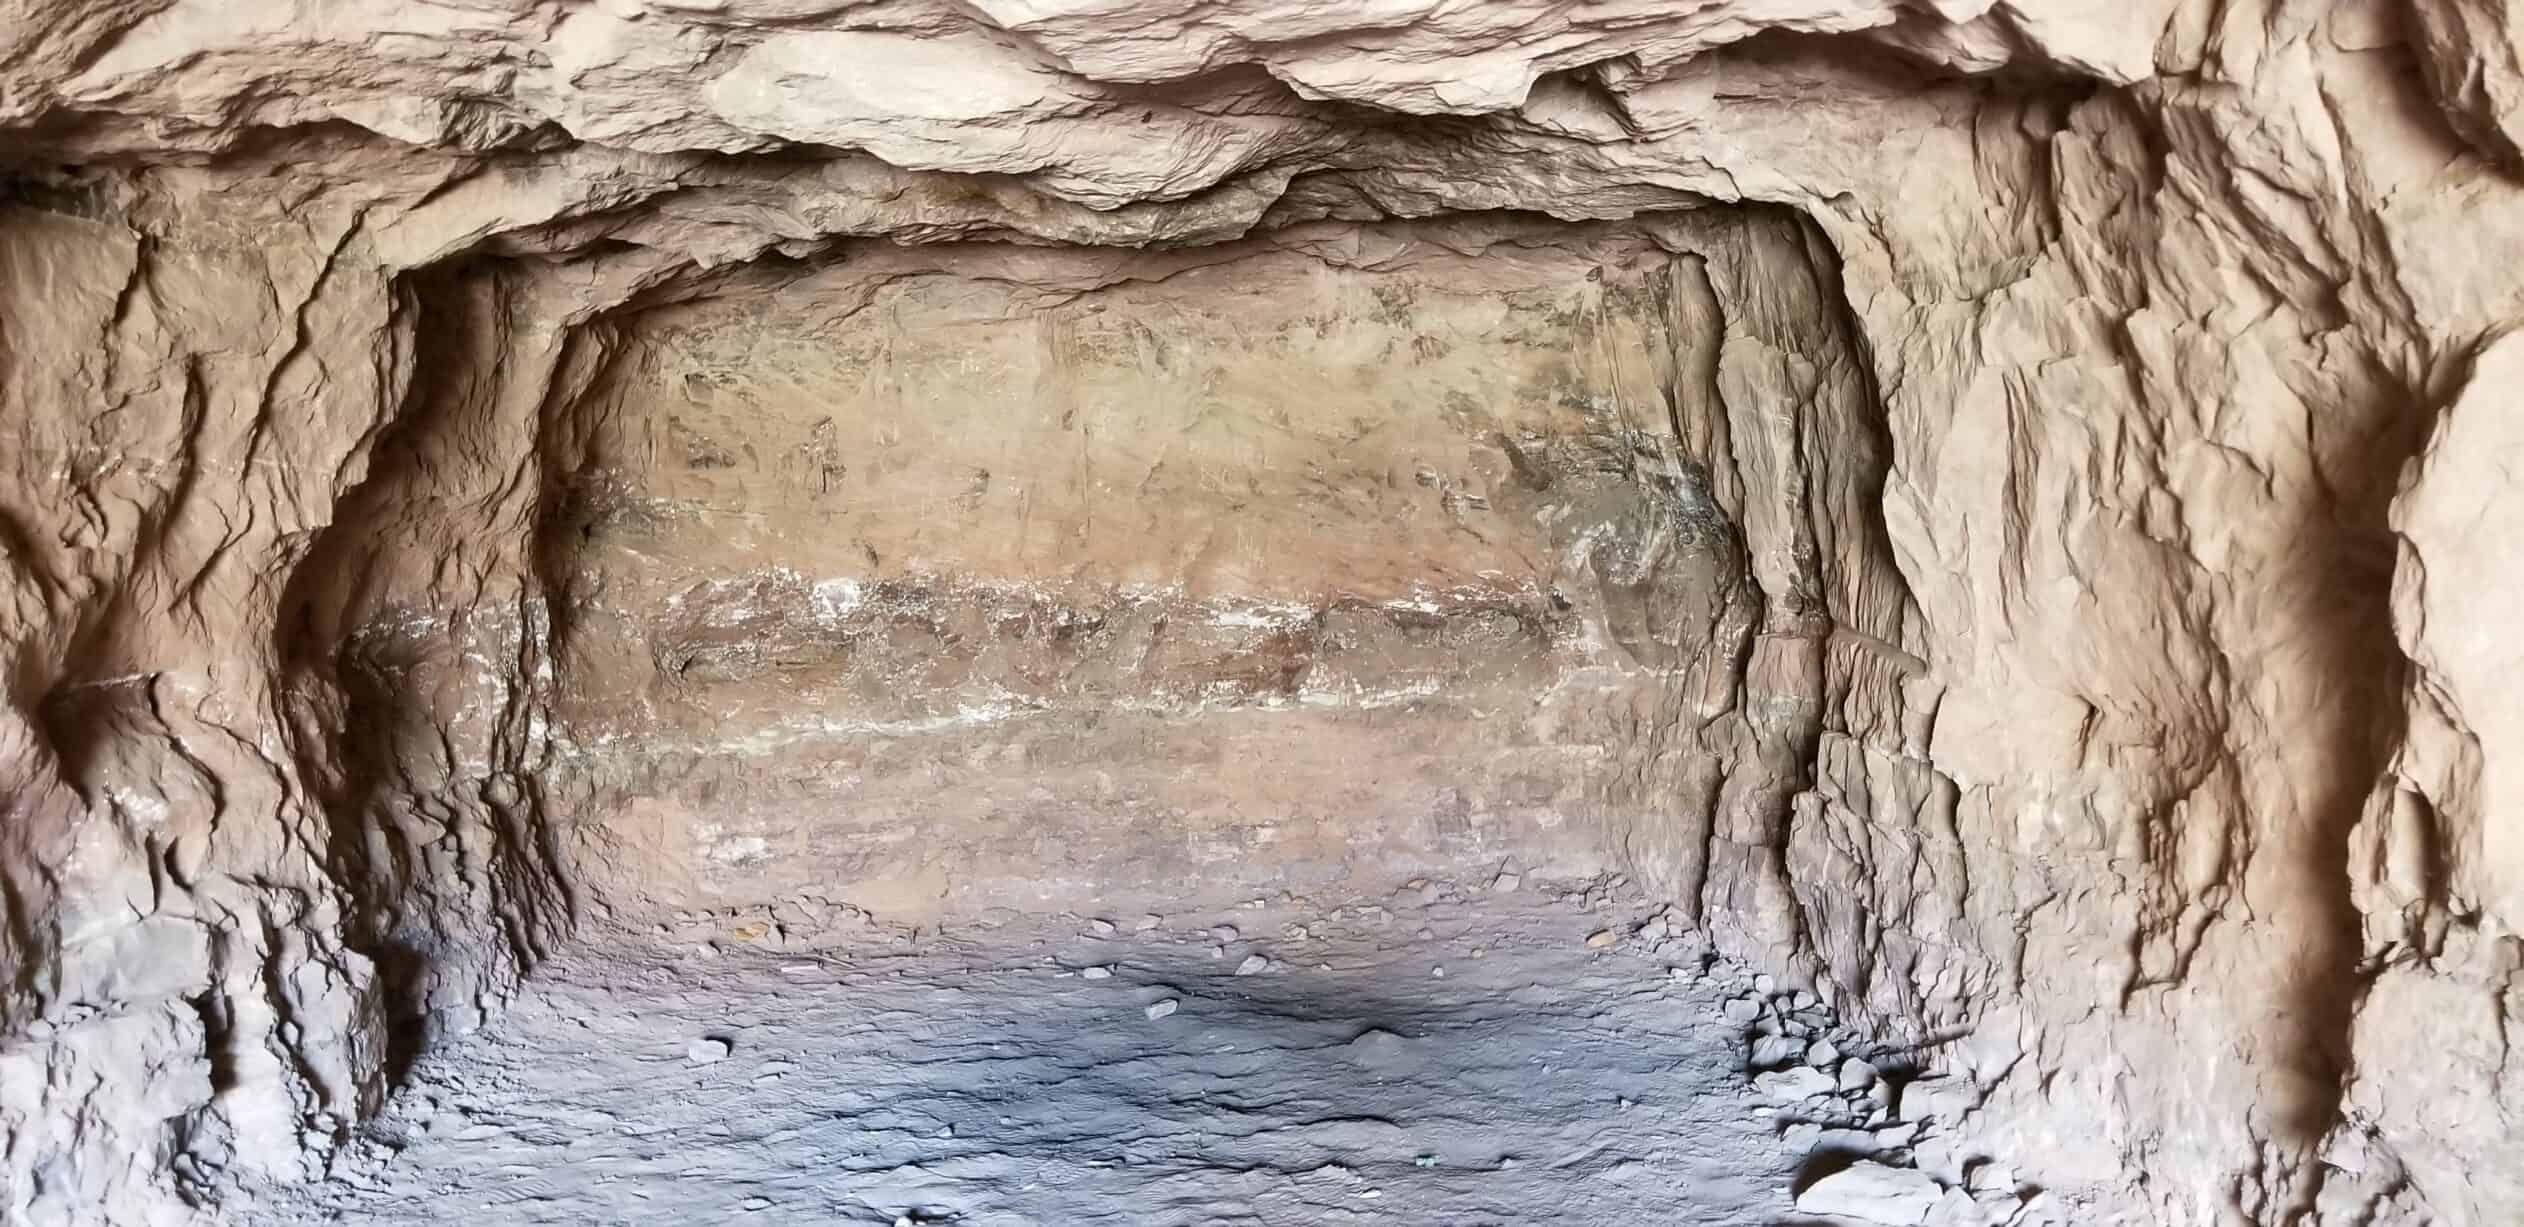
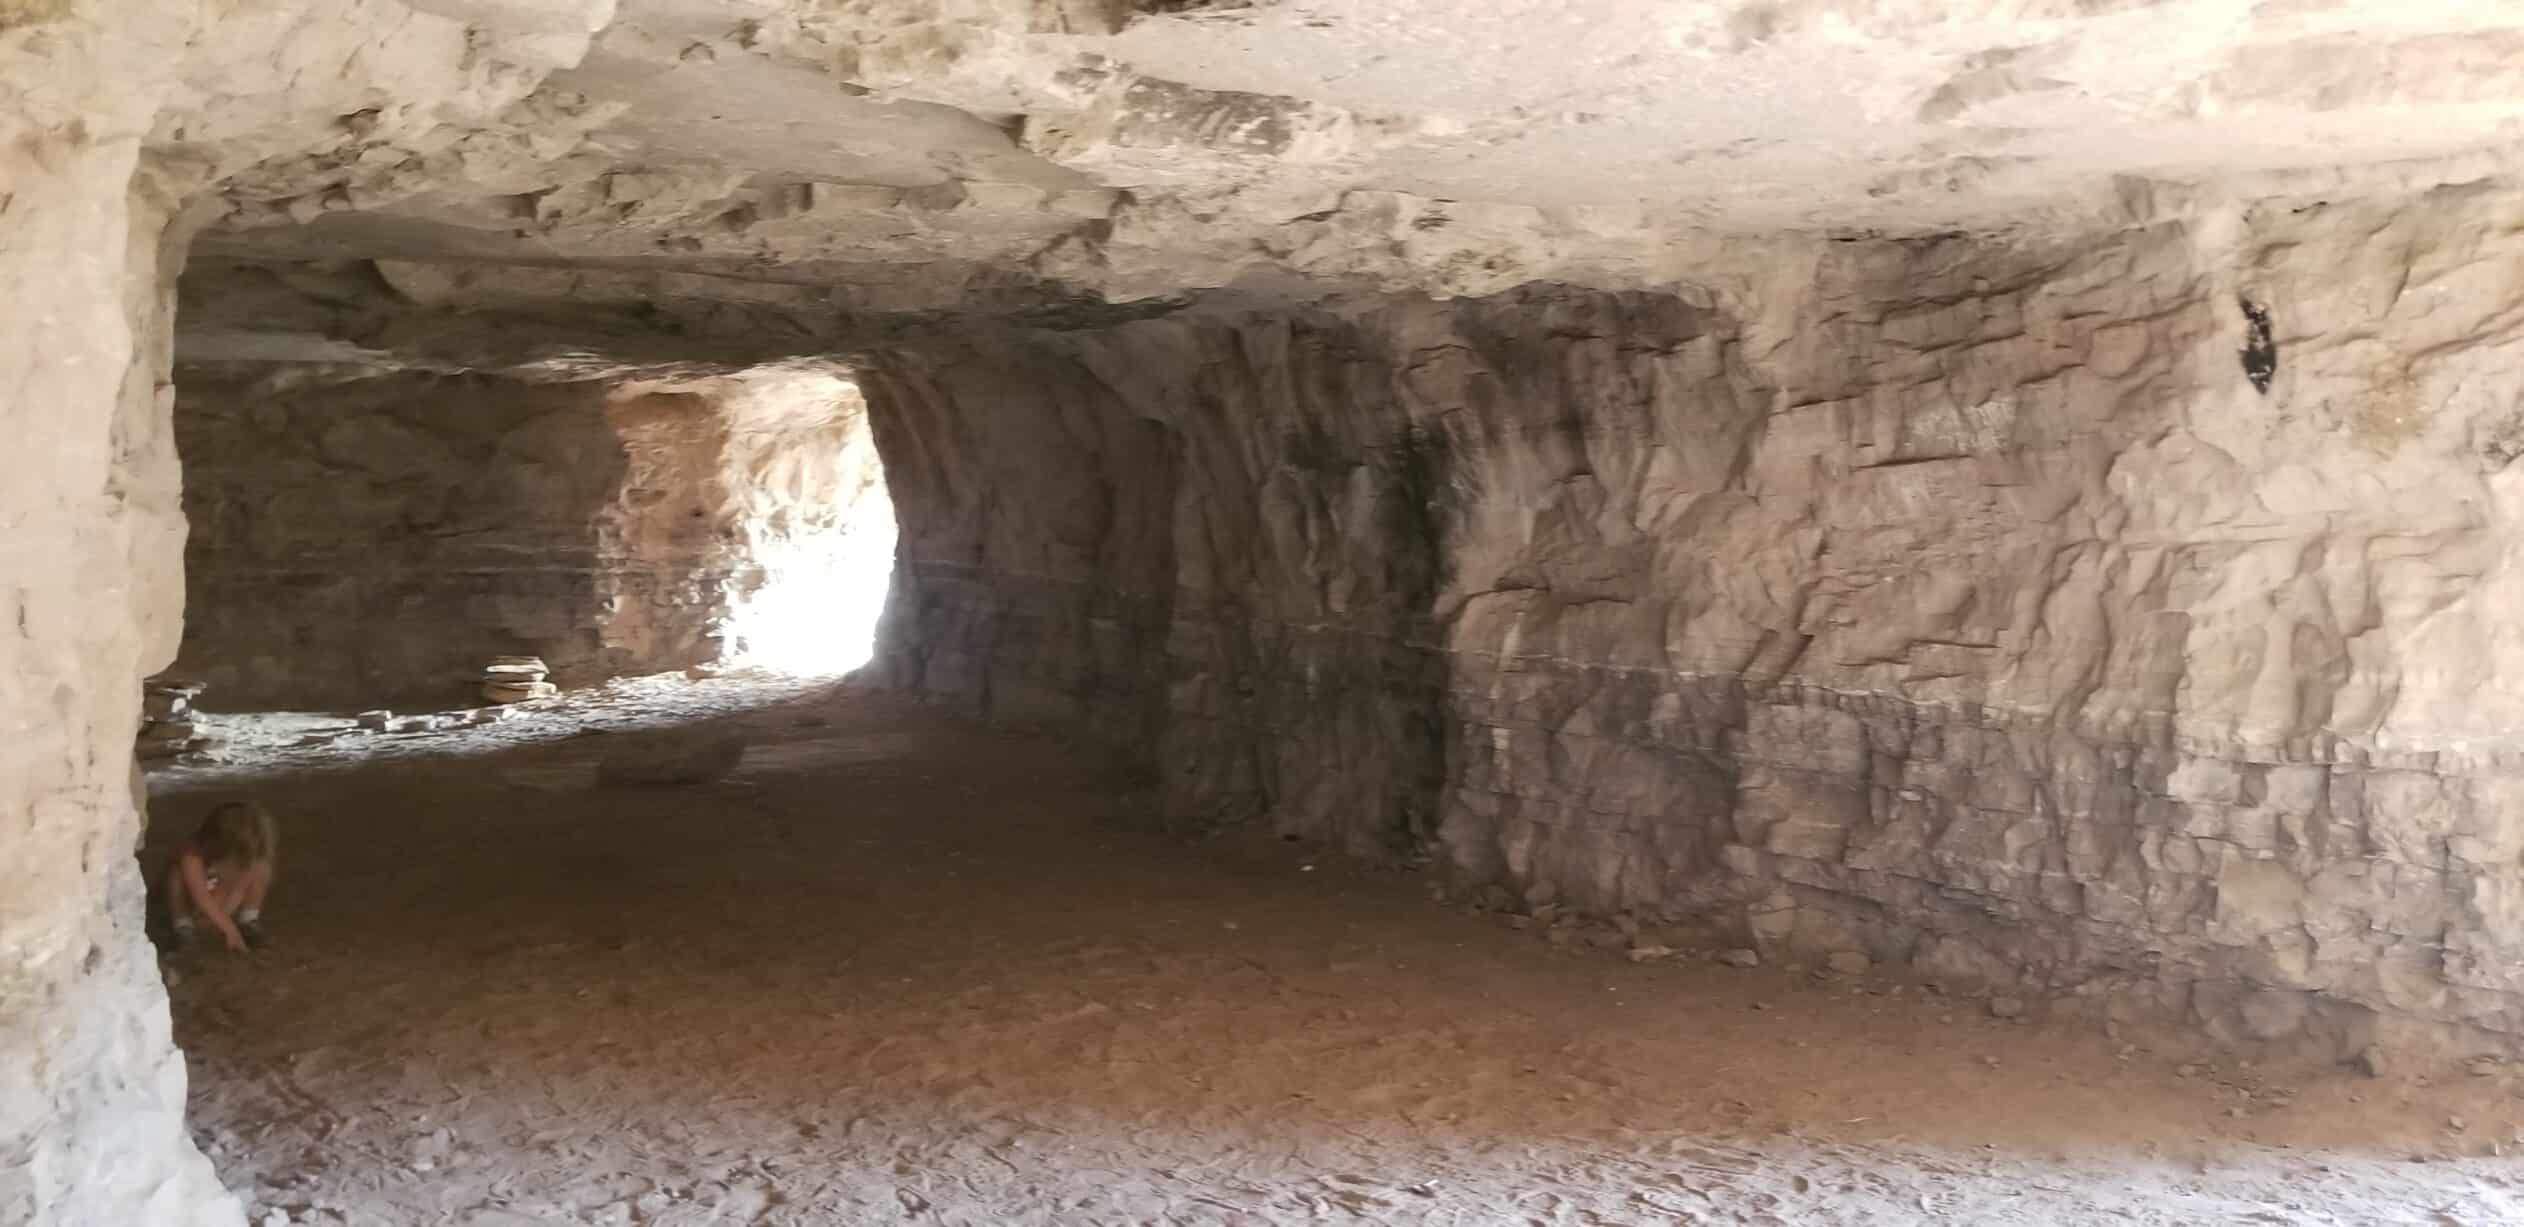
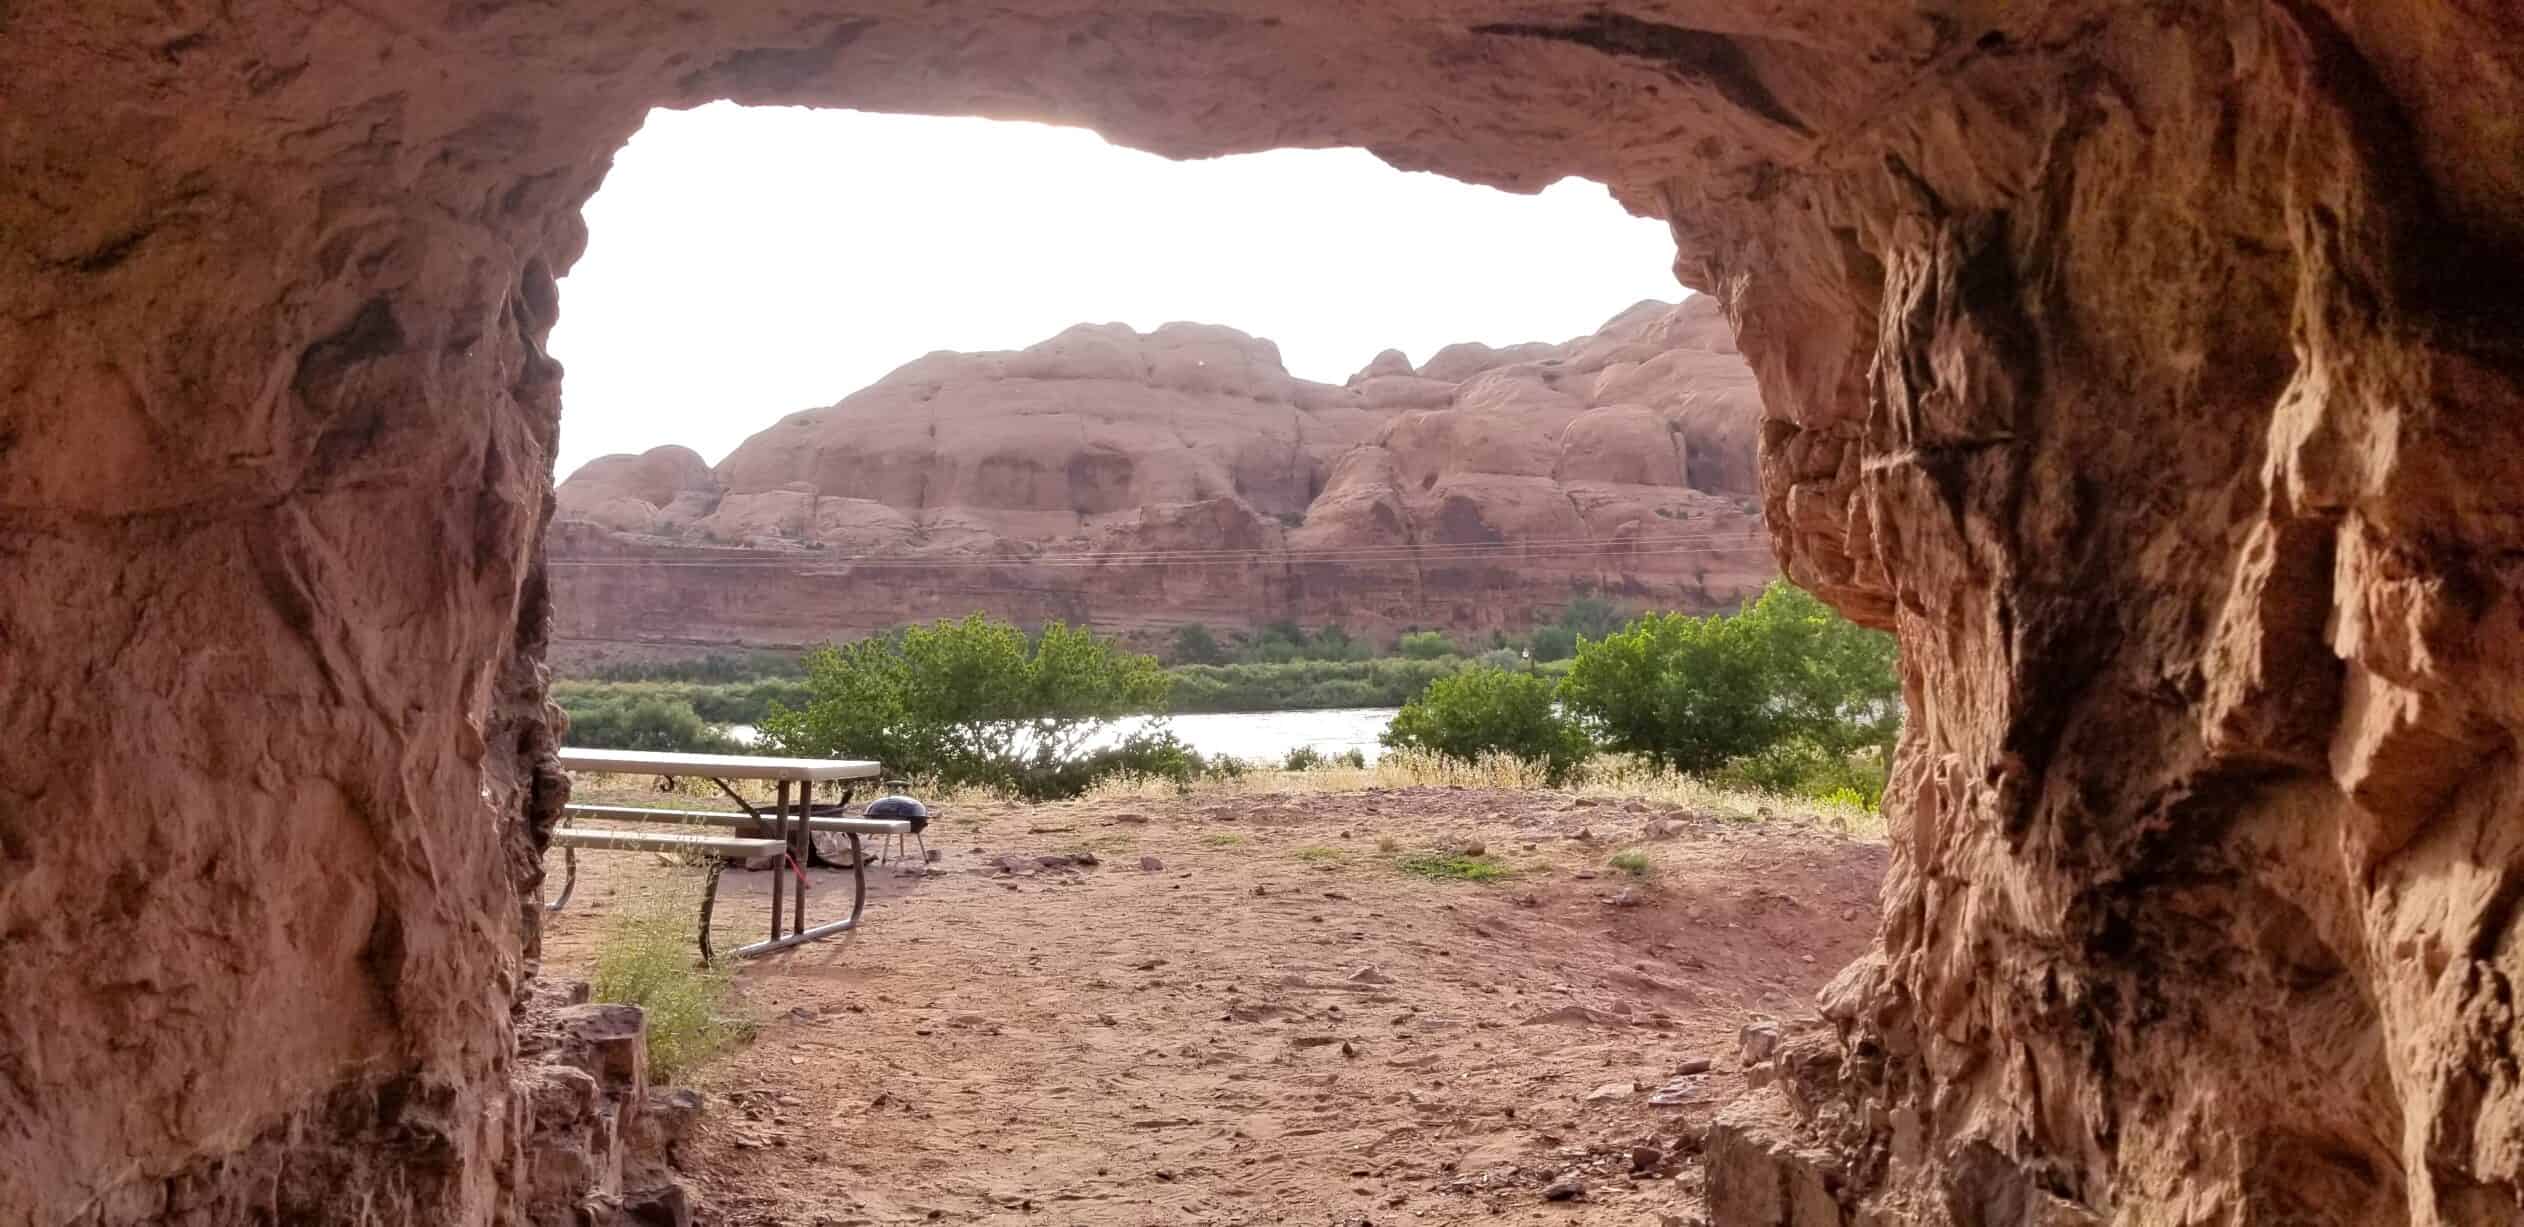
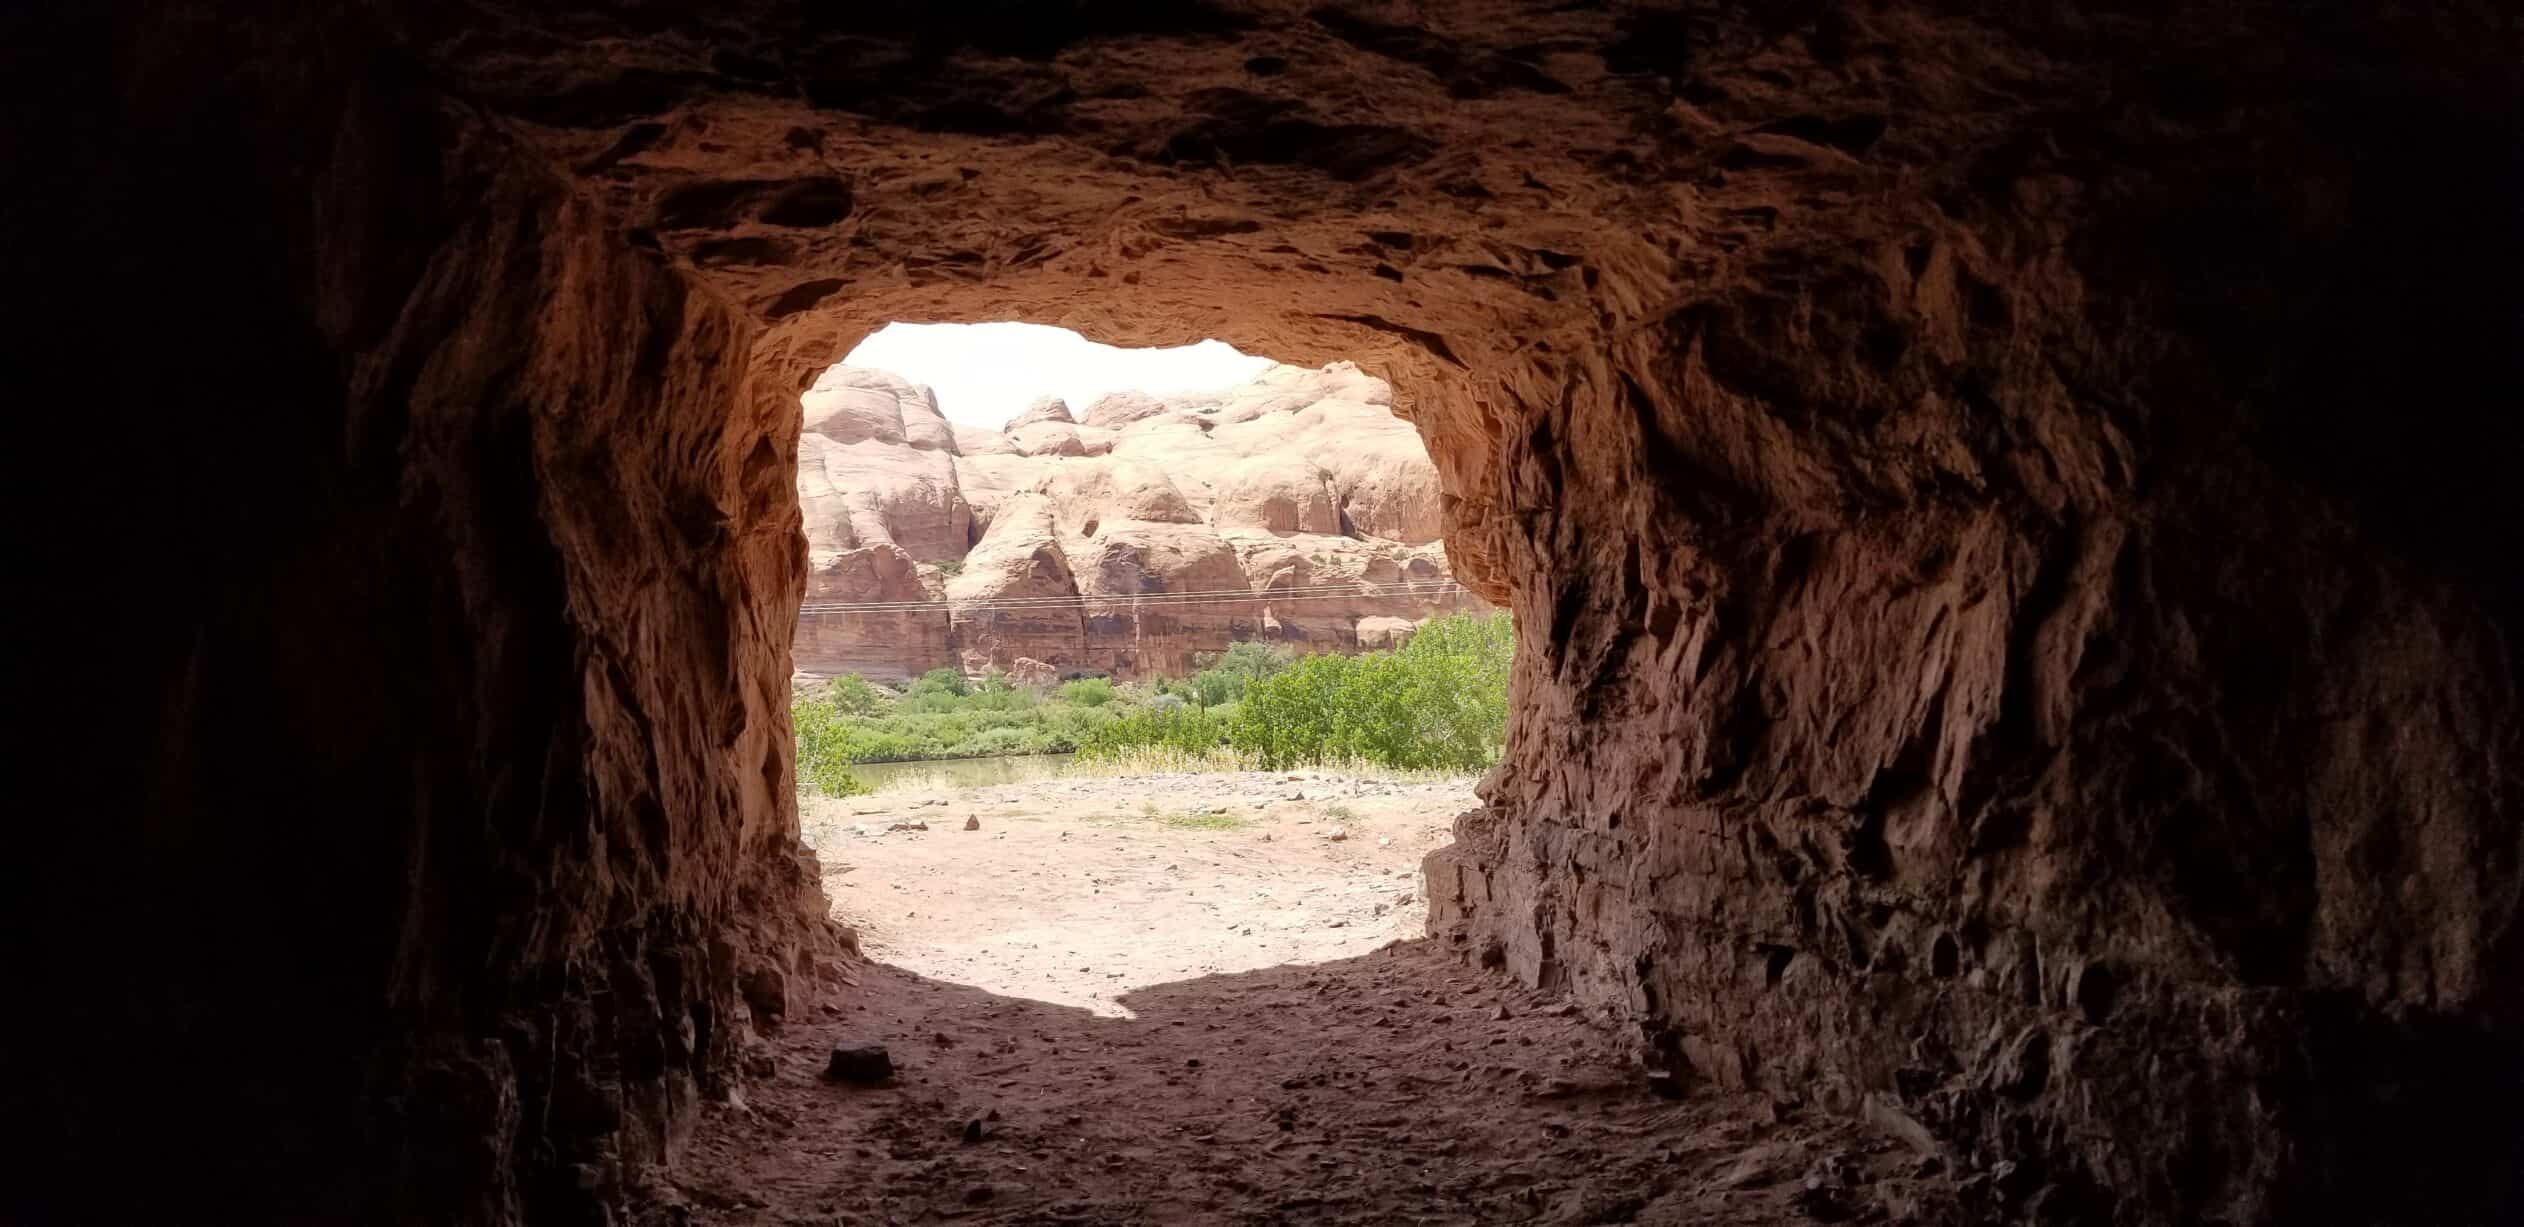
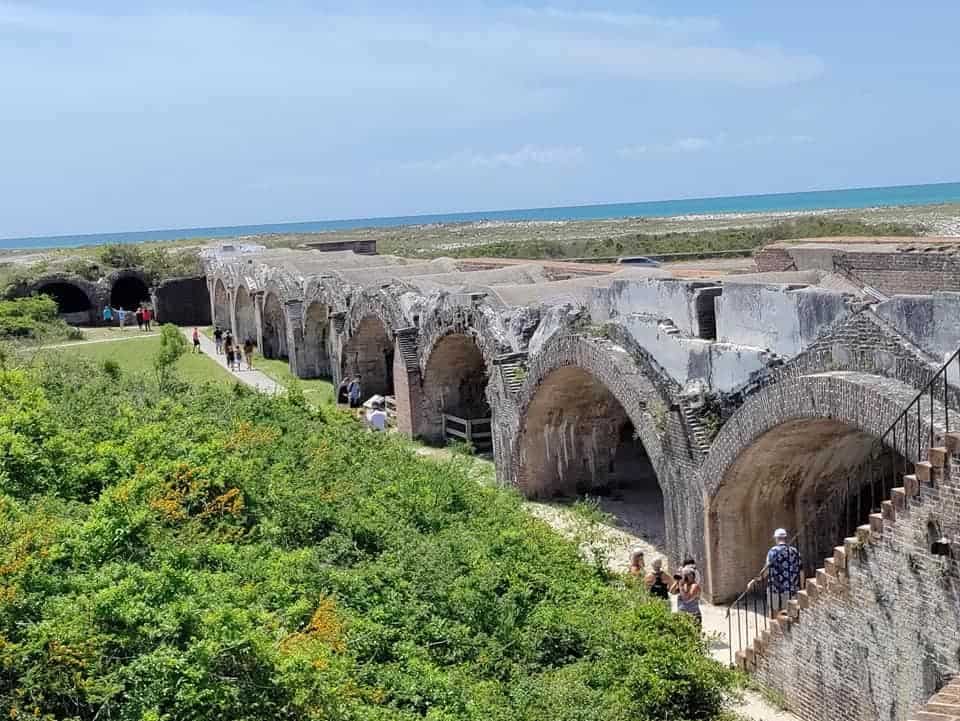
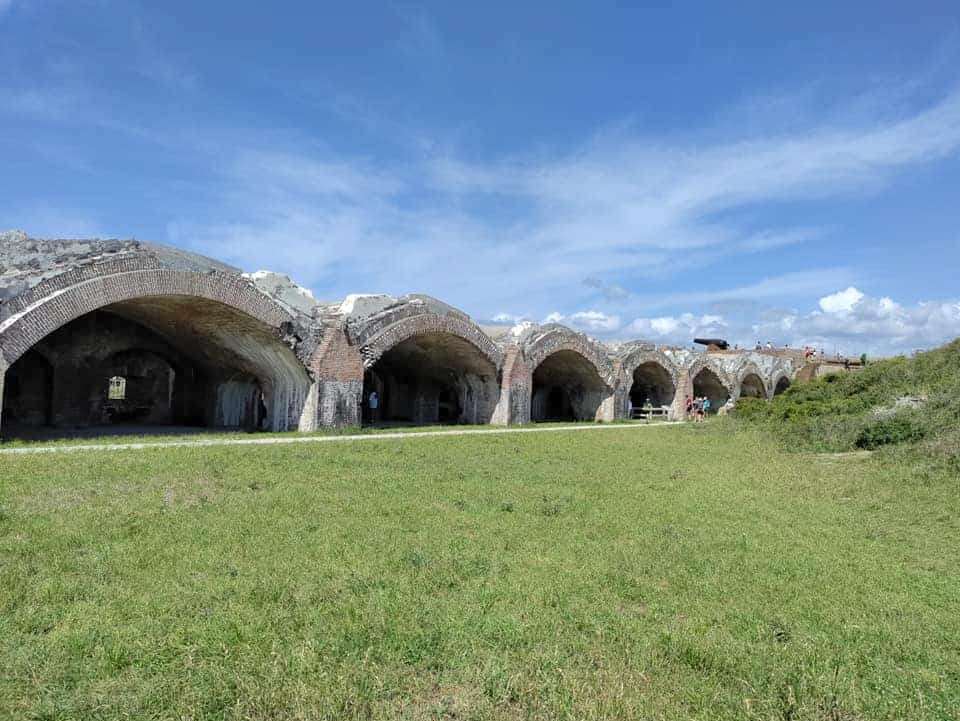
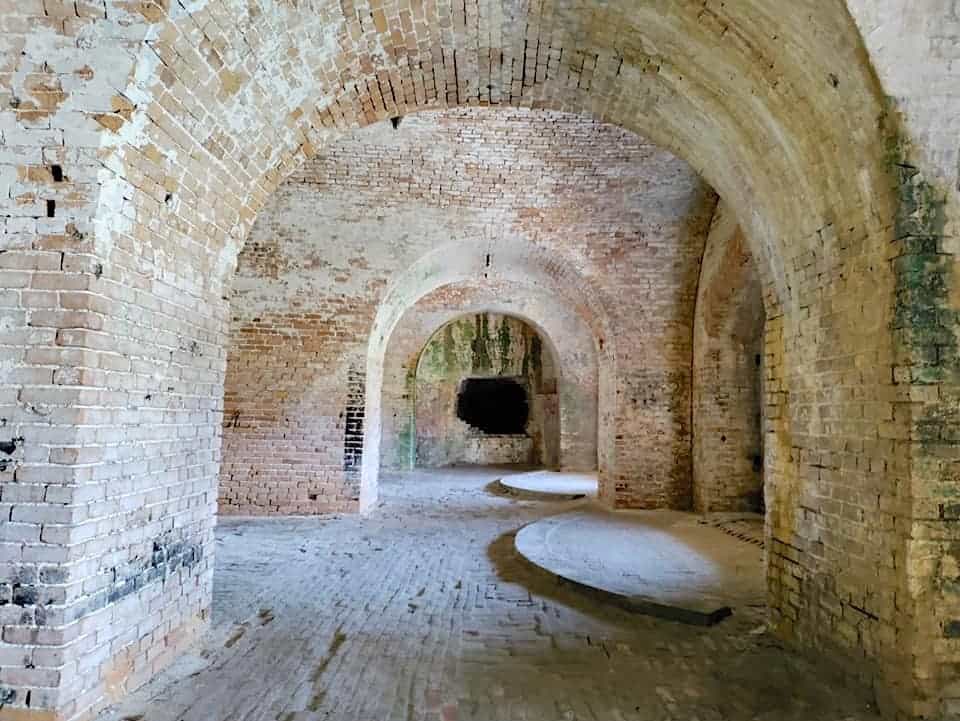
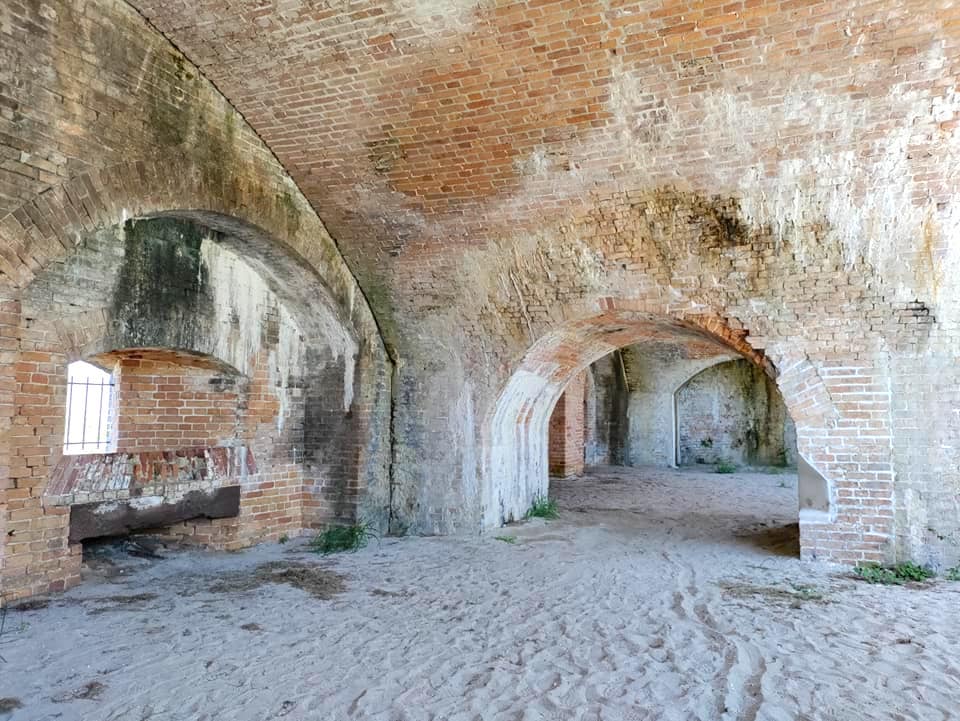
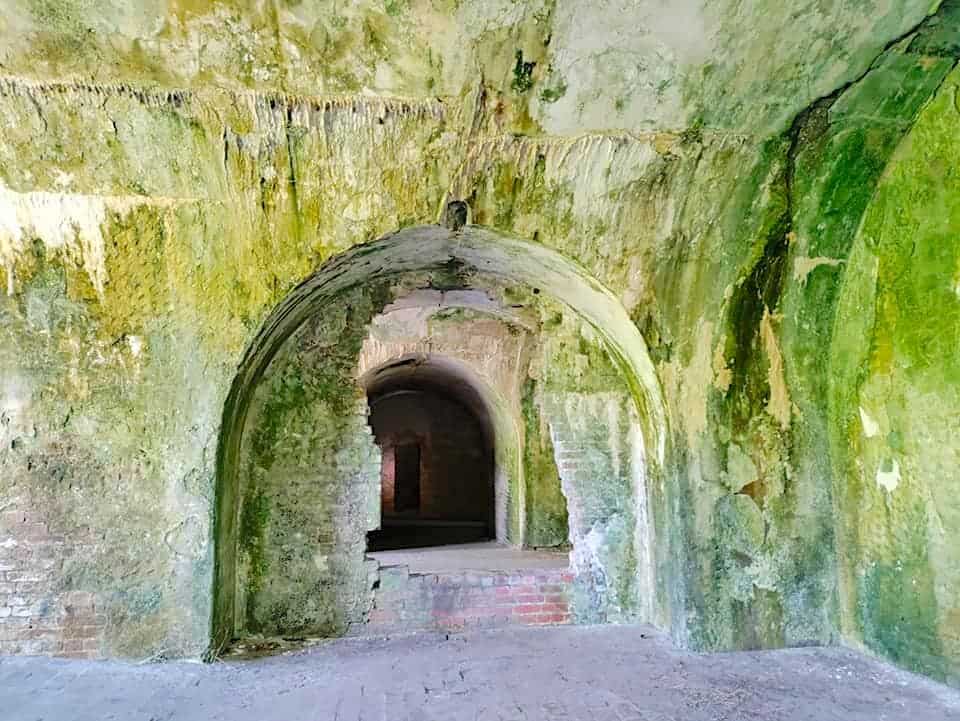
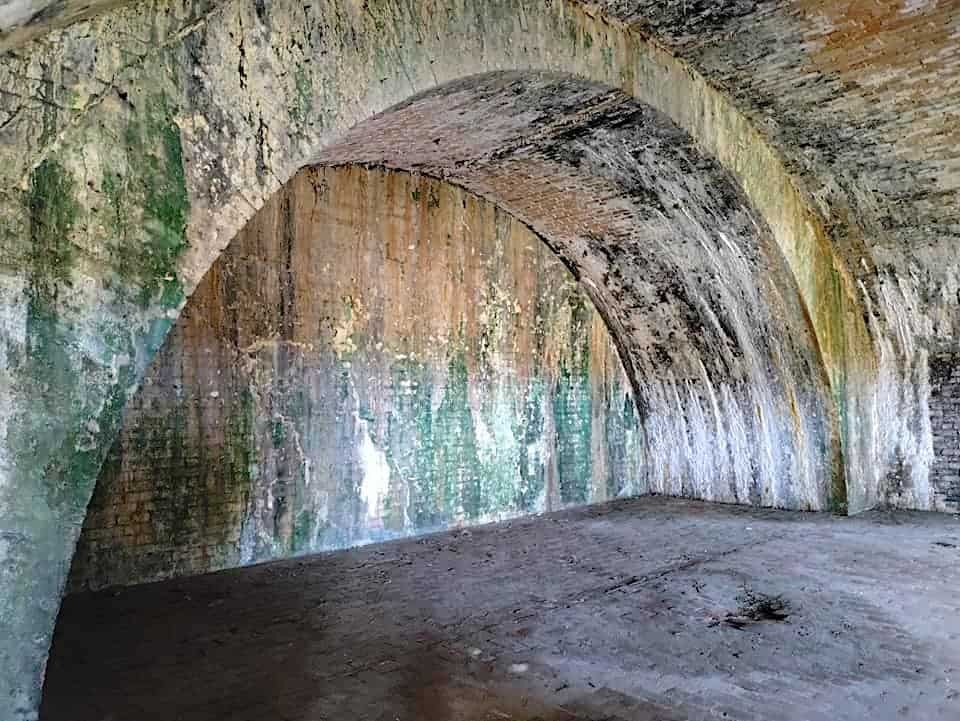
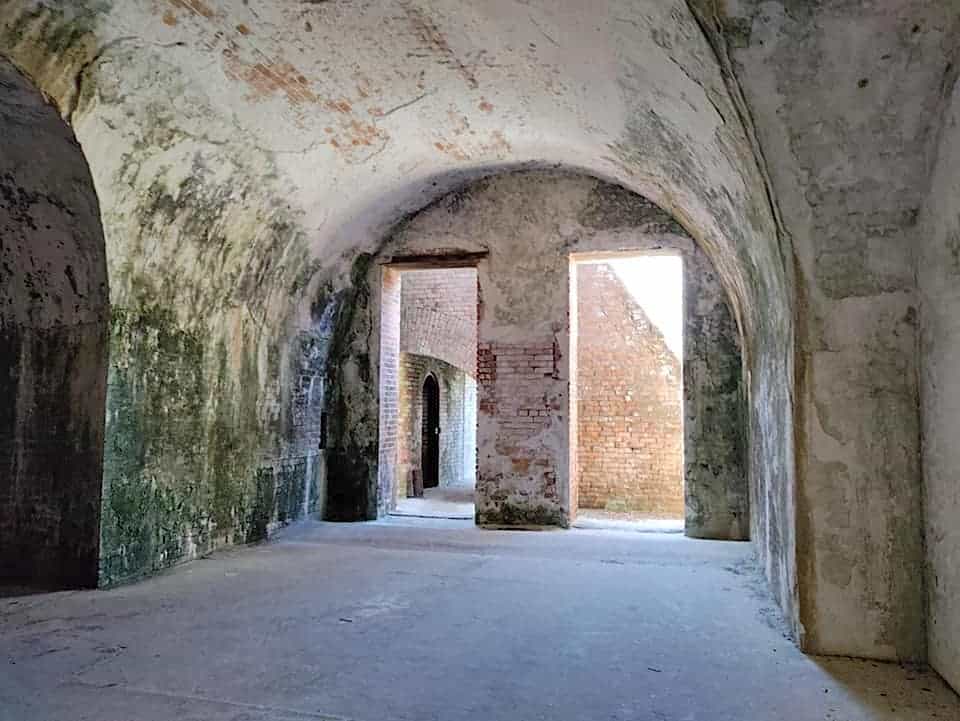
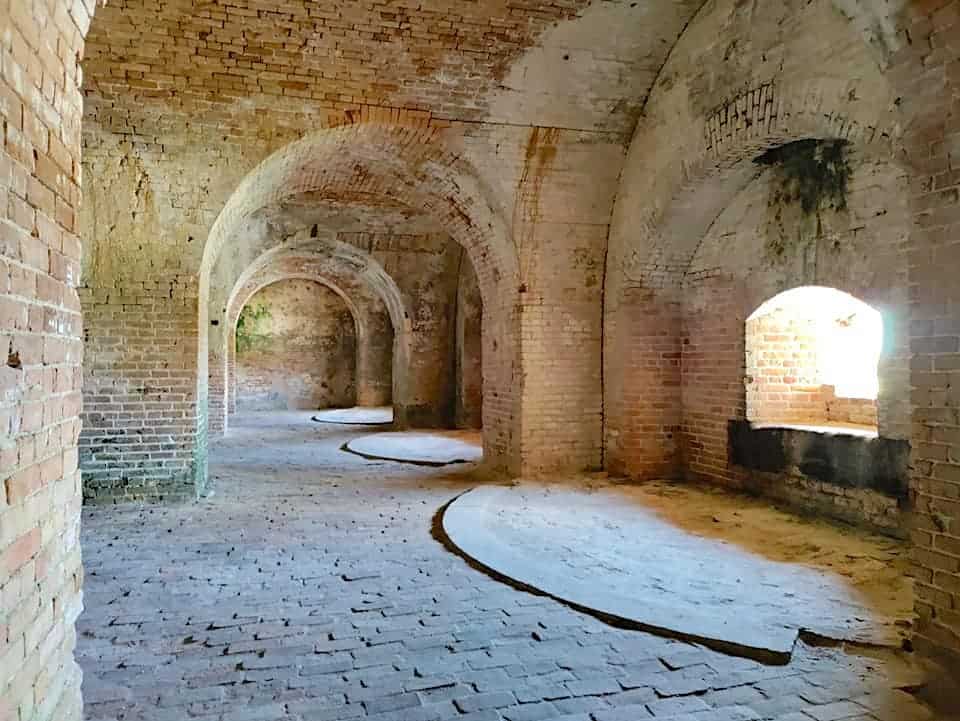
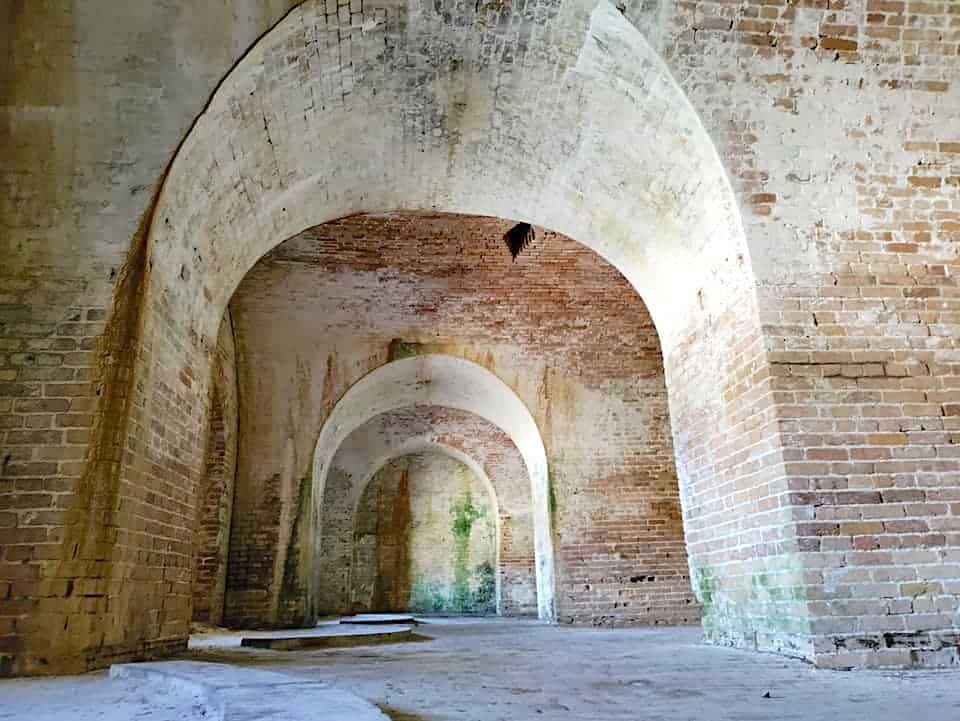
One cool thing about this camping spot is that you can explore an old World War 2 coastal artillery site though, or what’s left of it! So if you need somewhere right next to the ocean, this spot will still be a nice choice.
4. Half Moon Bay Beach State Park
Address: 95 Kelly Avenue, Half Moon Bay
Handicap Accessible: Yes
Dogs Allowed: Yes (not on beach)
Tent Friendly: Yes
RV/Camper Friendly: Yes (up to 40 feet)
Hook-ups: Yes (electric only + dump station + water filling station)
For More Information on Fees & Reservations Click Here.
Half Moon Bay Beach State Park is another one of my favorite camping spots along the Pacific Coast Highway – and it ranks as number one from my kids! While it’s not technically on the beach, it’s a quick 30 second walk to the sand on Francis beach and has over four miles of sandy beach to enjoy! It ranked over Point Mugu for my kids mostly because they have a nice bathhouse which meant we could stay here a little longer.
I’m pretty sure we had just as much sand in our tent as we did at Point Mugu even though we had a grassier camping area. It doesn’t take but a few seconds to get your feet nice and sandy and trek that into your tent! I highly recommend laying a tarp down outside in front of your tent to keep shoes and sandy feet out!
Although campsites seem close together we had nothing but quietness when we visited! Bathhouses were easily accessible and they even have bike and camp spots for overnight bike riders.
5. Gold Bluffs Beach
Address: 127011 Newton B. Drury Scenic Parkway, Orick
Handicap Accessible: Yes
Dogs Allowed: Yes (not on trails, but beach and campground are OK)
Tent Friendly: Yes
RV/Camper Friendly: Yes (24 feet – no trailers)
Hook-ups: No
For More Information on Fees & Reservations Click Here.
Located in Prairie Creek Redwoods State Park – if you’re looking for an “out in the wild” experience of camping that feels more secluded from daily life, Gold Bluffs Beach has you covered! This remote windy location comes with exquisite serene views of the Pacific Ocean! Also in the State Park is the Elk Prairie Campground.
6. Pismo State Beach
Pismo State Beach actually has two different campgrounds to stay at! Be forwarned, you’ll need to check the weather before heading out there in a tent as one of the campgrounds does flood quite a bit if there is a lot of rain. However, you can even drive on the beach here which is pretty awesome! It’s the perfect place to get away from the bustle of life.
You can also find a lovely pier to walk on which is perfect for fishing! Double check your campsite’s location in regards to the beach trail if you want to stay as close by as possible.
7. Doheny State Beach
There are no hookups of any kind here (electrical, water, etc.) at Doheny State Beach, but there is a dump station for RVs. If you want to see the area visually you can see the view from each campsite here or watch this video. Doheny State Beach wins the title for being California’s first state beach! It’s a pretty cool place to camp on the beach.
8. San Elijo State Beach
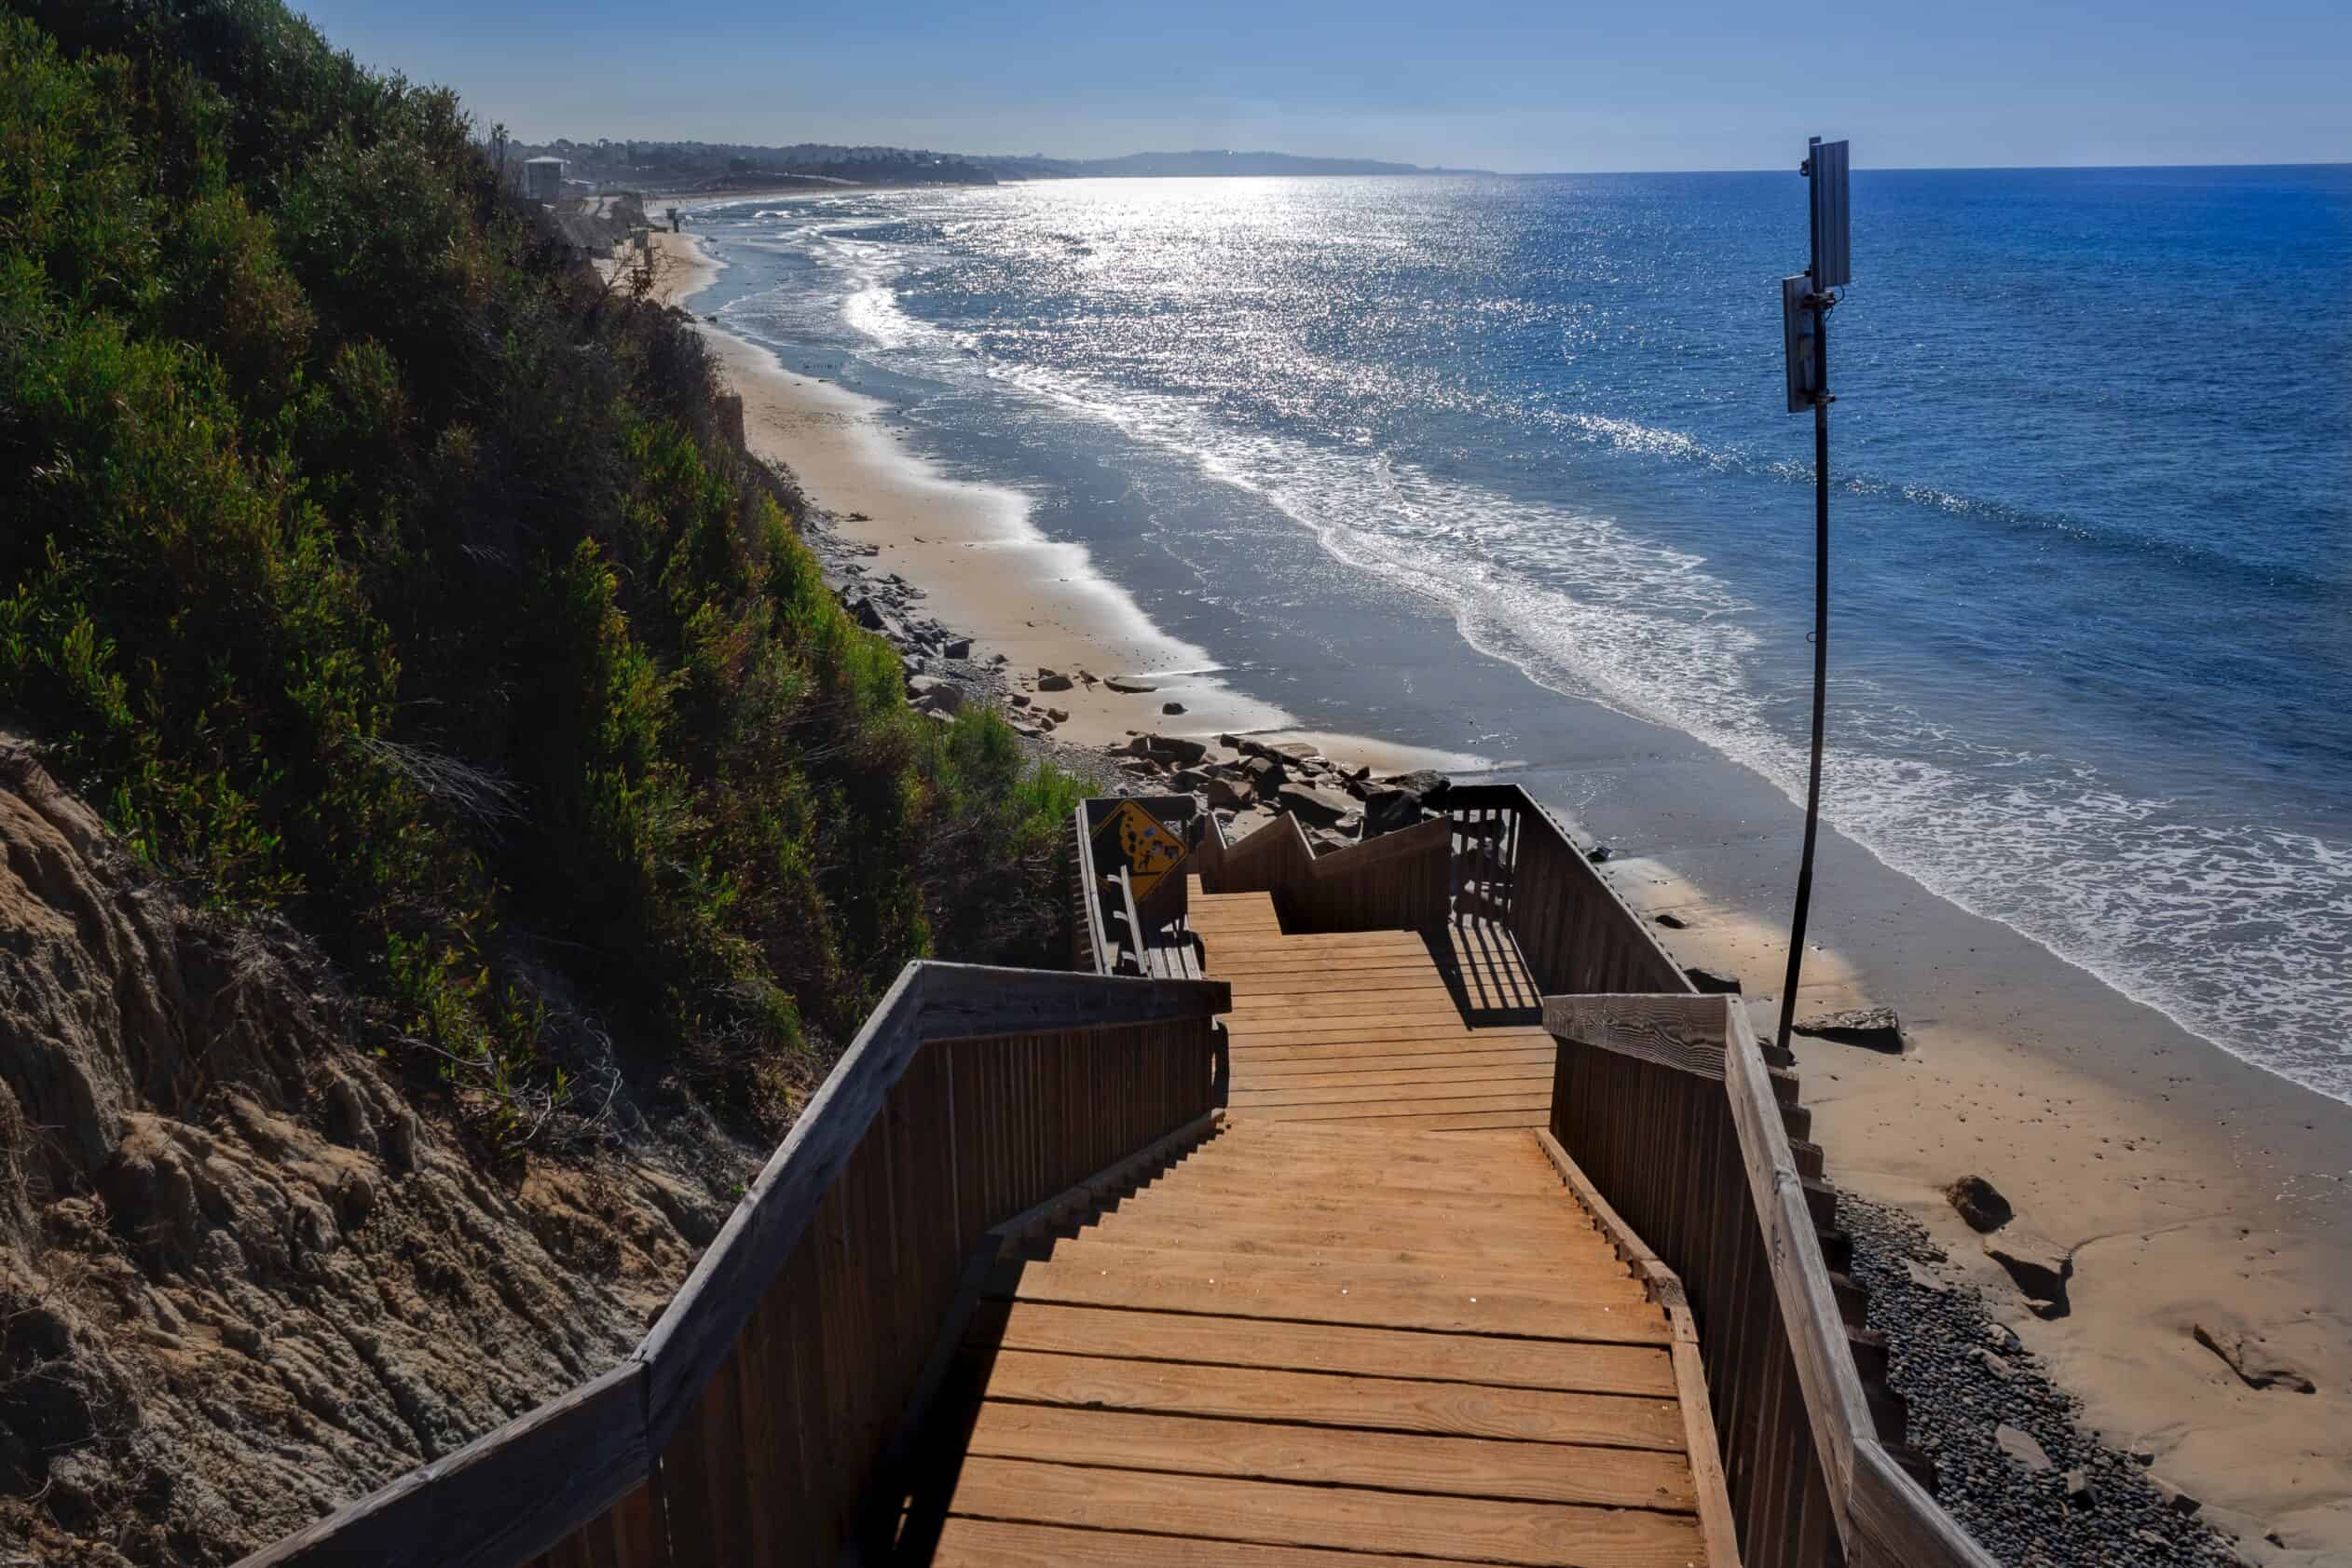
A really great spot if you’re up for some stairs is San Elijo State Beach. It is another stunning view of the Pacific Ocean off of the California coast! There’s just something about inhaling the fresh salty breeze while lounging at your campsite.
Near San Diego off of Highway 101, you’re practically a staircase away from dipping your toes into the Pacific Ocean! If you like snorkeling make sure to check out the nearby reef! Although you can bring your dog to the campground, dogs are not allowed on the beach here.
9. Leo Carrillo State Park
The great thing about Leo Carrillo State Park is that it’s not only there on the beach but you can also find tidepools, coastal caves and reefs! The campground is cool and covered with giant sycamores! About 30 miles Northwest of Santa Monica on the Pacific Coast Highway, there is is also dog friendly beach which is a big plus! Make sure to plan ahead as there are no water or sewer hookups here.
10. South Carlsbad State Beach
While not on the beach sand, this camping spot sits at the top of the bluff looking over the Pacific Ocean with stunning views – right from your campsite! You’ll need to be able to hike down the staircase to actually get down to the sand, but it’s a great way to fence young kiddos from just running down to the water while you are prepping your meals!
11. Refugio State Beach
While technically not right on the sand, the campground and parking is right next to the beach so you just have to walk through the parking lot for some good salt spray! They even have beach wheelchairs for those that need to use them at no additional cost!
If you know of any other great beach camping in California that I’ve missed leave a comment below and let me know!


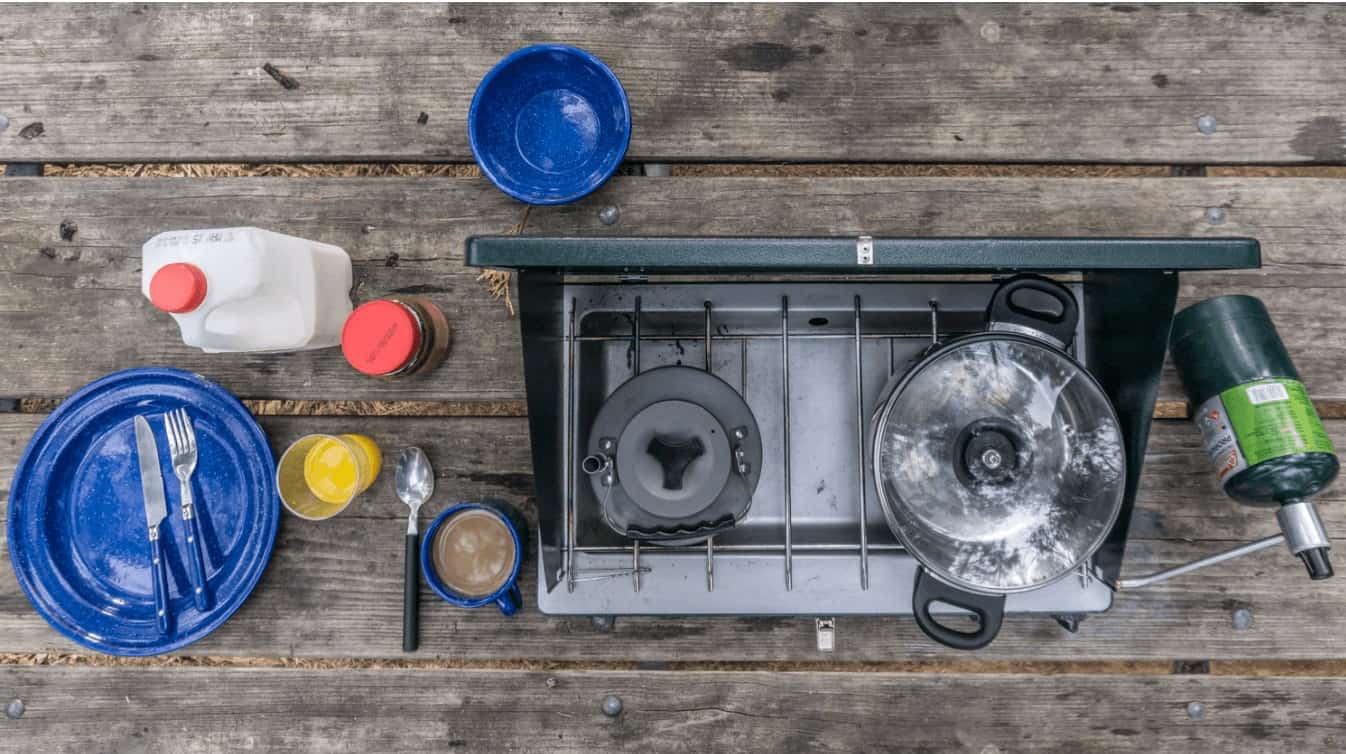


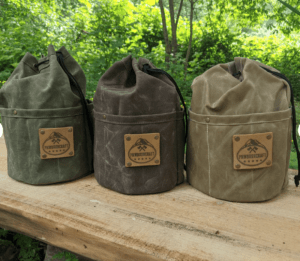
 can be expensive and HEAVY to pack.
 (about $6/small tanks).
 that goes in between the seats in the front for road trip lunches and drinks is perfect for our family of 5!


 , whistle, compass …..these are just the minimal items to bring!
 for dirty clothes. On our first camping trip we quickly realized as we were taking dirty clothes off that we had no place to put them!! It was a funny mess because we had to end up just throwing them loosely in the car and they were falling out everywhere. Now we know better and have a simple mesh bag that all dirty clothes get thrown into. We just hang it on a hook in the car or over the back seat headrest so everyone knows where it is.


 for
for 
 , travel toys,
  , balls/frisbees, etc.
 that do NOT need internet/network